Deploying Super Mario on Kubernetes

I am an experienced and dedicated professional with a background in Devops. I have obtained the AWS Solution Architect Associate certification, showcasing my proficiency in cloud computing technologies. Currently, I am pursuing my interest in DevOps, aiming to further expand my knowledge and contribute to the seamless integration of development and operations.
Super Mario holds a special place in the hearts of gamers worldwide. In this tutorial, we'll delve into the exciting realm of deploying Super Mario on Amazon's Elastic Kubernetes Service (EKS). By harnessing the power of Kubernetes, we'll orchestrate the game's deployment on AWS EKS, unlocking scalability, reliability, and seamless management. Join us on this journey into the world of classic gaming, elevated through modern cloud technology.
Github link: https://github.com/Pardeep32/k8s-mario.git
Prerequisites:
An Ubuntu Instance
IAM role
Terraform, docker should be installed on instance
AWS CLI and KUBECTL on Instance
STEP 1: Launch Ubuntu instance
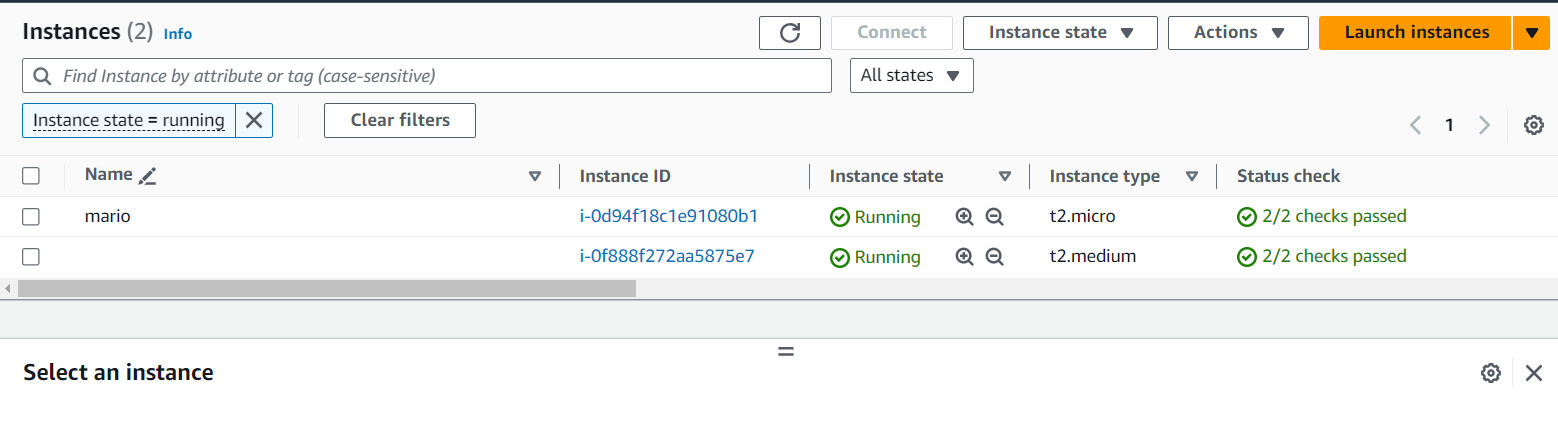
launch an instance of t2.micro type with 12 gn storage.

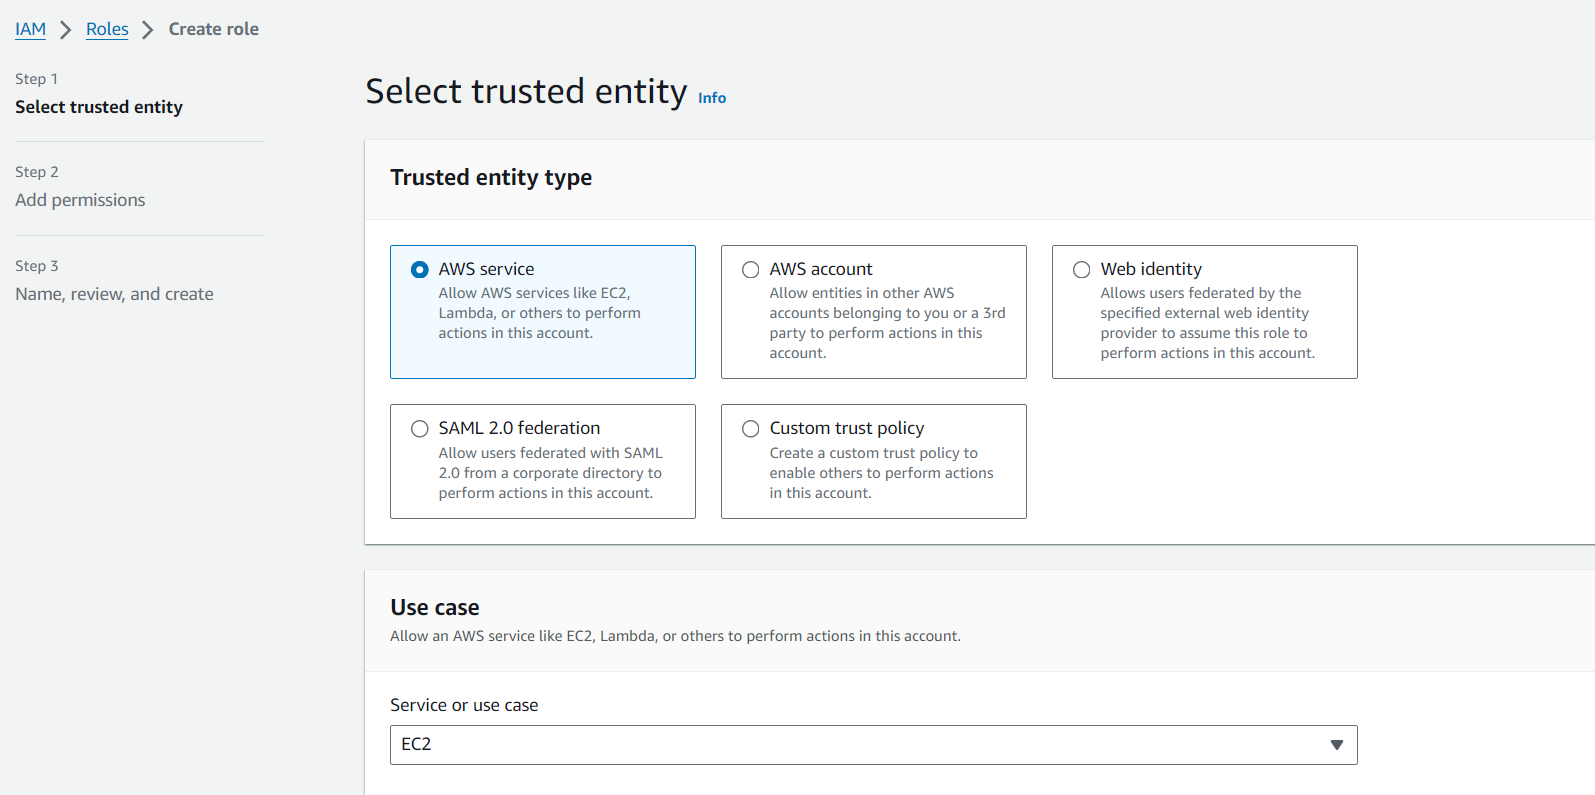
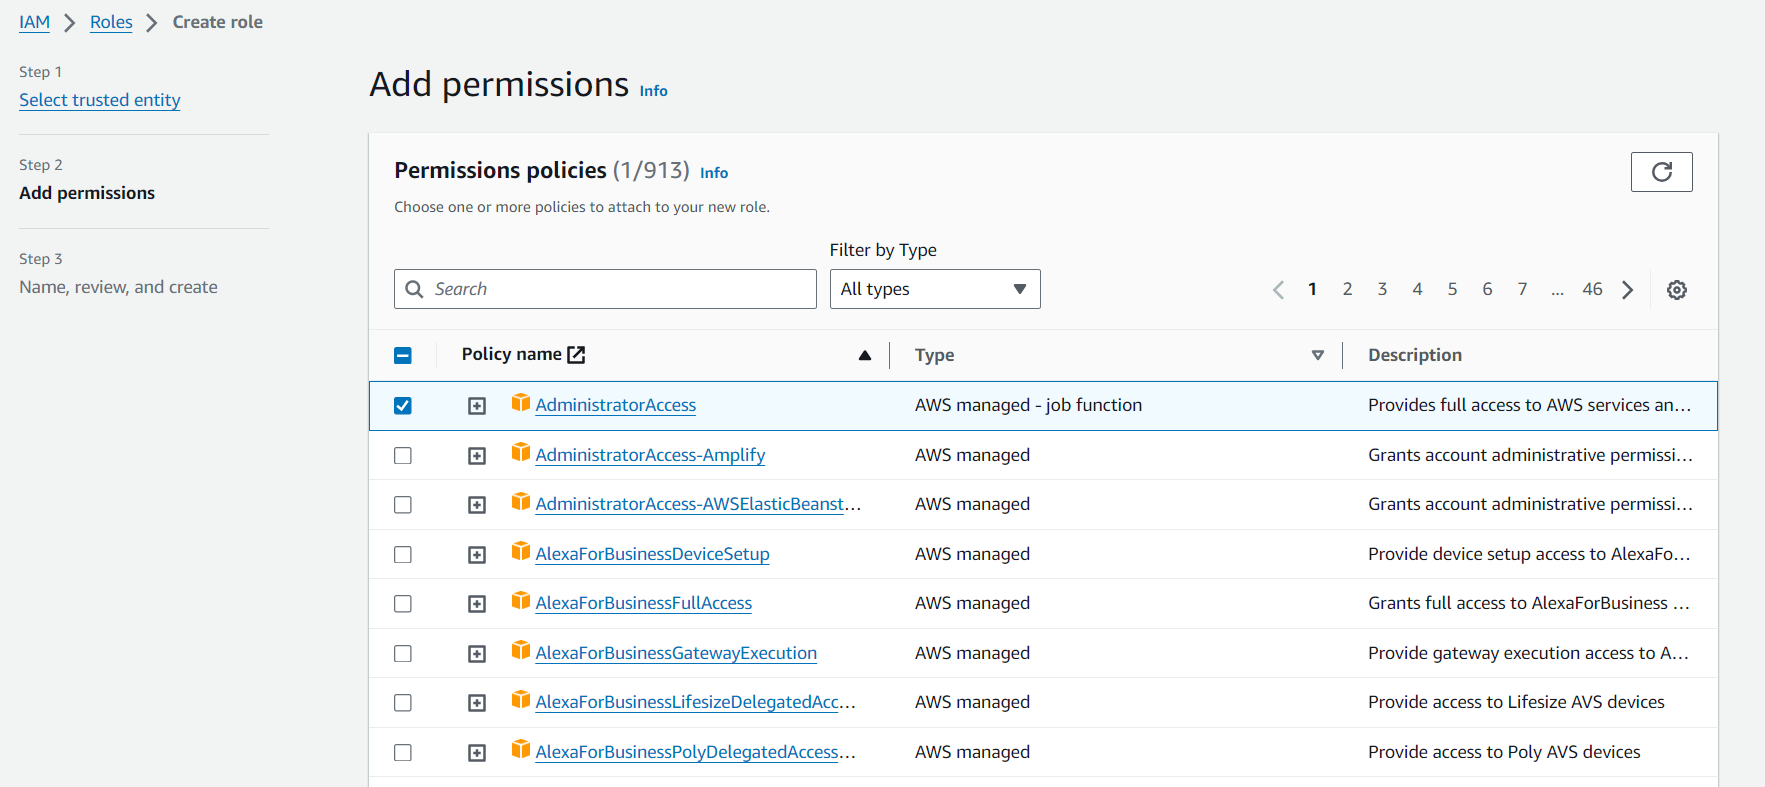
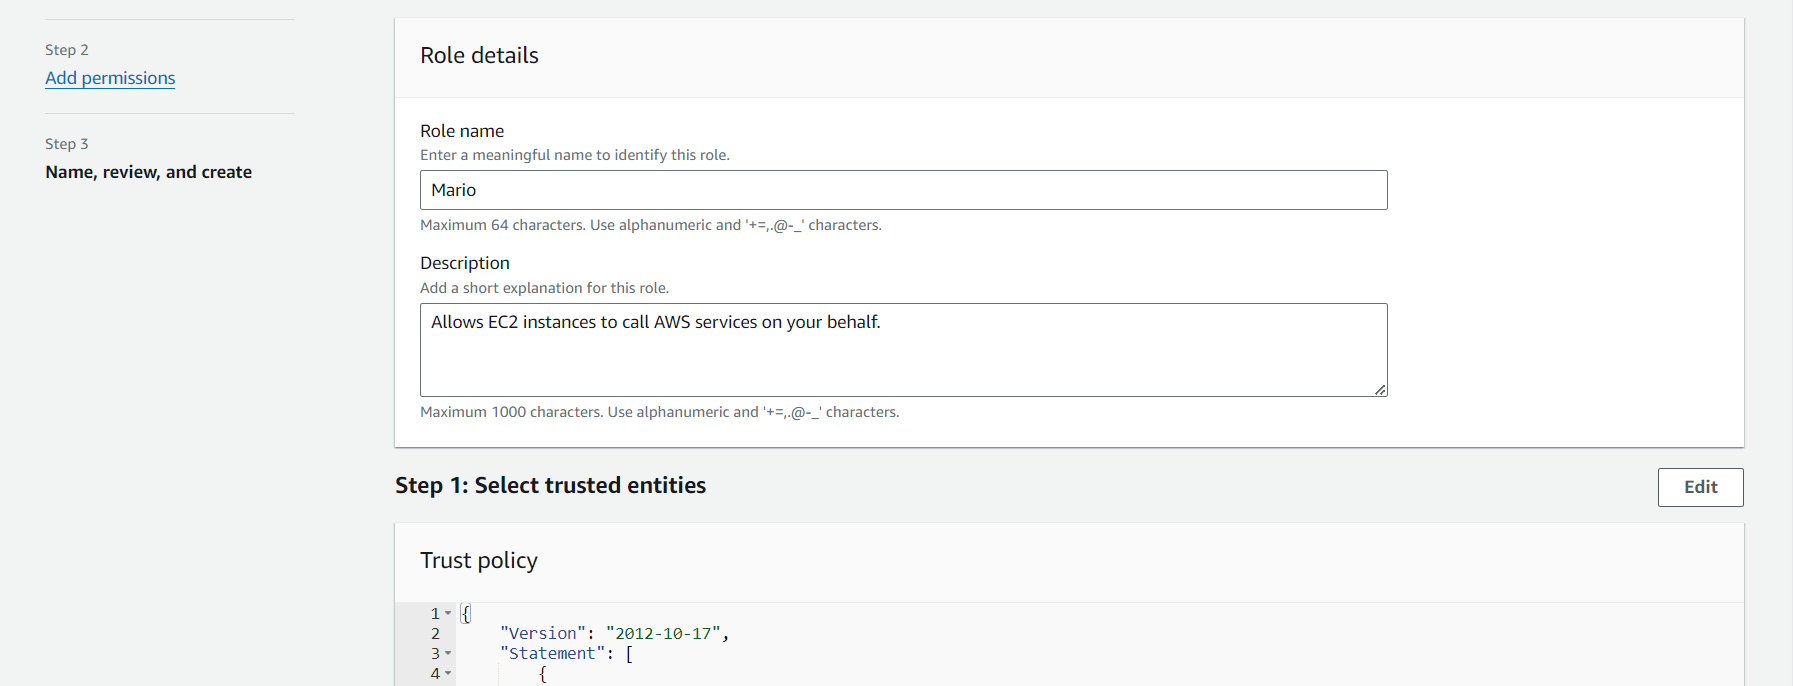
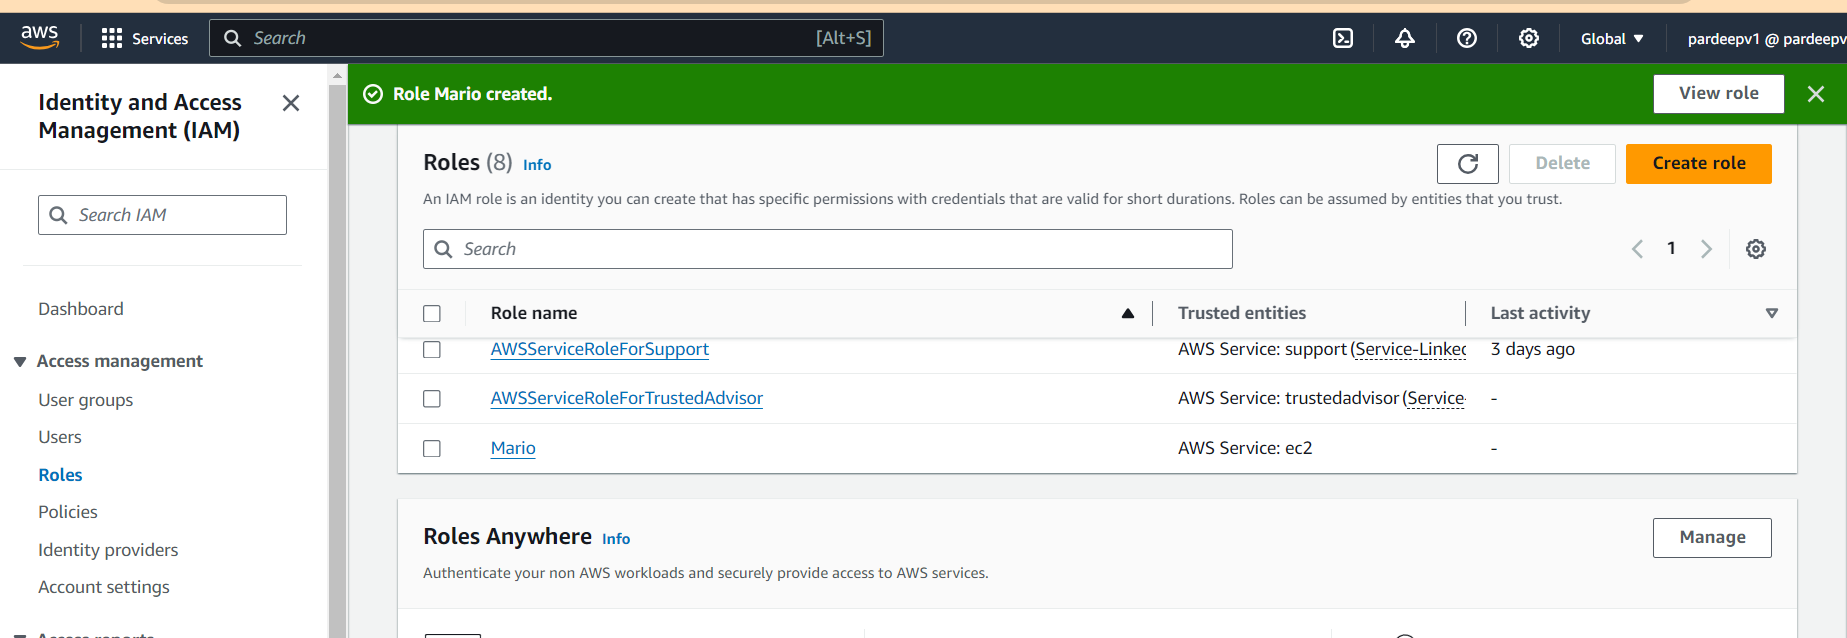
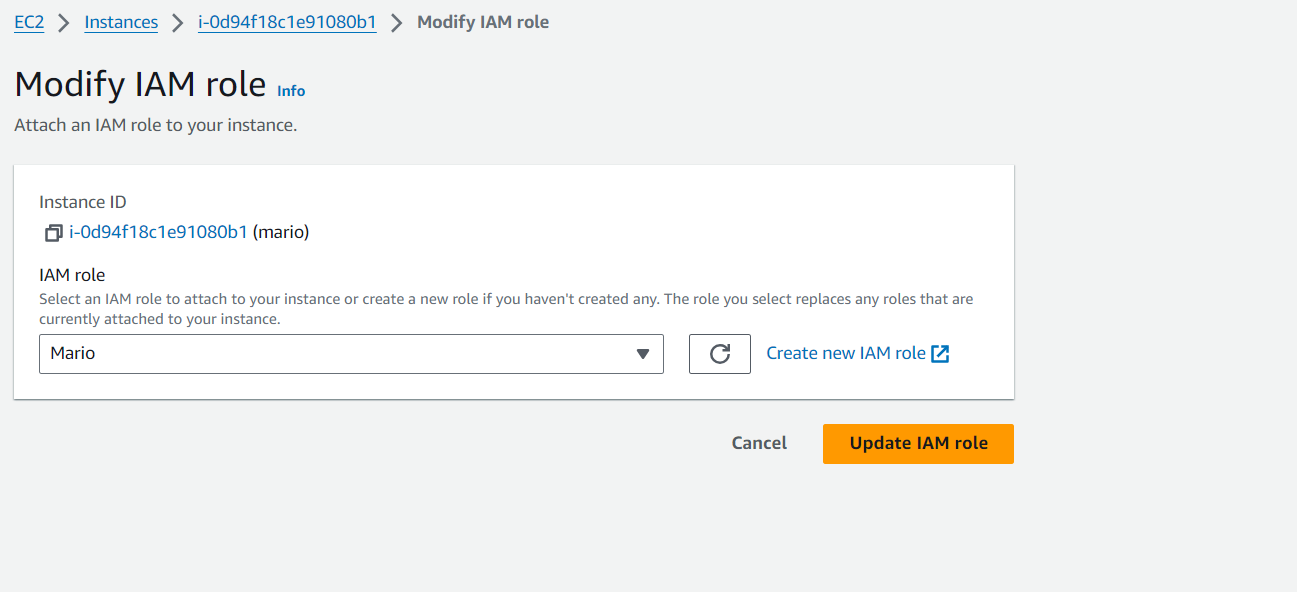
STEP 2: Create Iam role
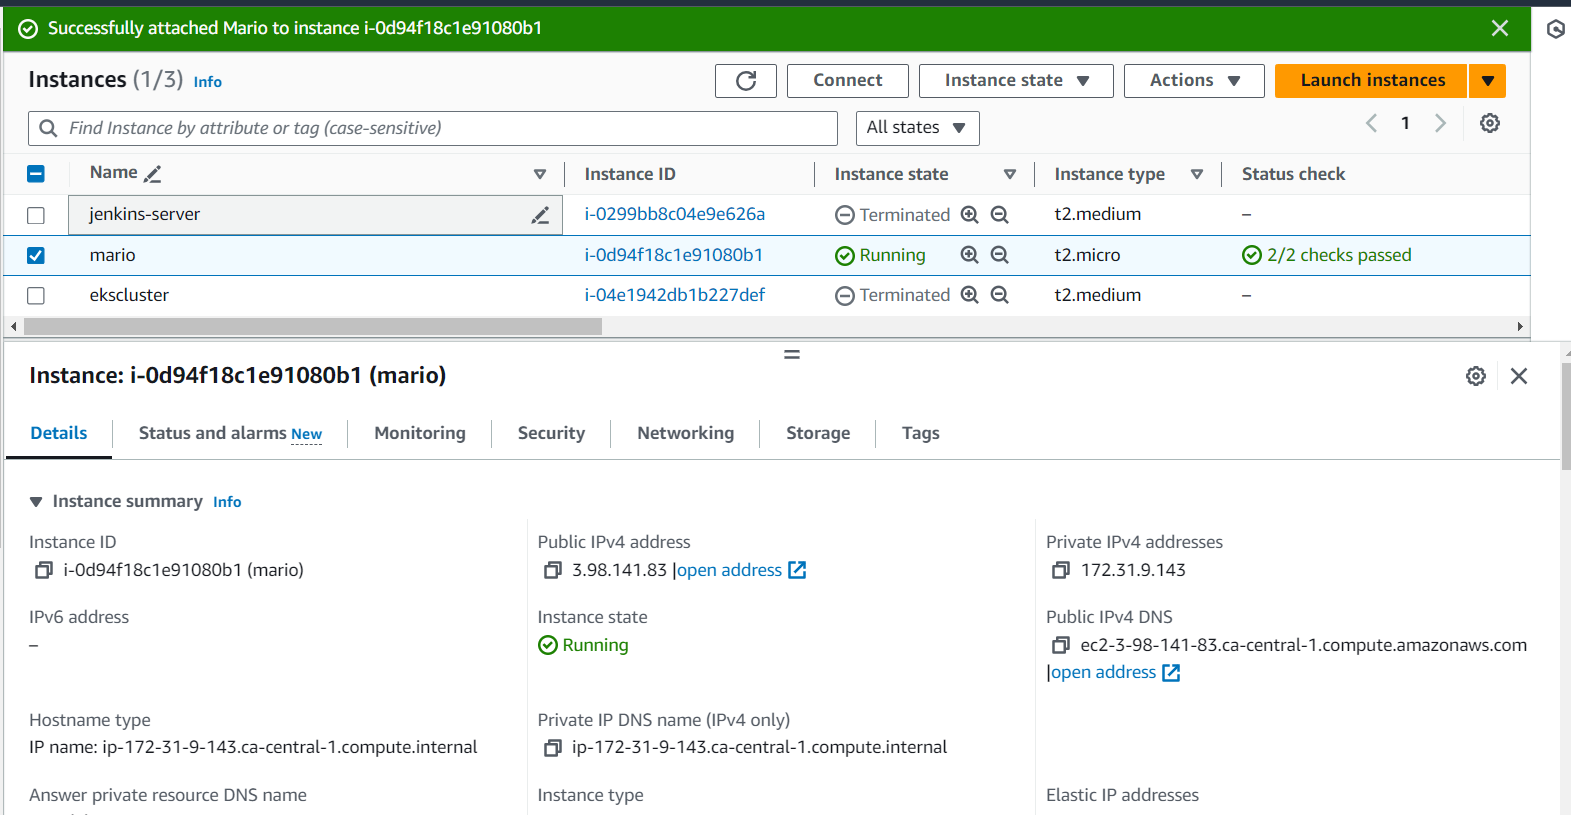
Create an IAM role with admintration access (but always follow leat previlliges) and attach it to ec2 instance.
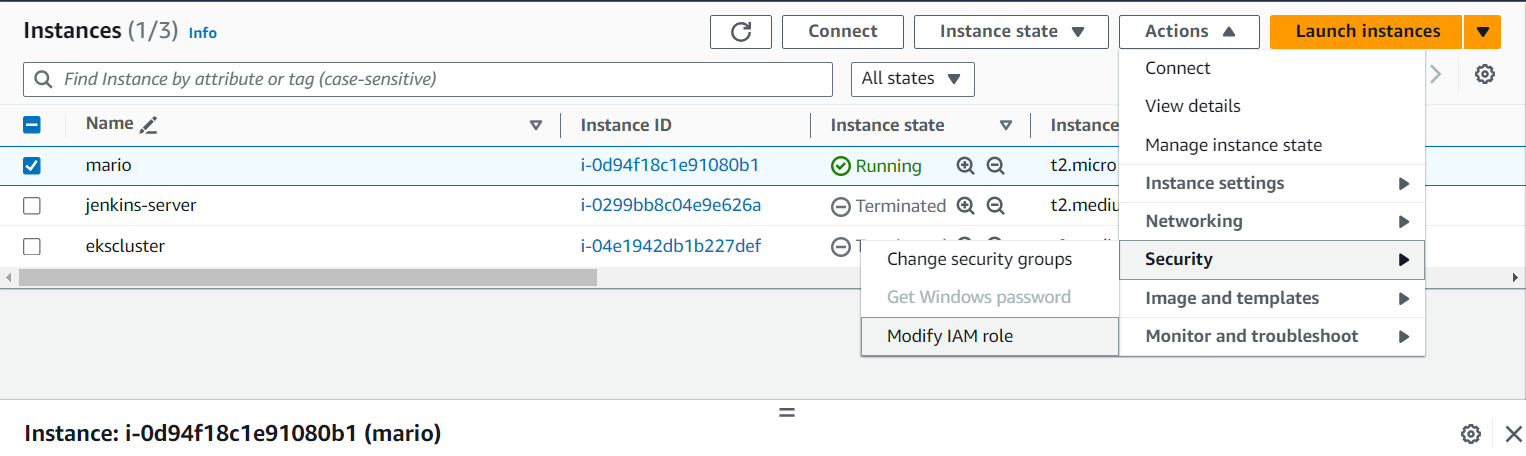
Select the instance -> go to connect->ssh client
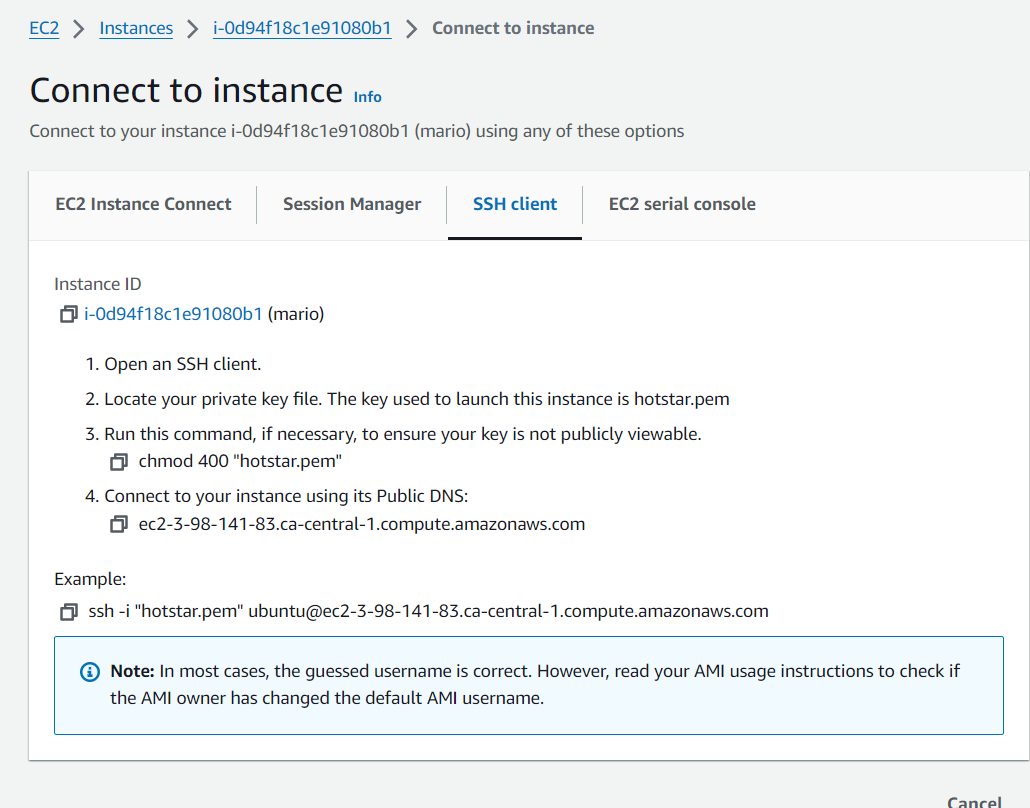
copy the ssh connect command and -> go to terminal paste it and connect to ec2 insatnce through terminal.
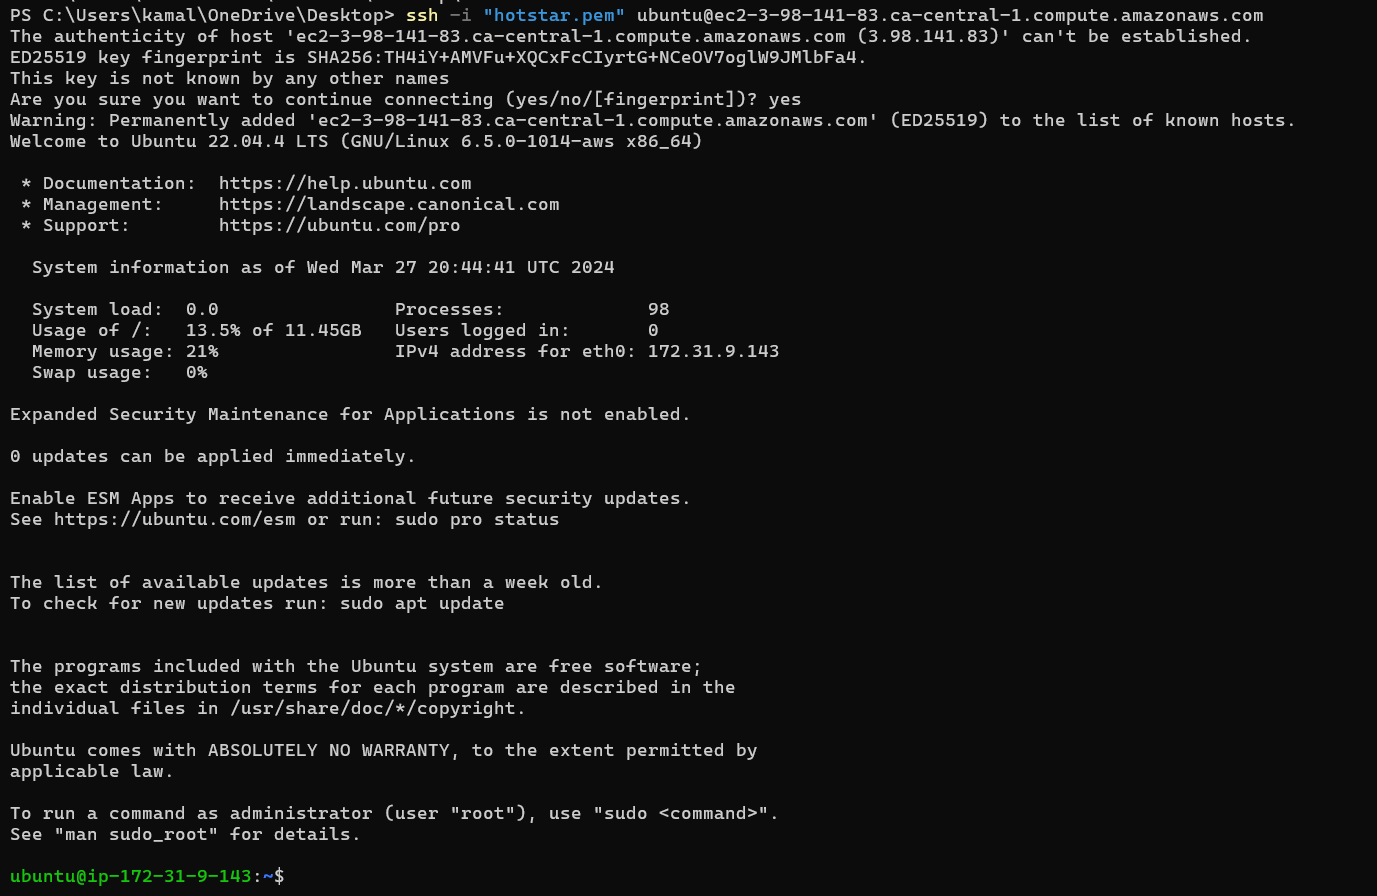
sudo apt update
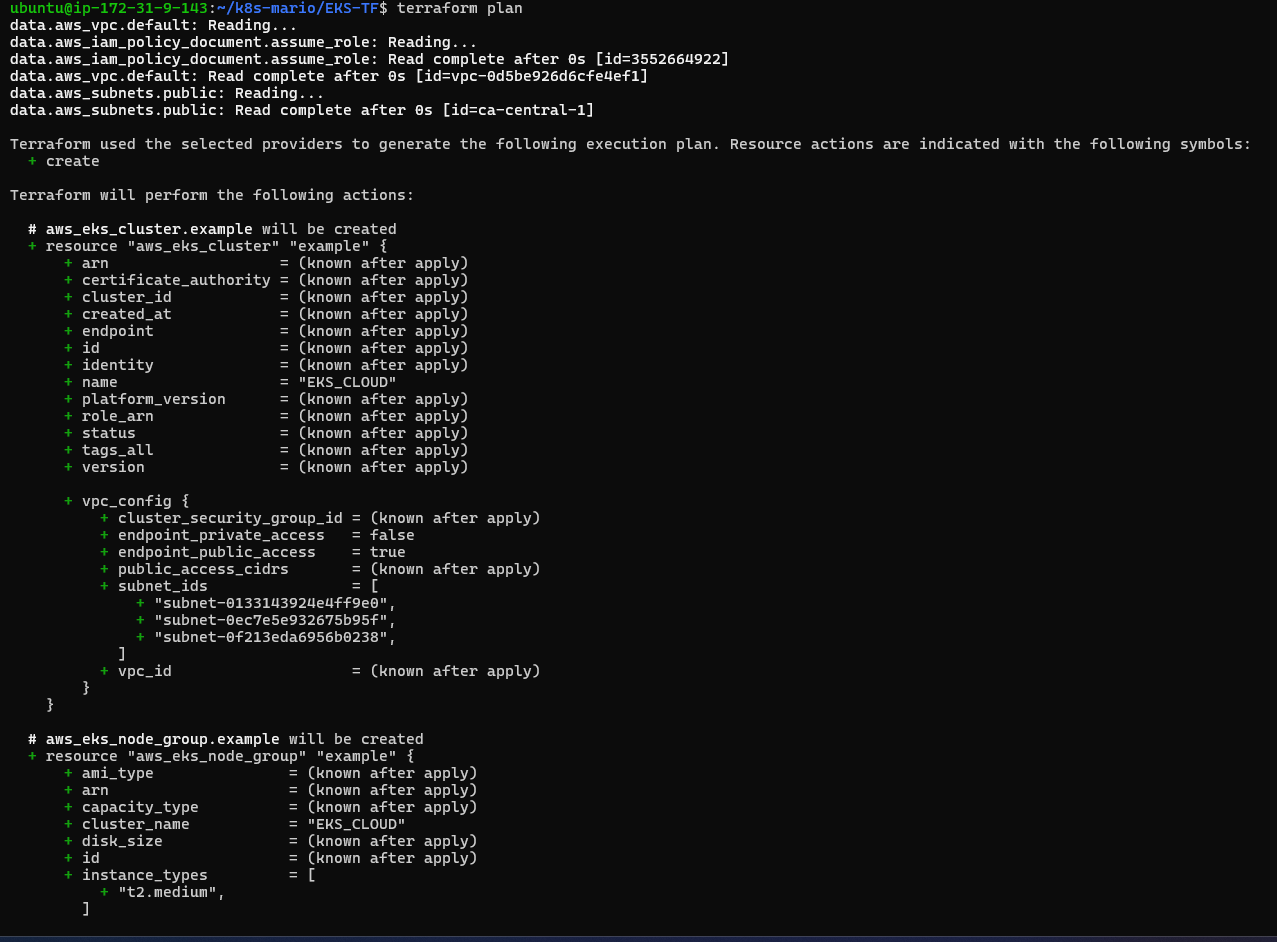
STEP 3: EkS Cluster Provision
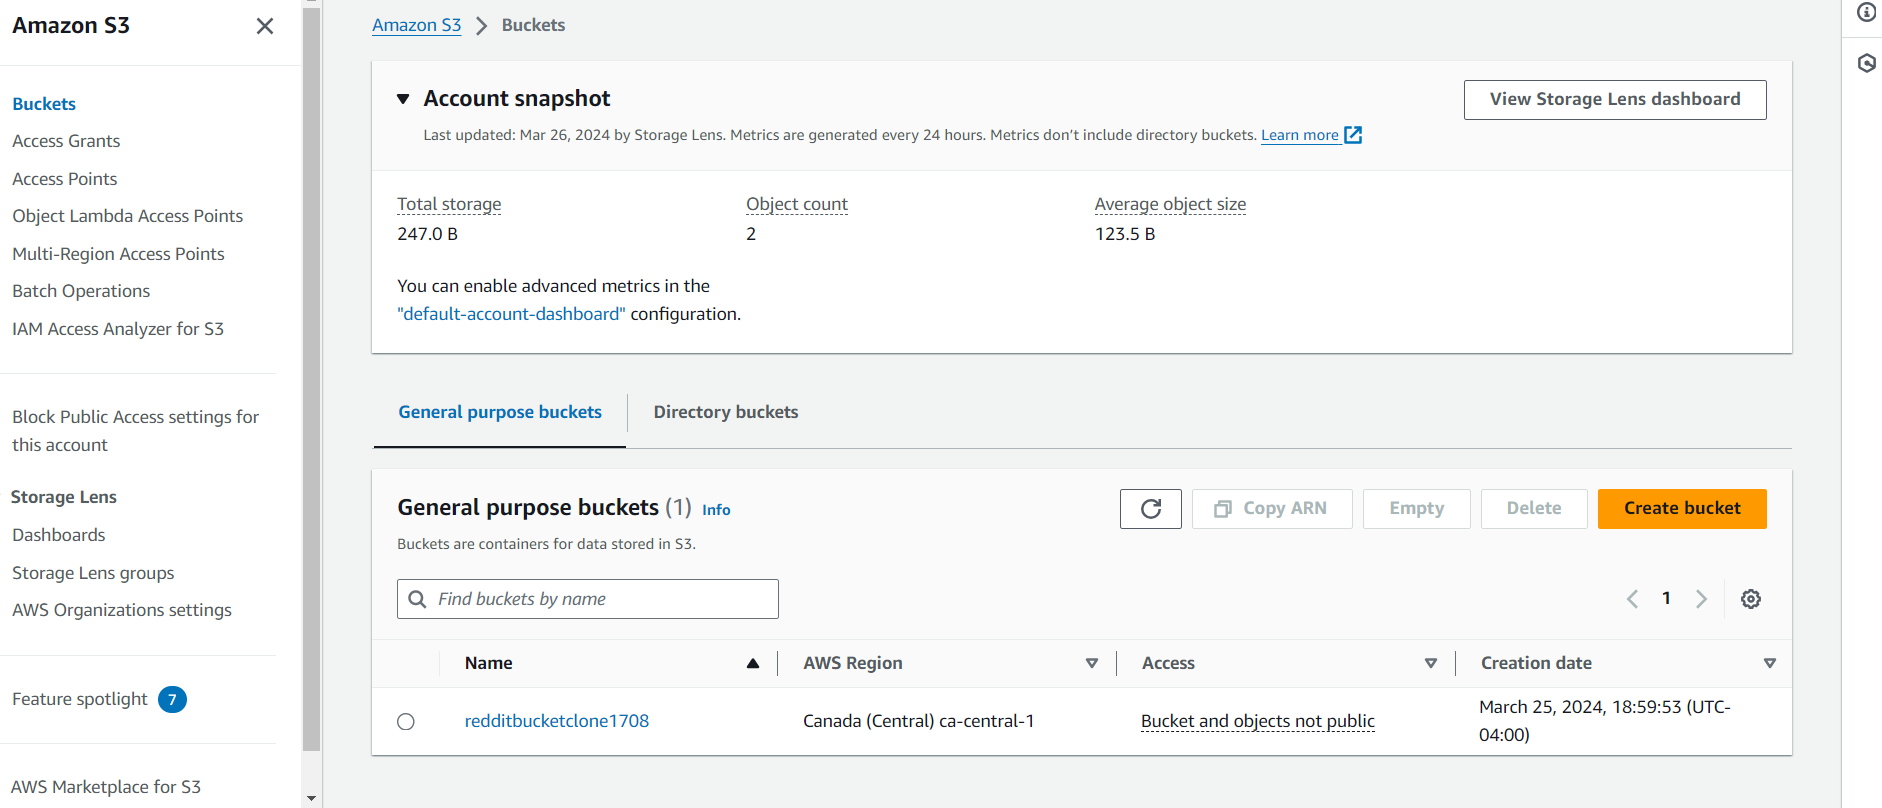
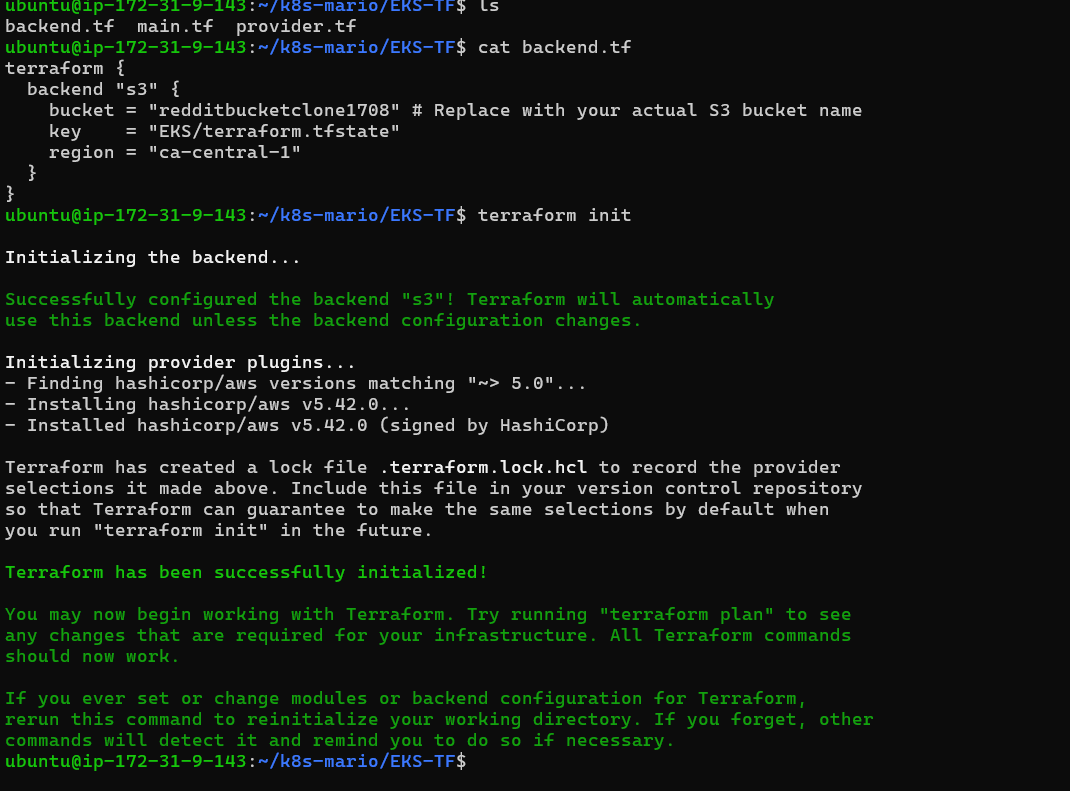
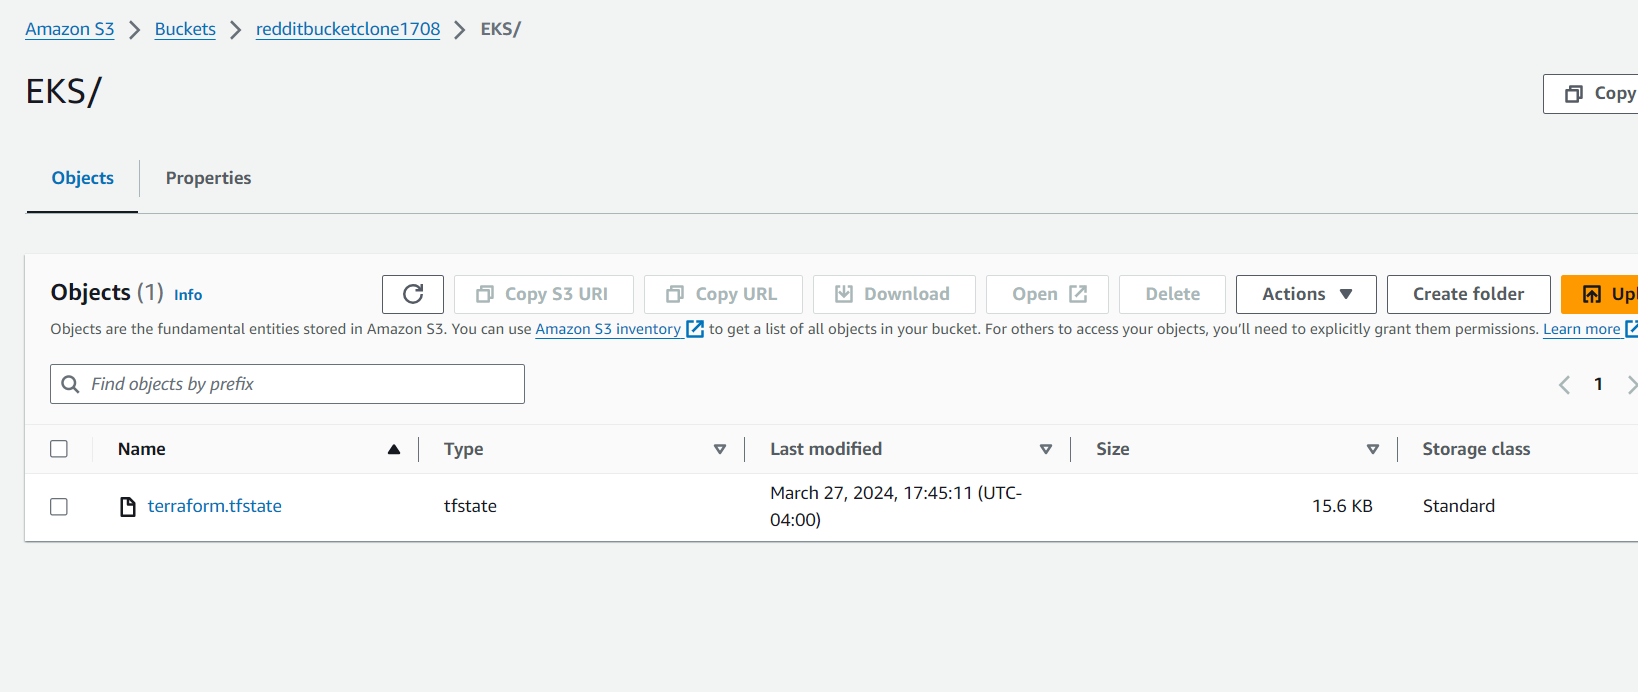
First create a s3 bucket for storing terraform state files as backend. (rest code is given in repo, make sure to change the name of bucket and region in backend.tf and chnage the region in provider.tf)
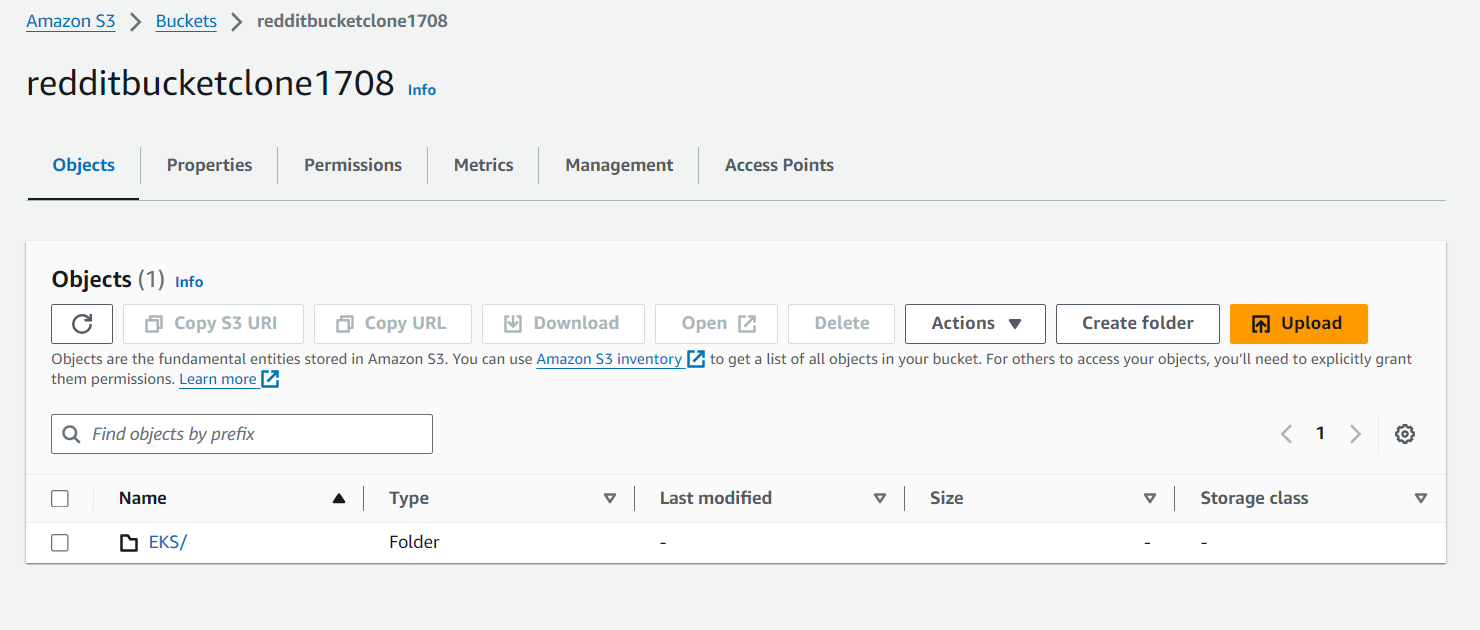
Now create a folder in that bucket:
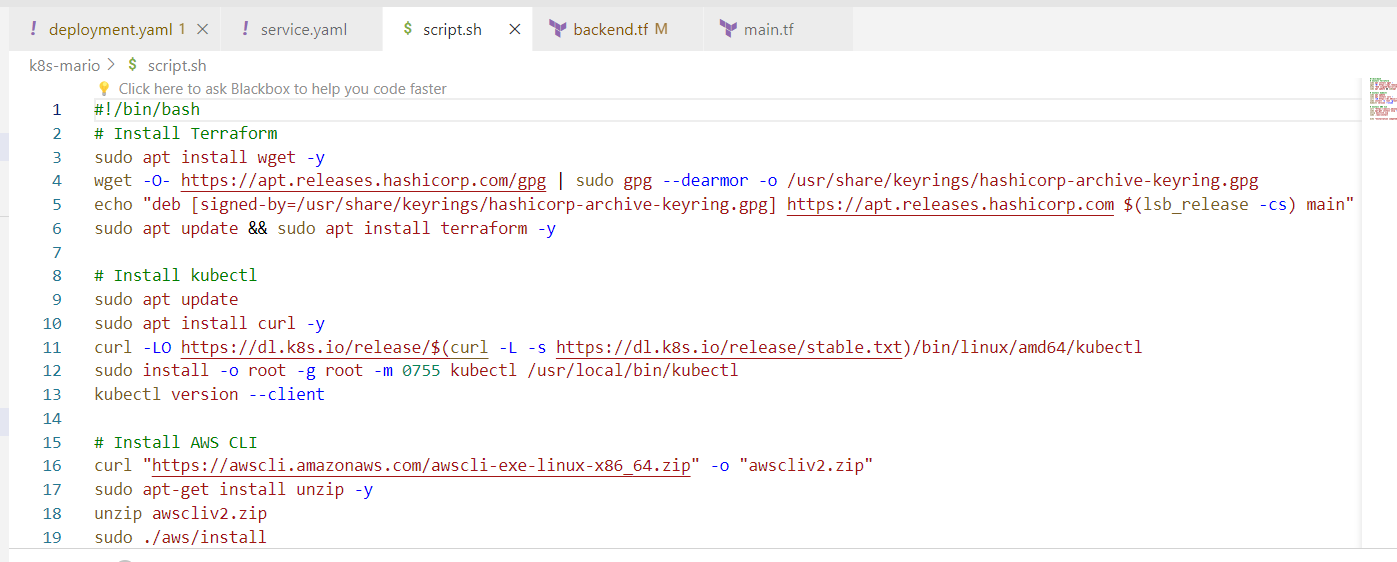
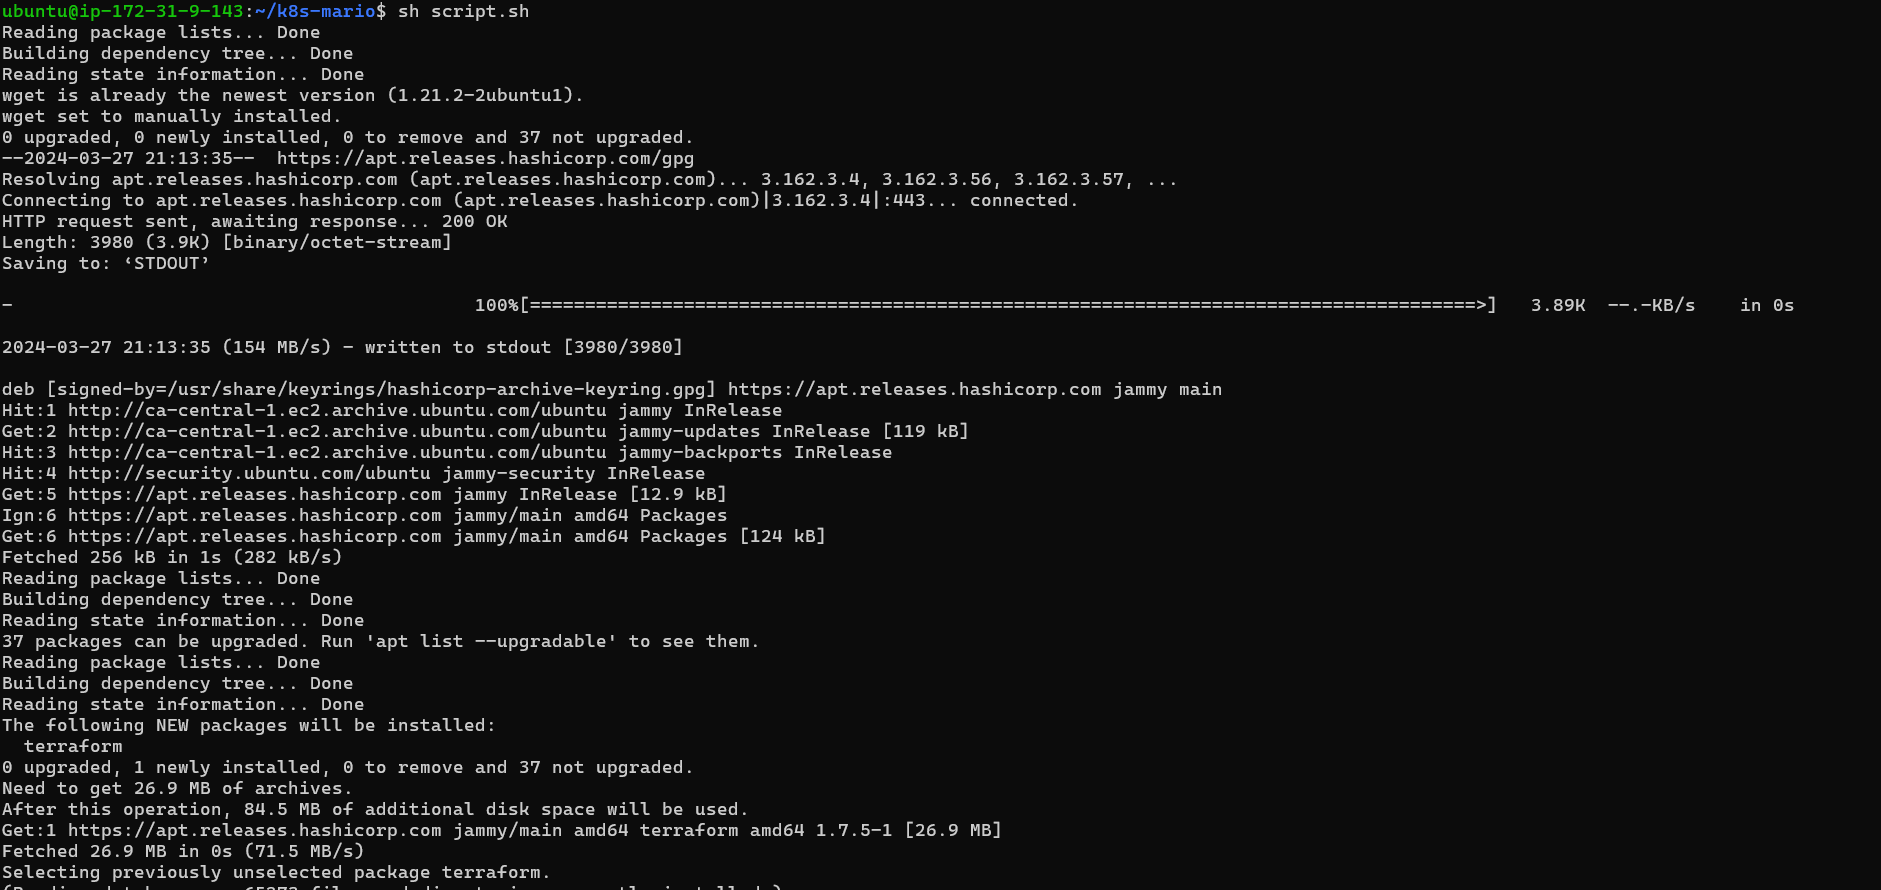
Create a script.sh file and install terrafom , kubectl, aws cli
change the permission of script.sh file
sudo chmod 777 script.sh


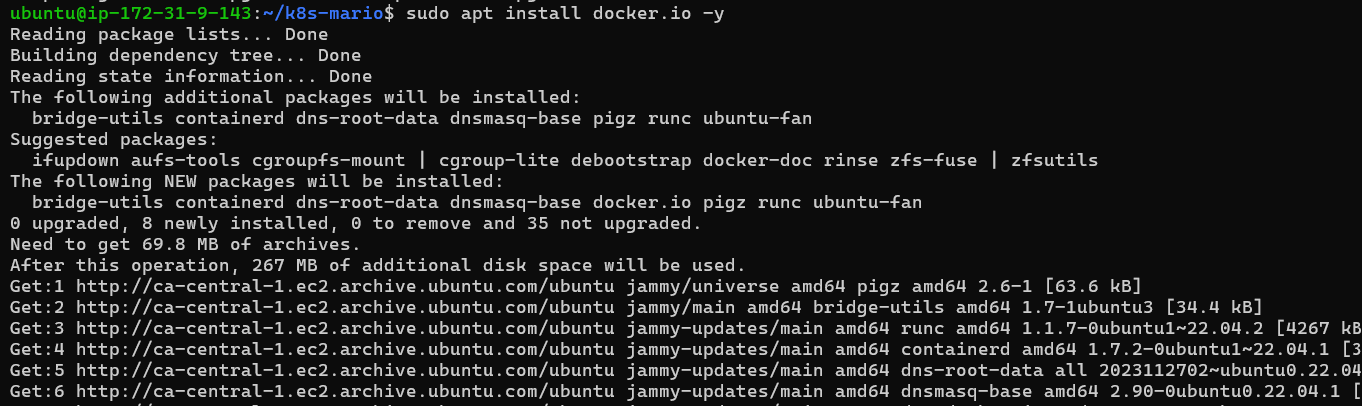
Install docker :
sudo apt update
sudo apt install docker.io
sudo chown $USER /var/run/docker.sock

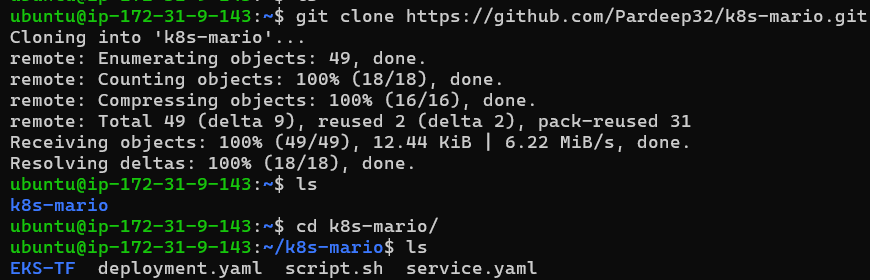
clone the repo: git clone https://github.com/Pardeep32/k8s-mario.git
terraform init
terraform validate

terraform plan

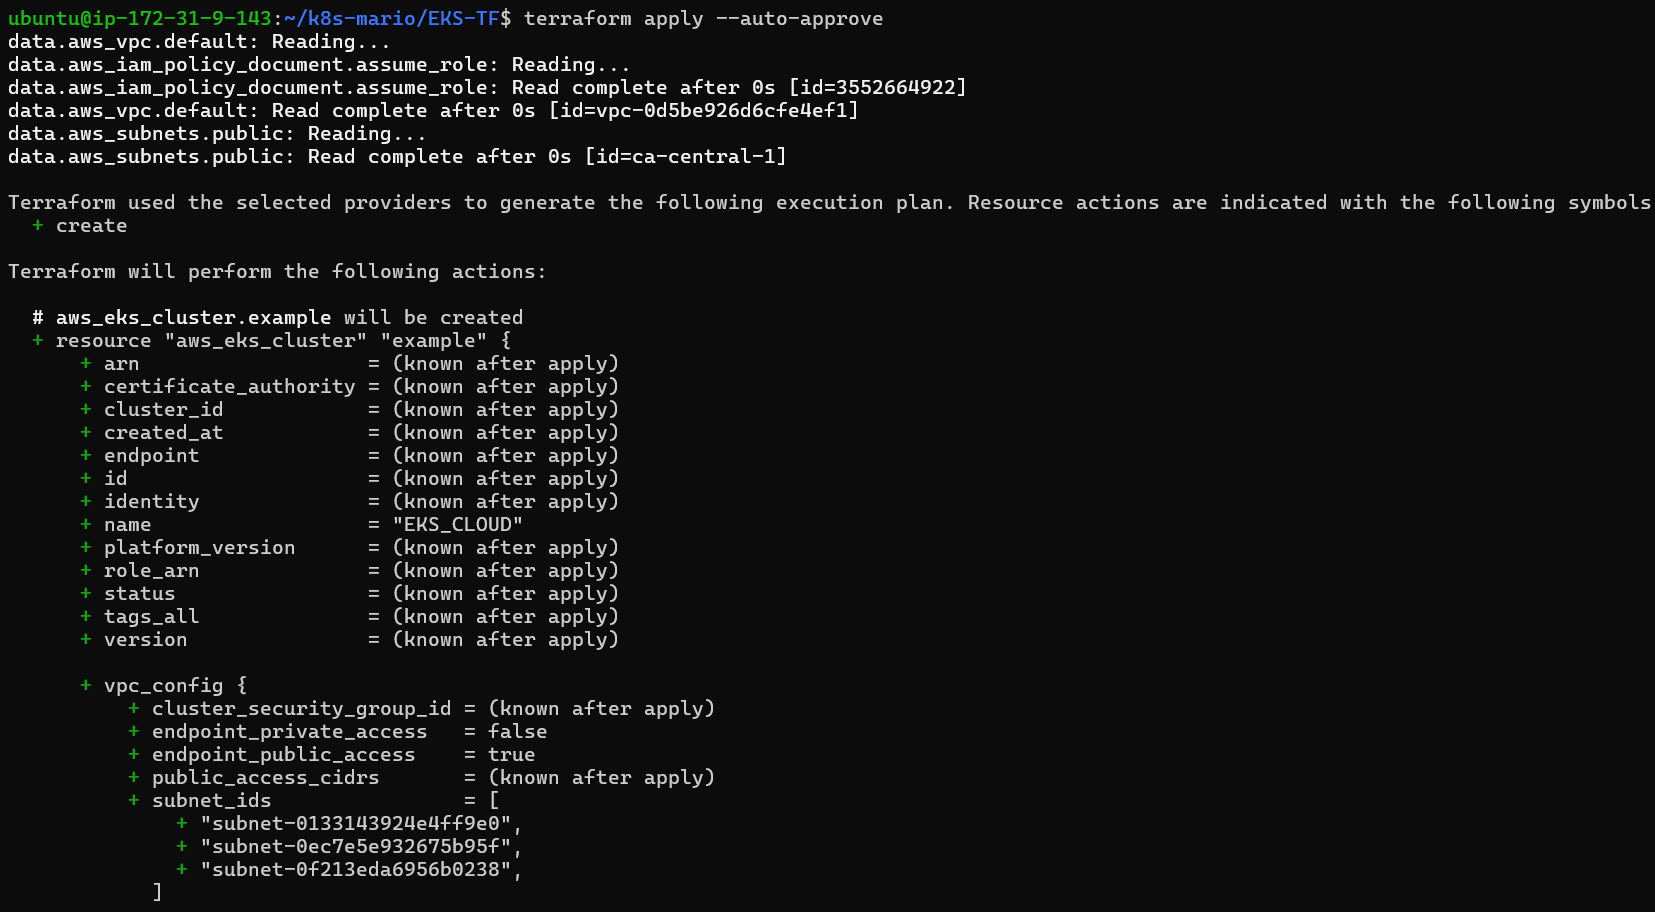
terraform apply --auto-approve
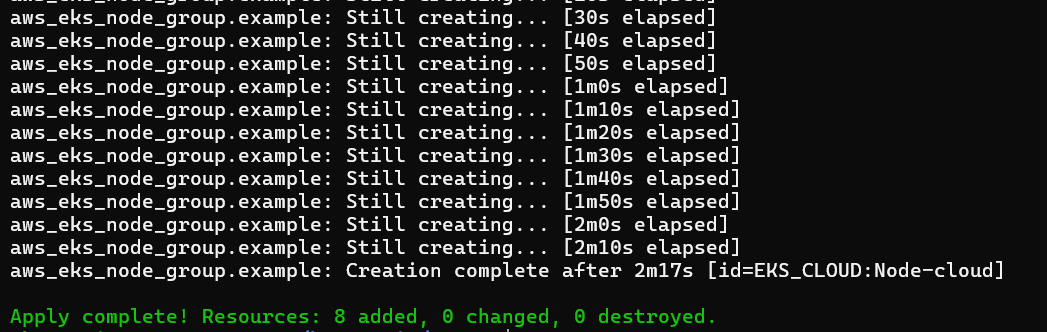
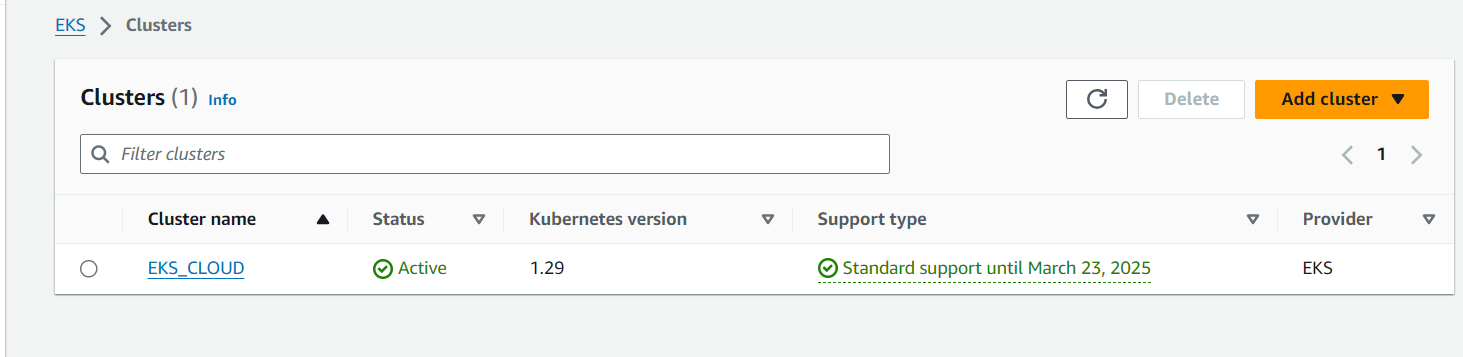
EKS cluster - EKS_CLOUD is created
EKS cluster with node group
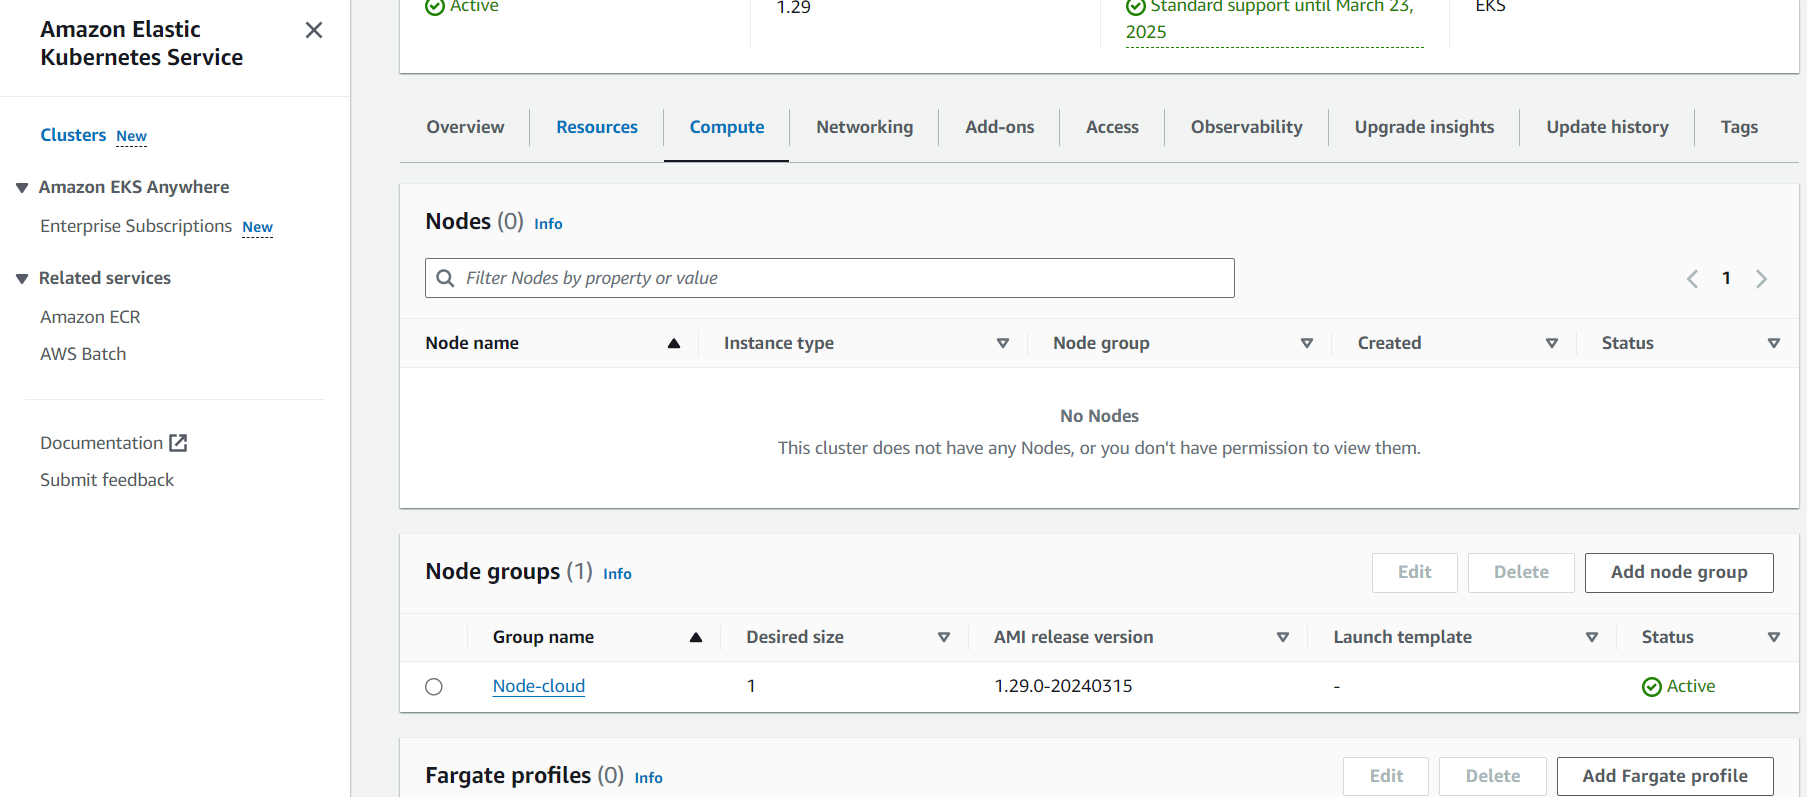
1 instance of t2.medium is created which is part of cluster.
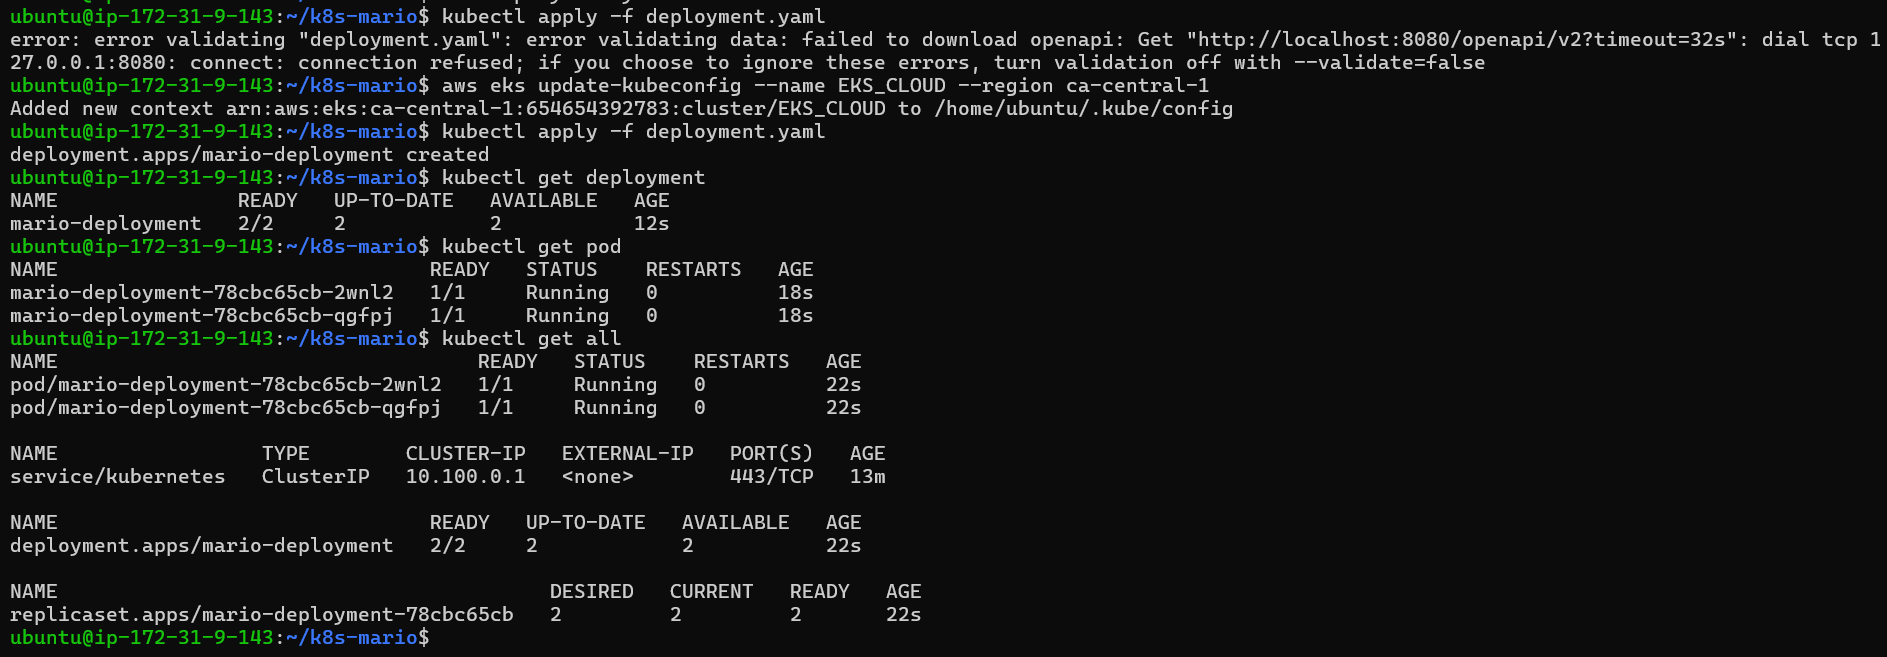
Update the Kubernetes configuration
Make sure change your desired region
aws eks update-kubeconfig --name EKS_CLOUD --region ca-central-1
Now change directory back to k8s-mario
cd ..
Let’s apply the deployment and service
Deployment
kubectl apply -f deployment.yaml
#to check the deployment
kubectl get all
kubectl apply -f service.yaml
kubectl get svc

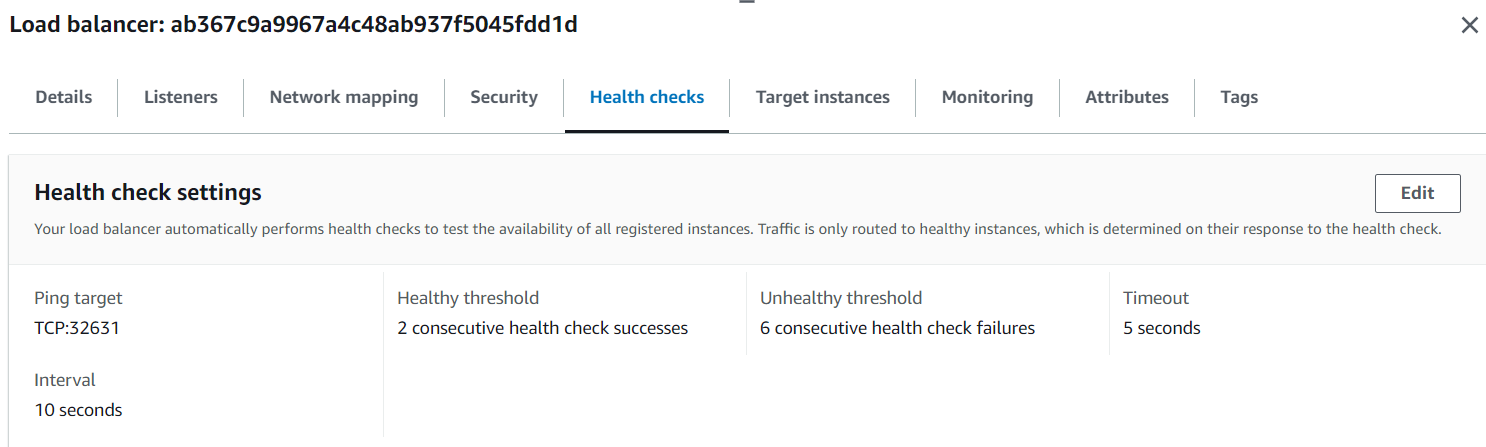
It will create a load balancer
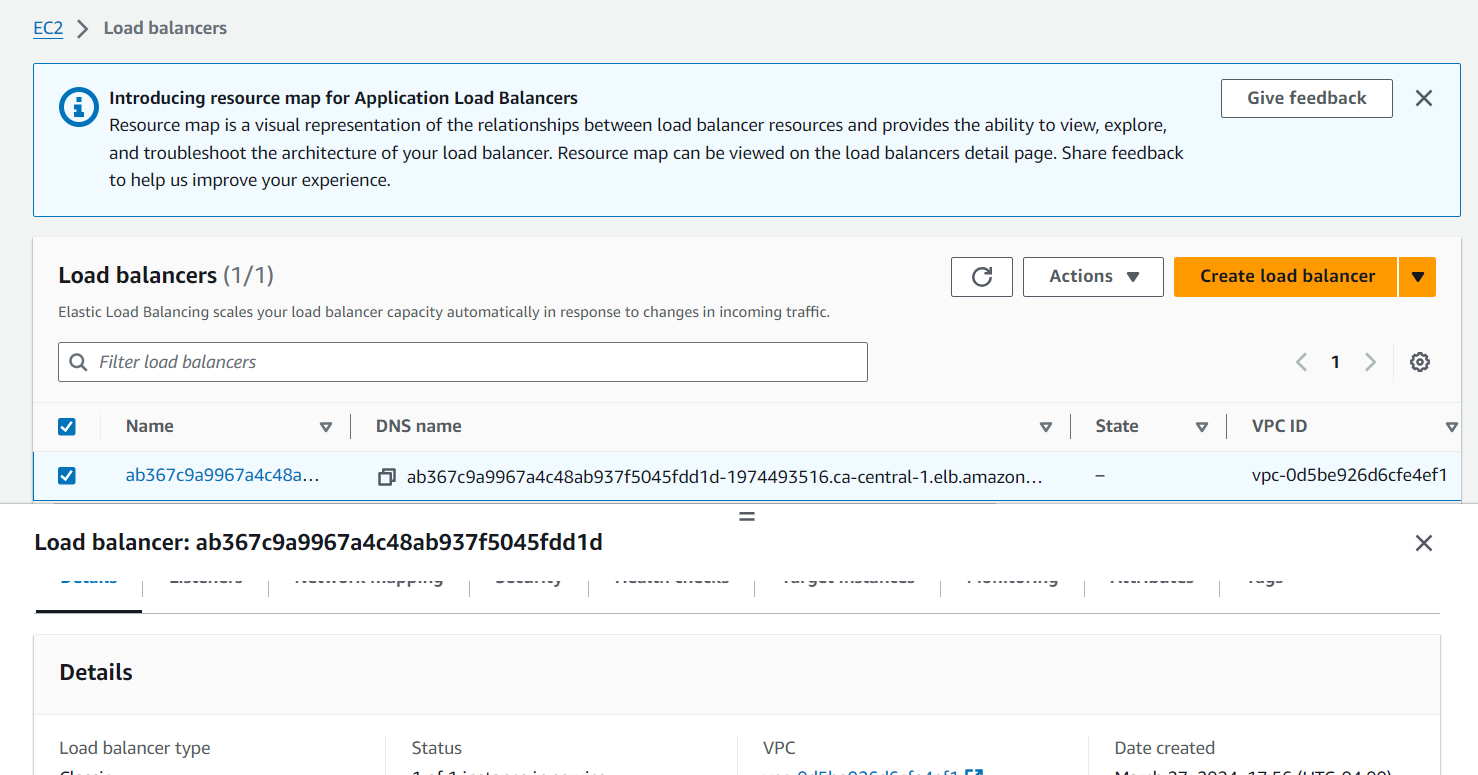
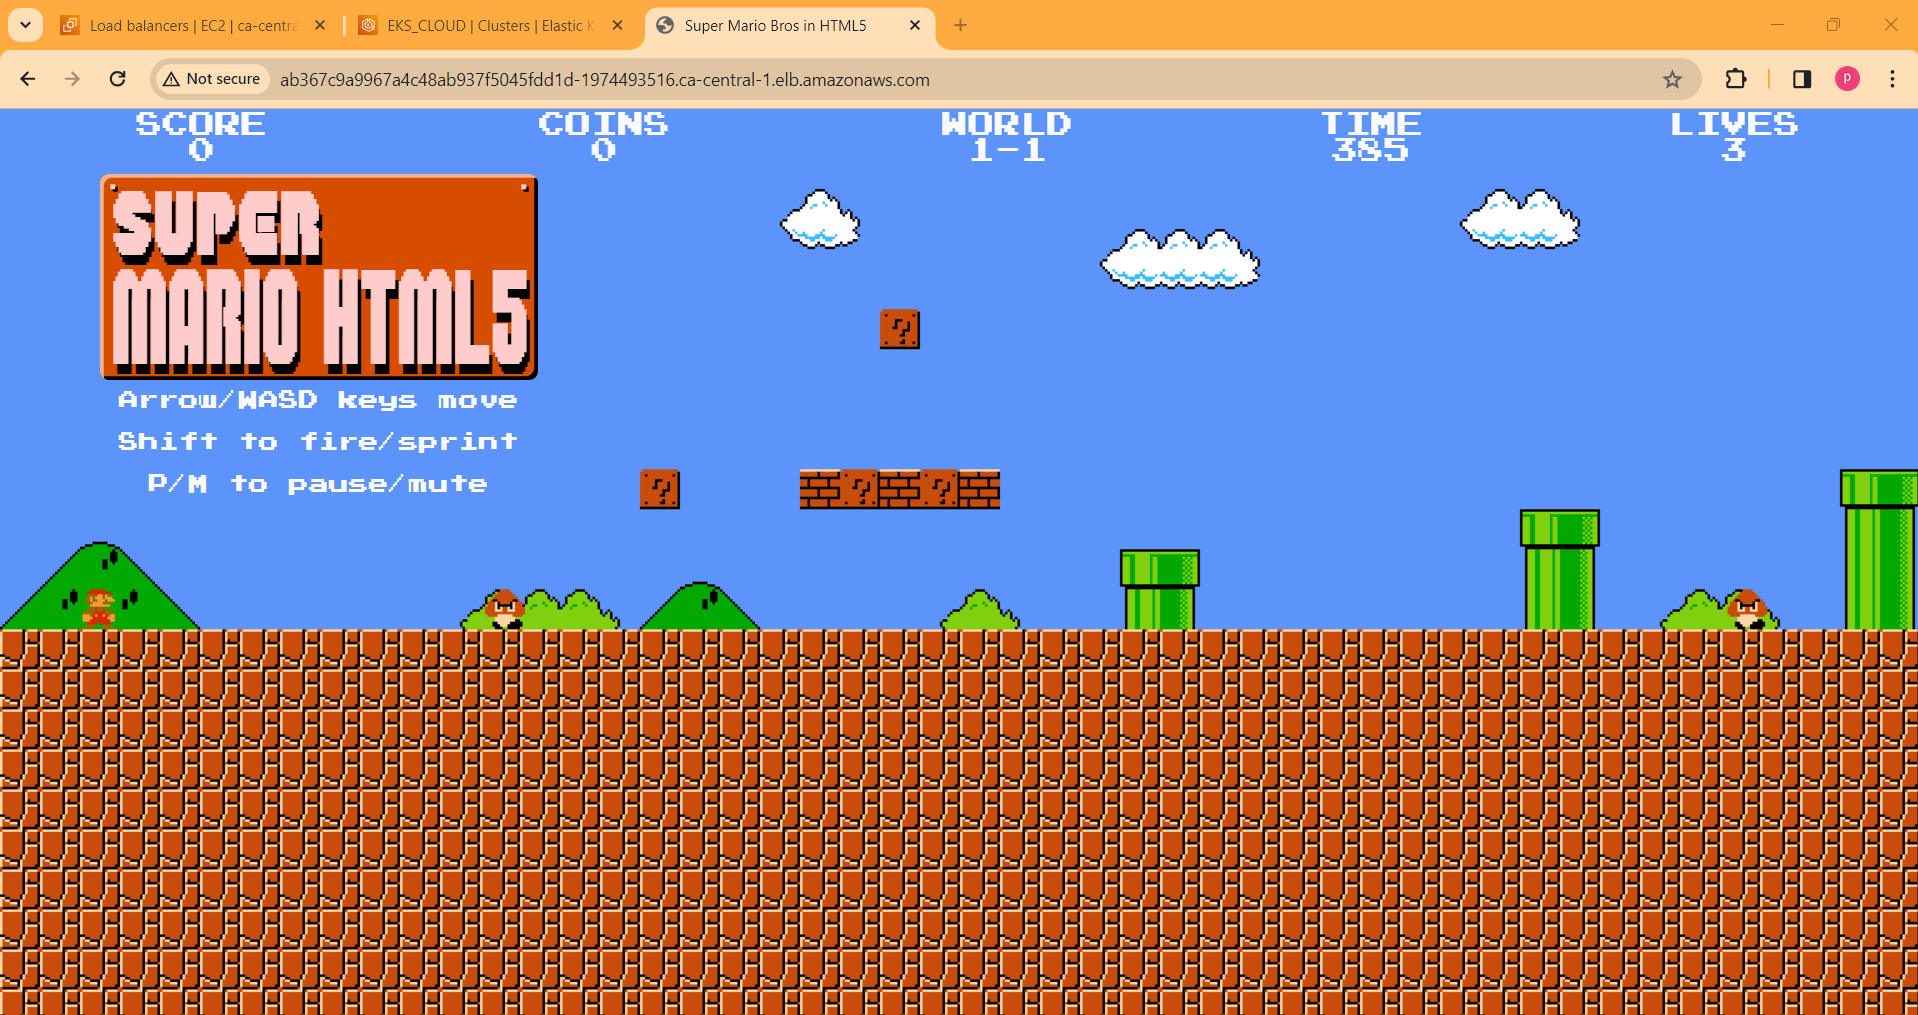
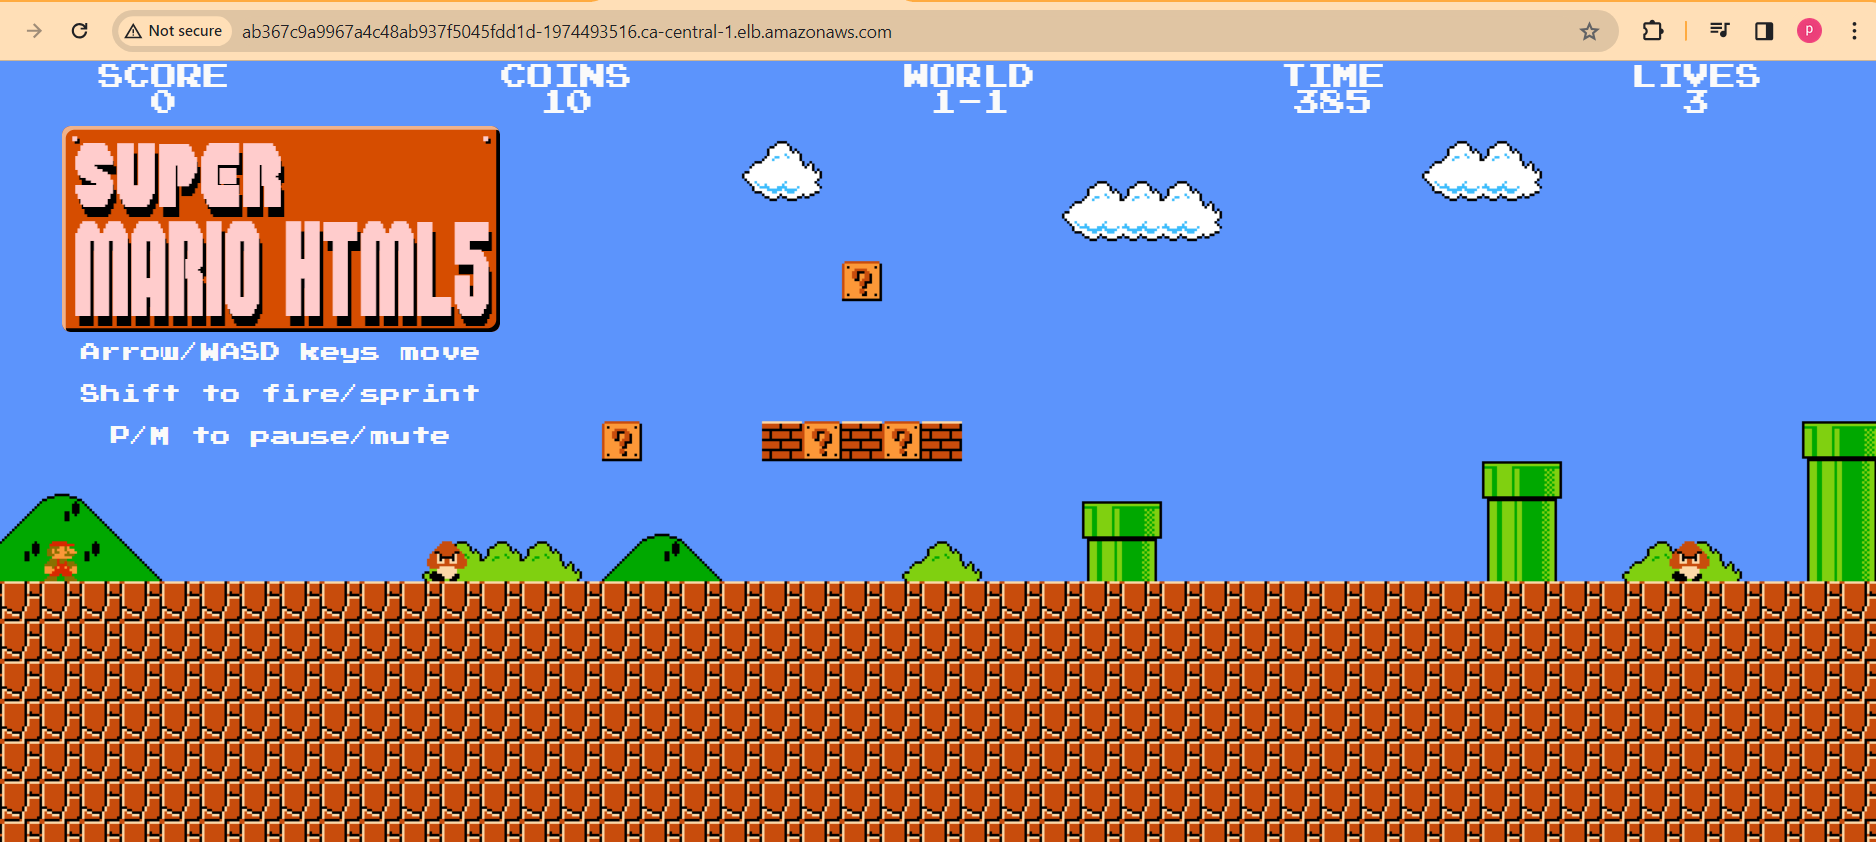
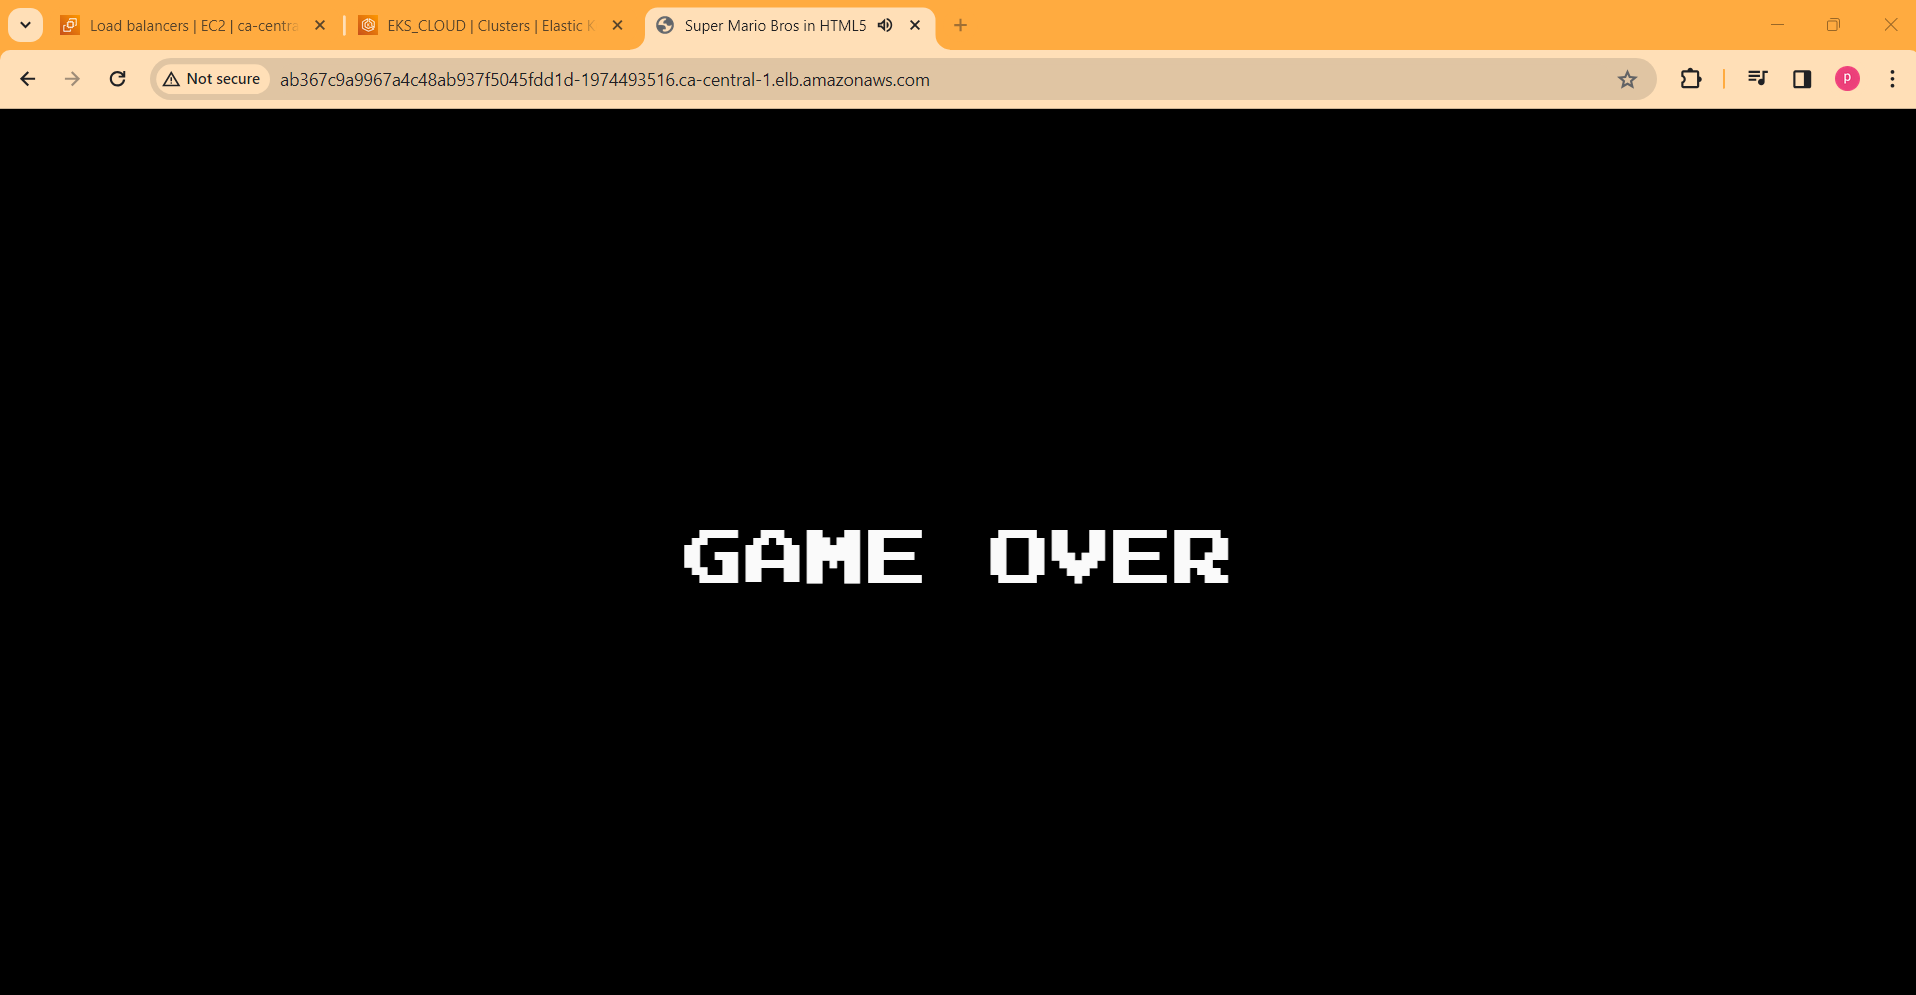
Copy the DNS name of LB and paste in new browser:
Destruction :
Let’s remove the service and deployment first
kubectl get all
kubectl delete service mario-service
kubectl delete deployment mario-deployment

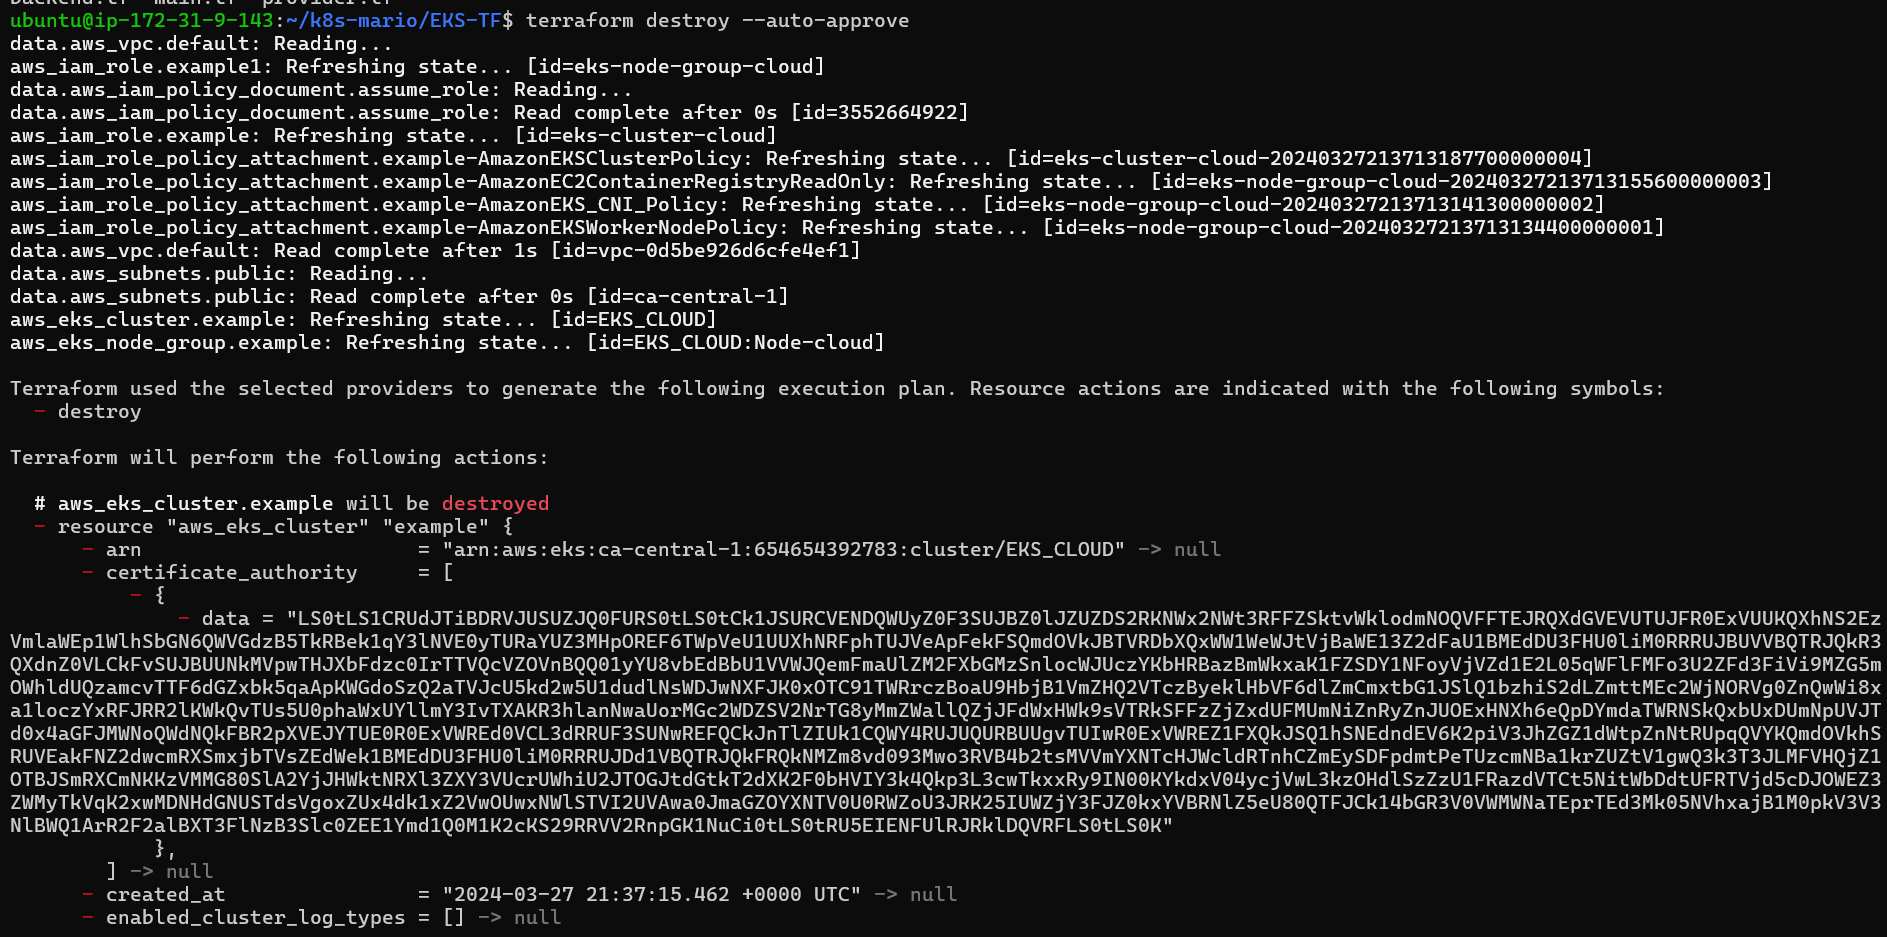
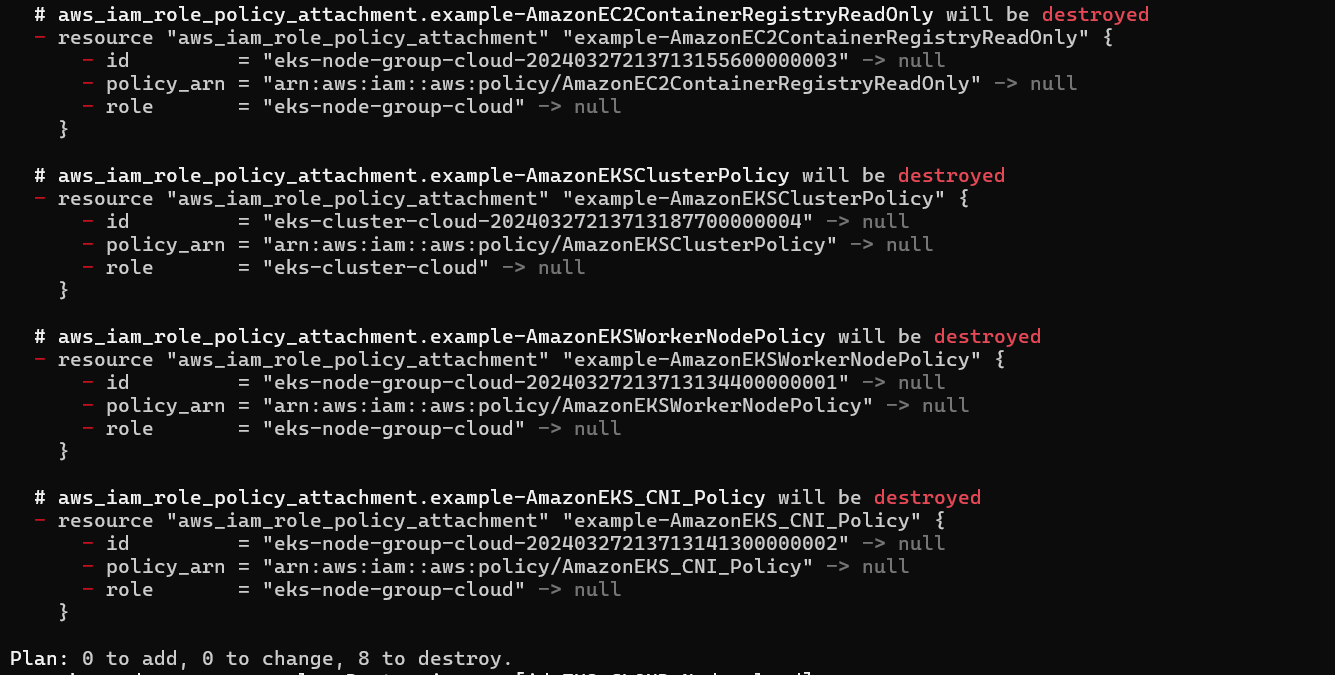
Let’s Destroy the cluster
terraform destroy --auto-approve

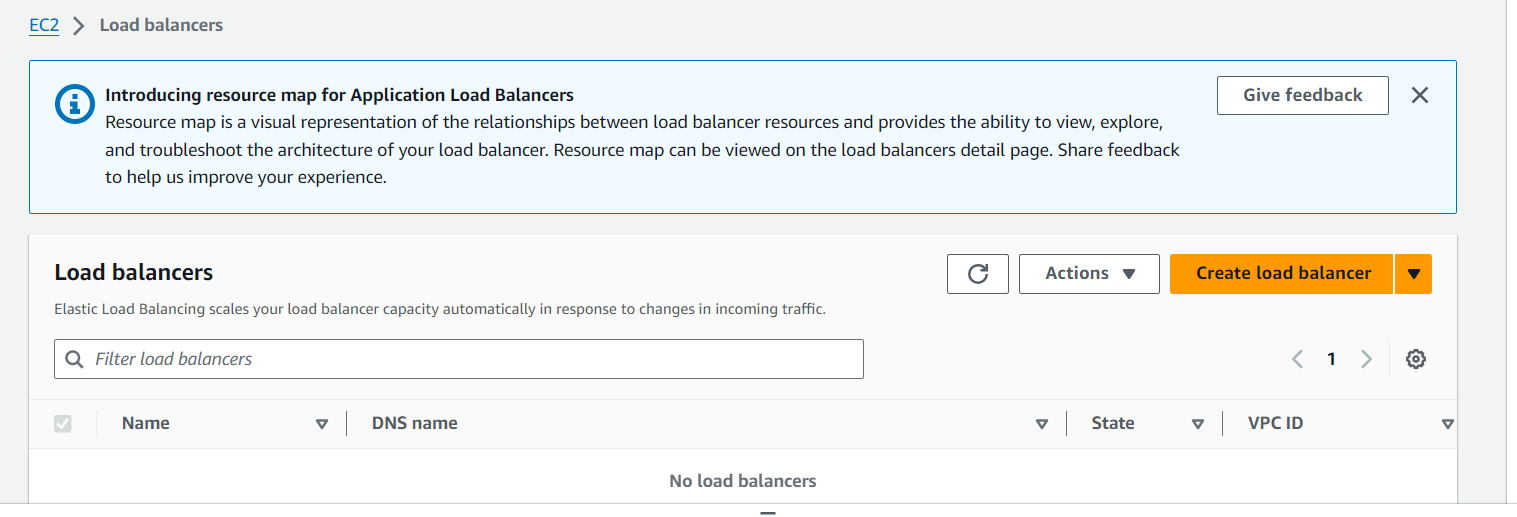
Cluster is deleted.
I hope this article helps you. Thank you for reading.
follow me on github: https://github.com/Pardeep32


