Configuring a Static Website On S3 with CloudFront

I am an experienced and dedicated professional with a background in Devops. I have obtained the AWS Solution Architect Associate certification, showcasing my proficiency in cloud computing technologies. Currently, I am pursuing my interest in DevOps, aiming to further expand my knowledge and contribute to the seamless integration of development and operations.
Sign in to the AWS Management Console: Go to the AWS Management Console and sign in to your AWS account.
Navigate to the S3 Service: Once signed in, navigate to the S3 service by typing "S3" in the search bar and selecting it from the dropdown list. Choose your Region.
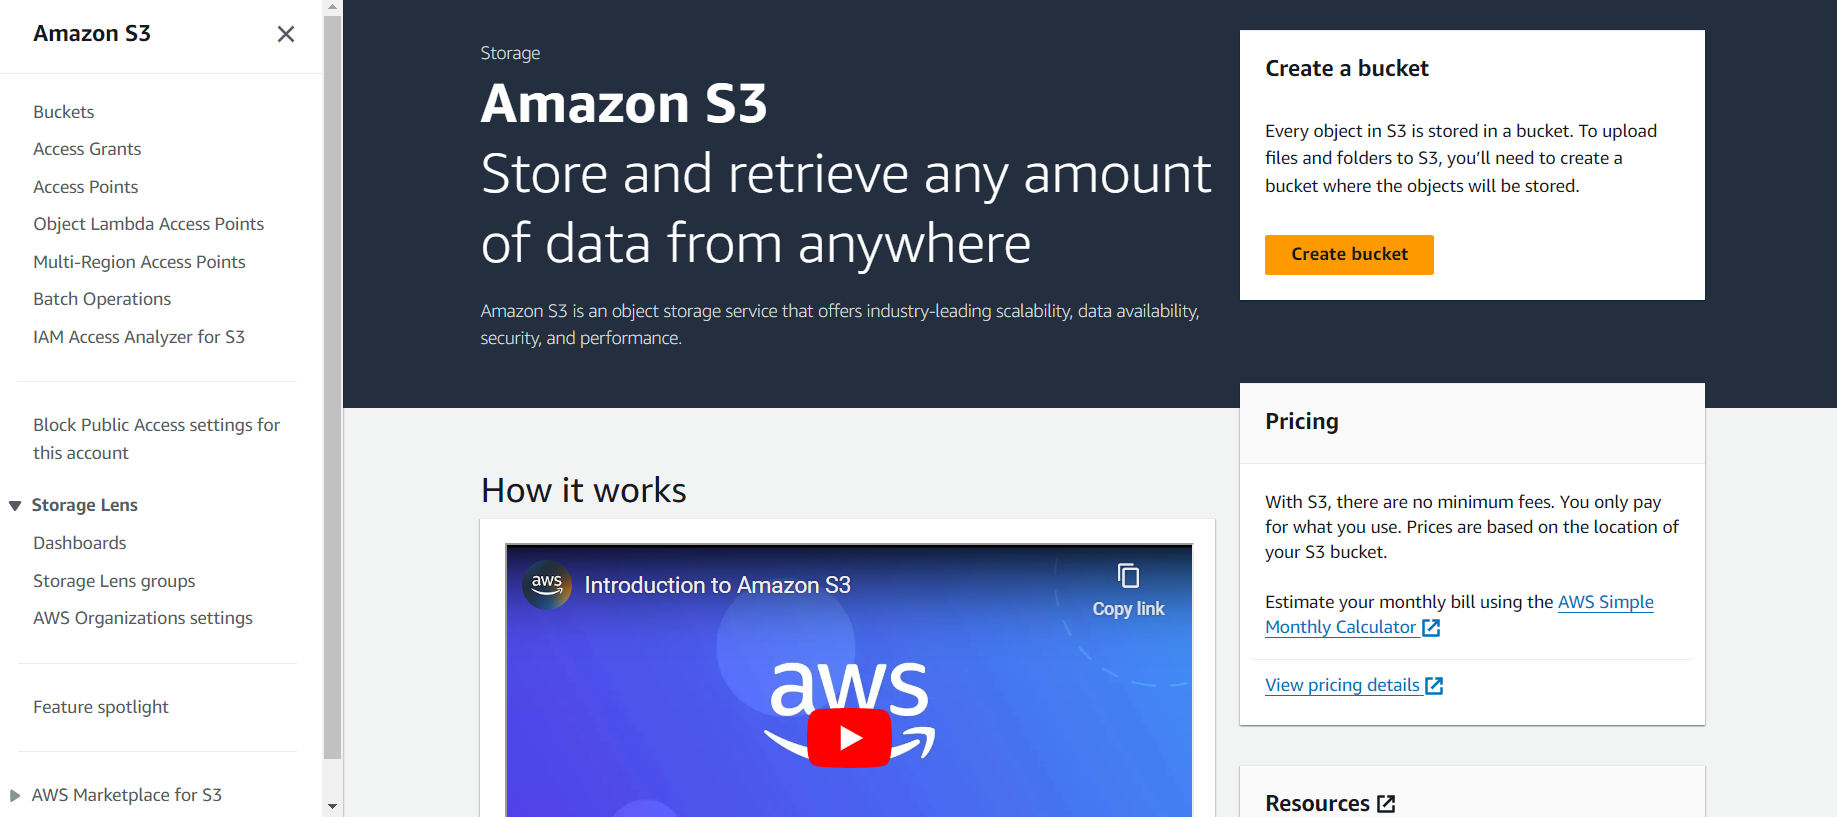
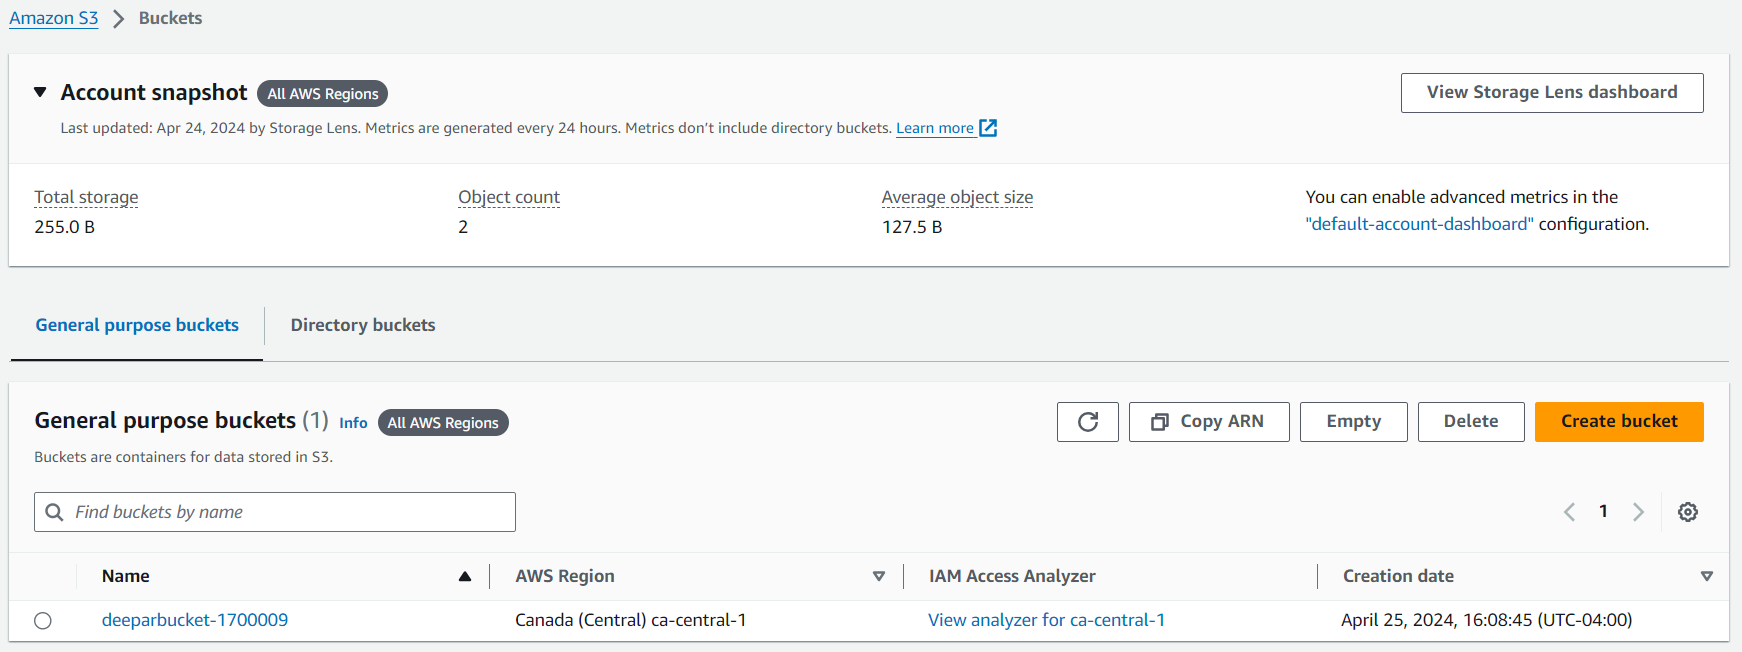
Create a New Bucket: Click on the "Create bucket" button to start the process of creating a new bucket.
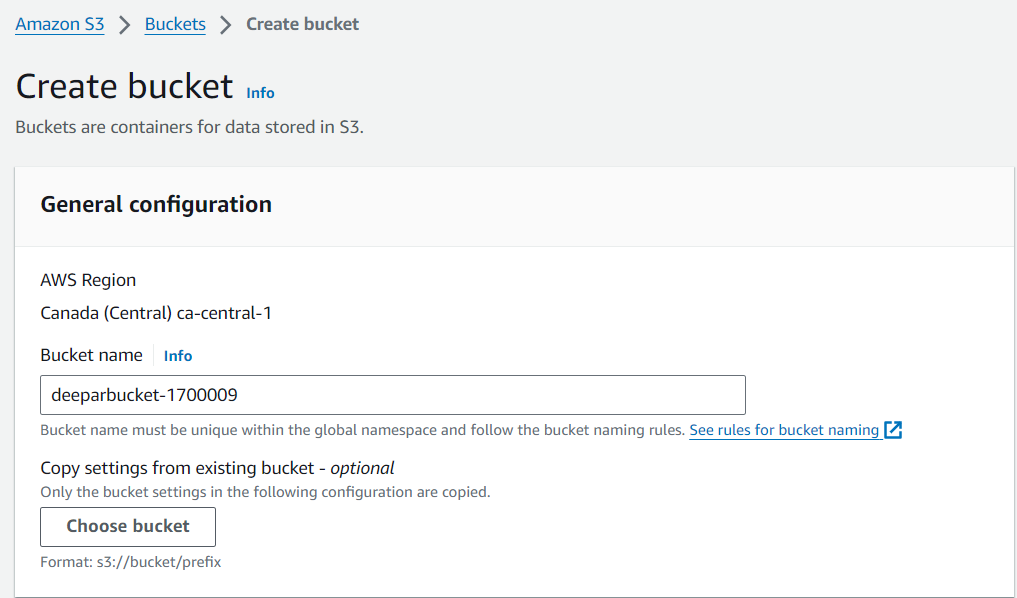
Enter Bucket Name and Region: In the "Bucket name" field, enter a unique name for your bucket. This name must be globally unique across all existing buckets in AWS. Choose the AWS region where you want your bucket to be located. It's generally a good idea to choose a region closest to your users to minimize latency.
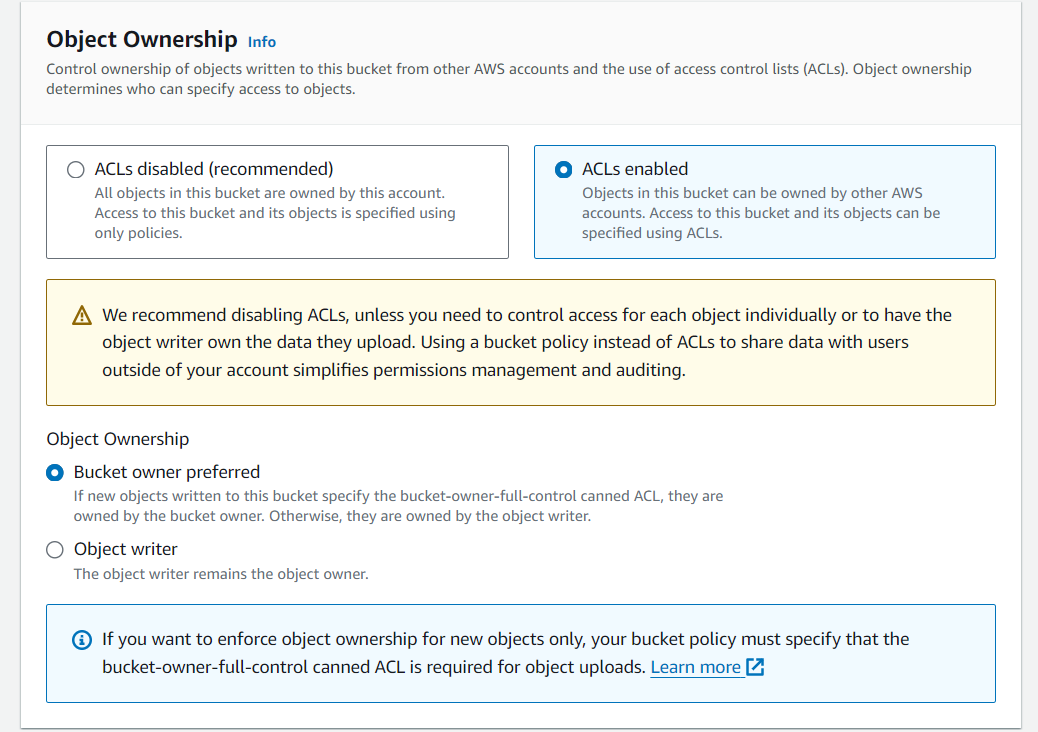
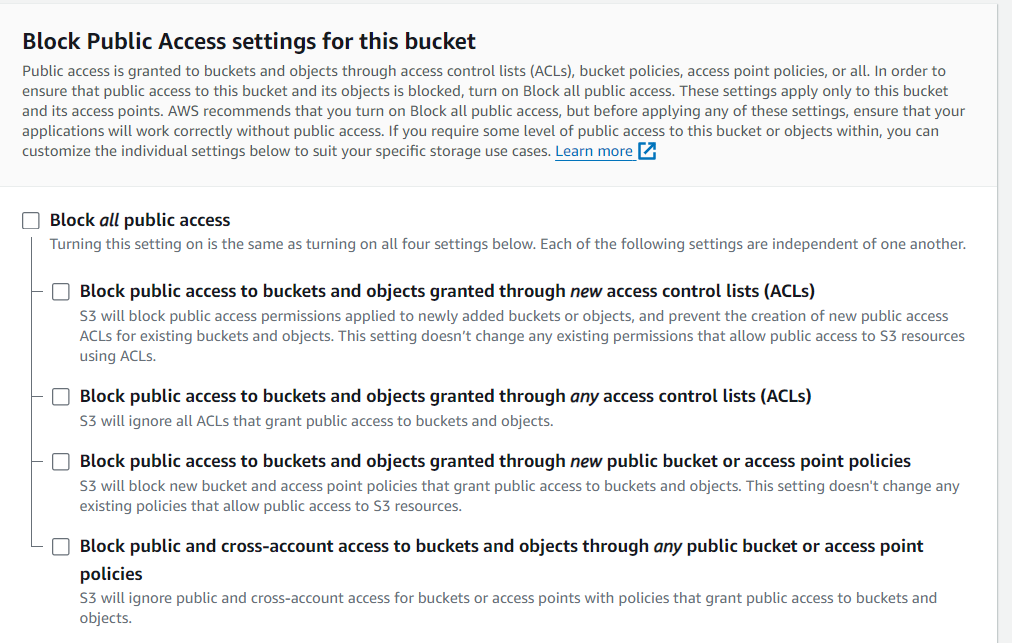
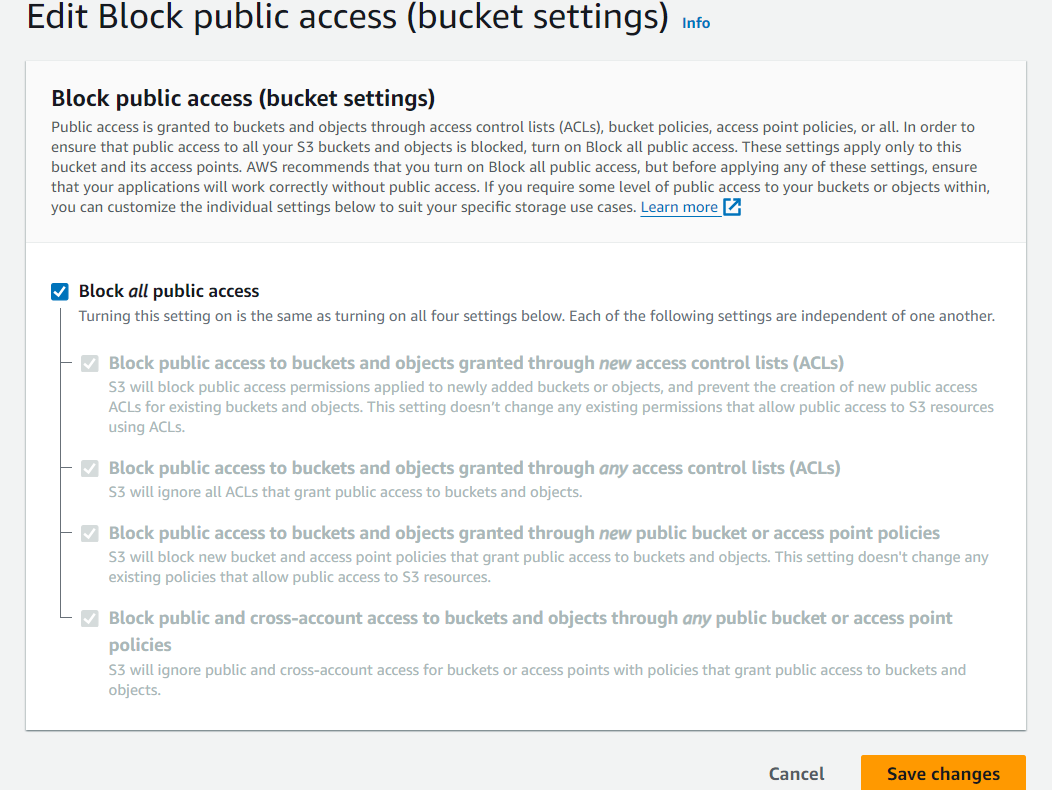
Set Permissions: Choose the appropriate settings for bucket permissions. You can choose to keep the bucket private or grant access to specific AWS accounts or make it public. You can also configure access control lists (ACLs) and bucket policies for fine-grained control over access permissions.
Make your bucket public
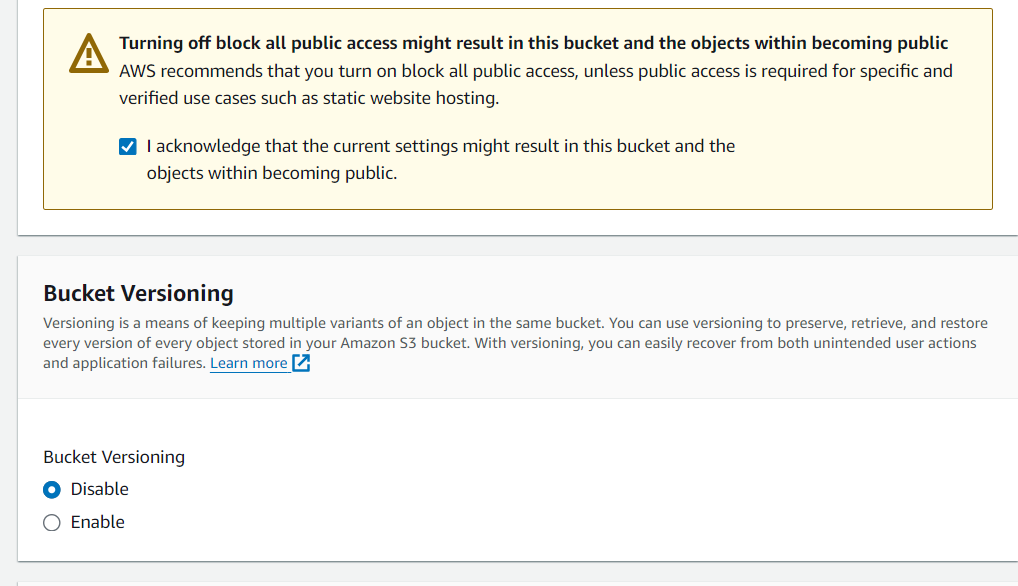
Review and Create: Review all the settings you've configured for your bucket. Once you're satisfied with the configuration, click on the "Create bucket" button to create your S3 bucket.
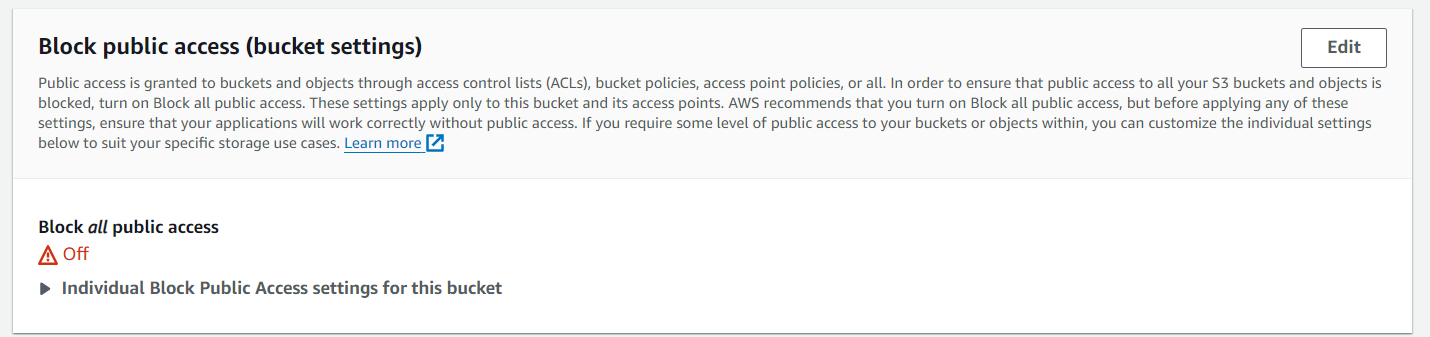
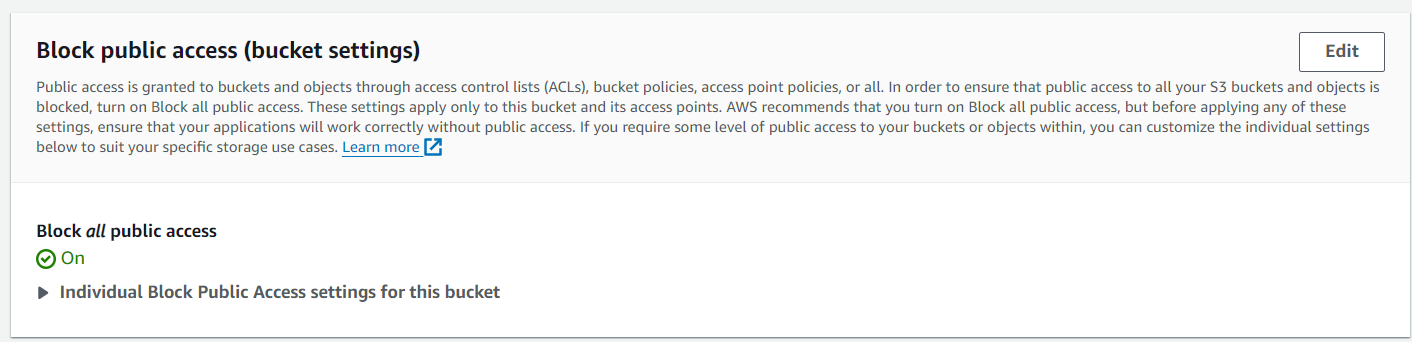
Now set permissions of bucket:
To allow public access, you’ll need to add a bucket policy explicitly granting such permissions.
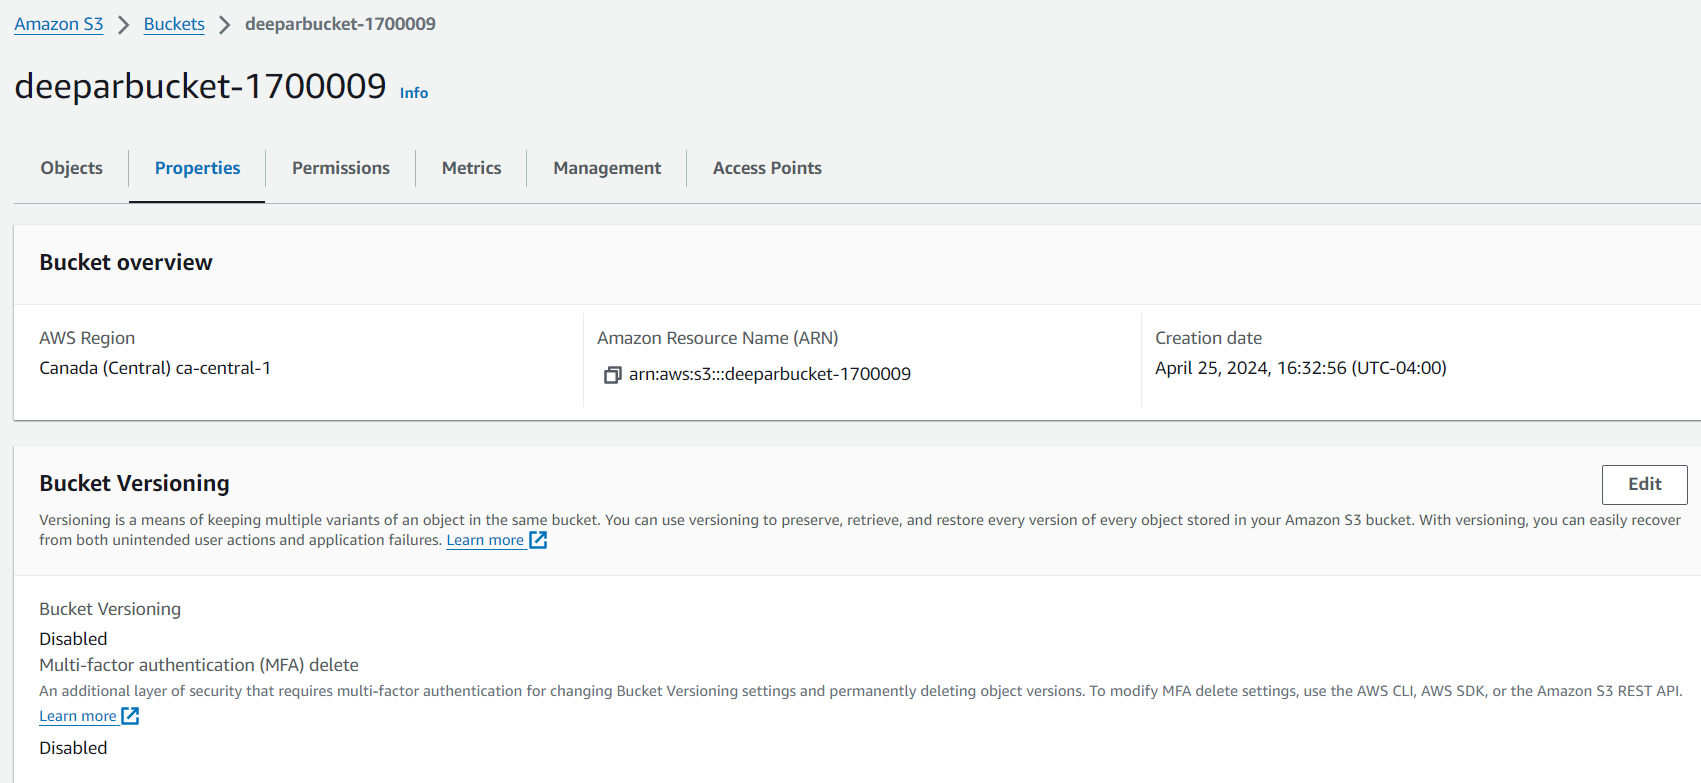
In the S3 dashboard, click on your newly created bucket’s name -> permissions
 {
   "Version": "2012-10-17",
   "Statement": [
     {
       "Sid": "AddPerm",
       "Effect": "Allow",
       "Principal": "*",
       "Action": "s3:GetObject",
       "Resource": "arn:aws:s3:::YOUR_BUCKET_NAME/*"
     }
   ]
 }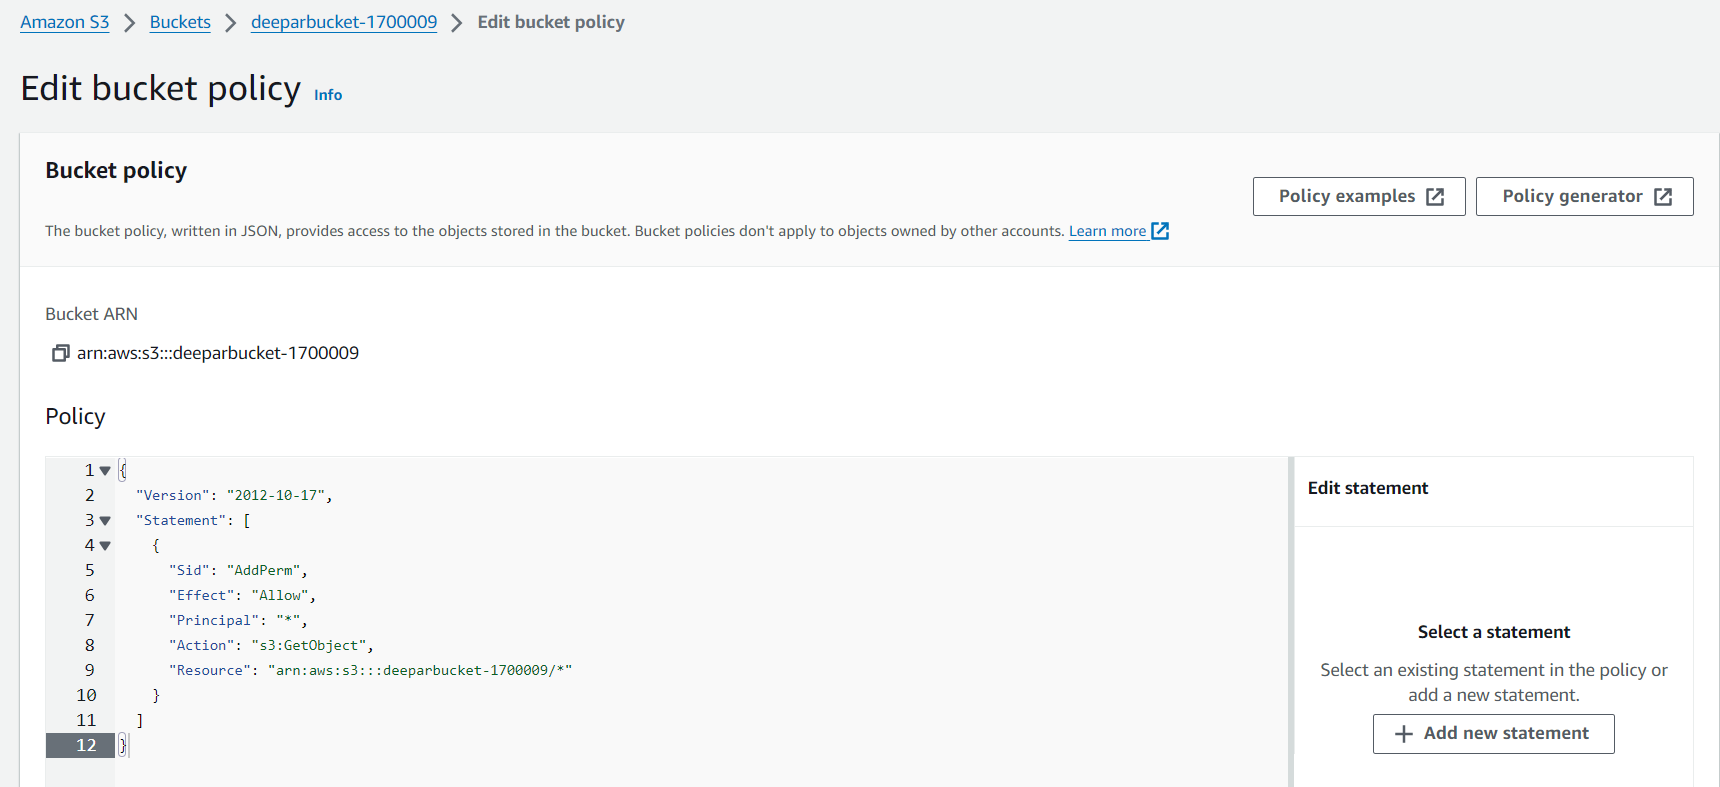
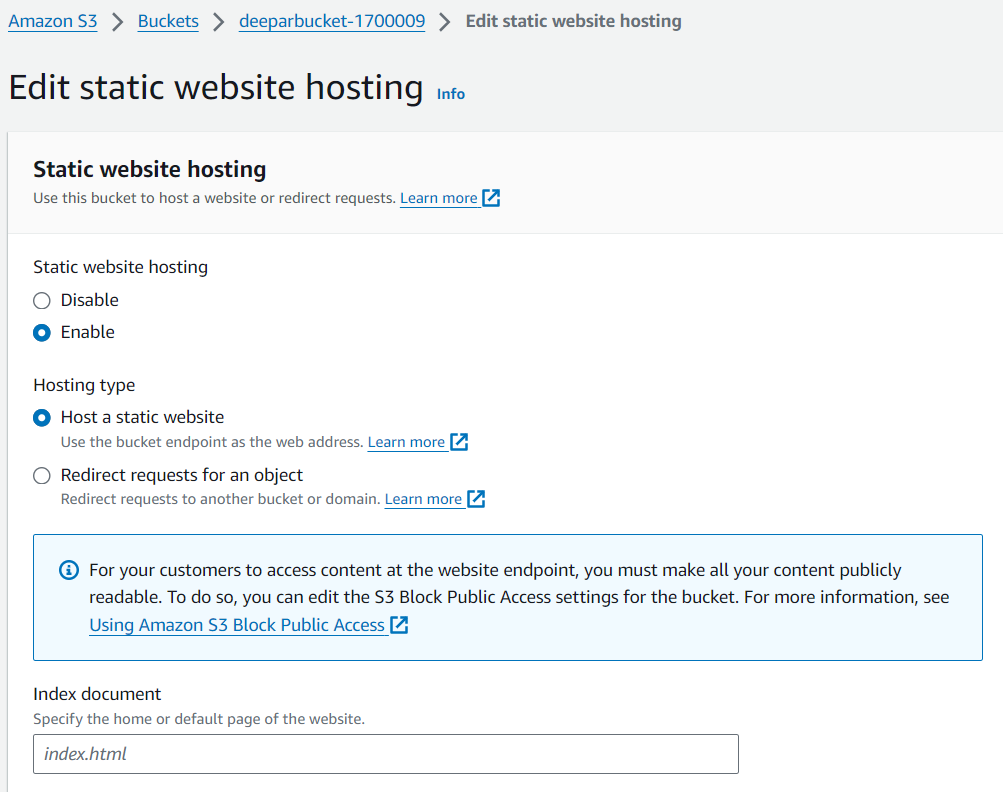
Let’s Enable static website hosting, Click on the Properties tab
Now edit public policy:


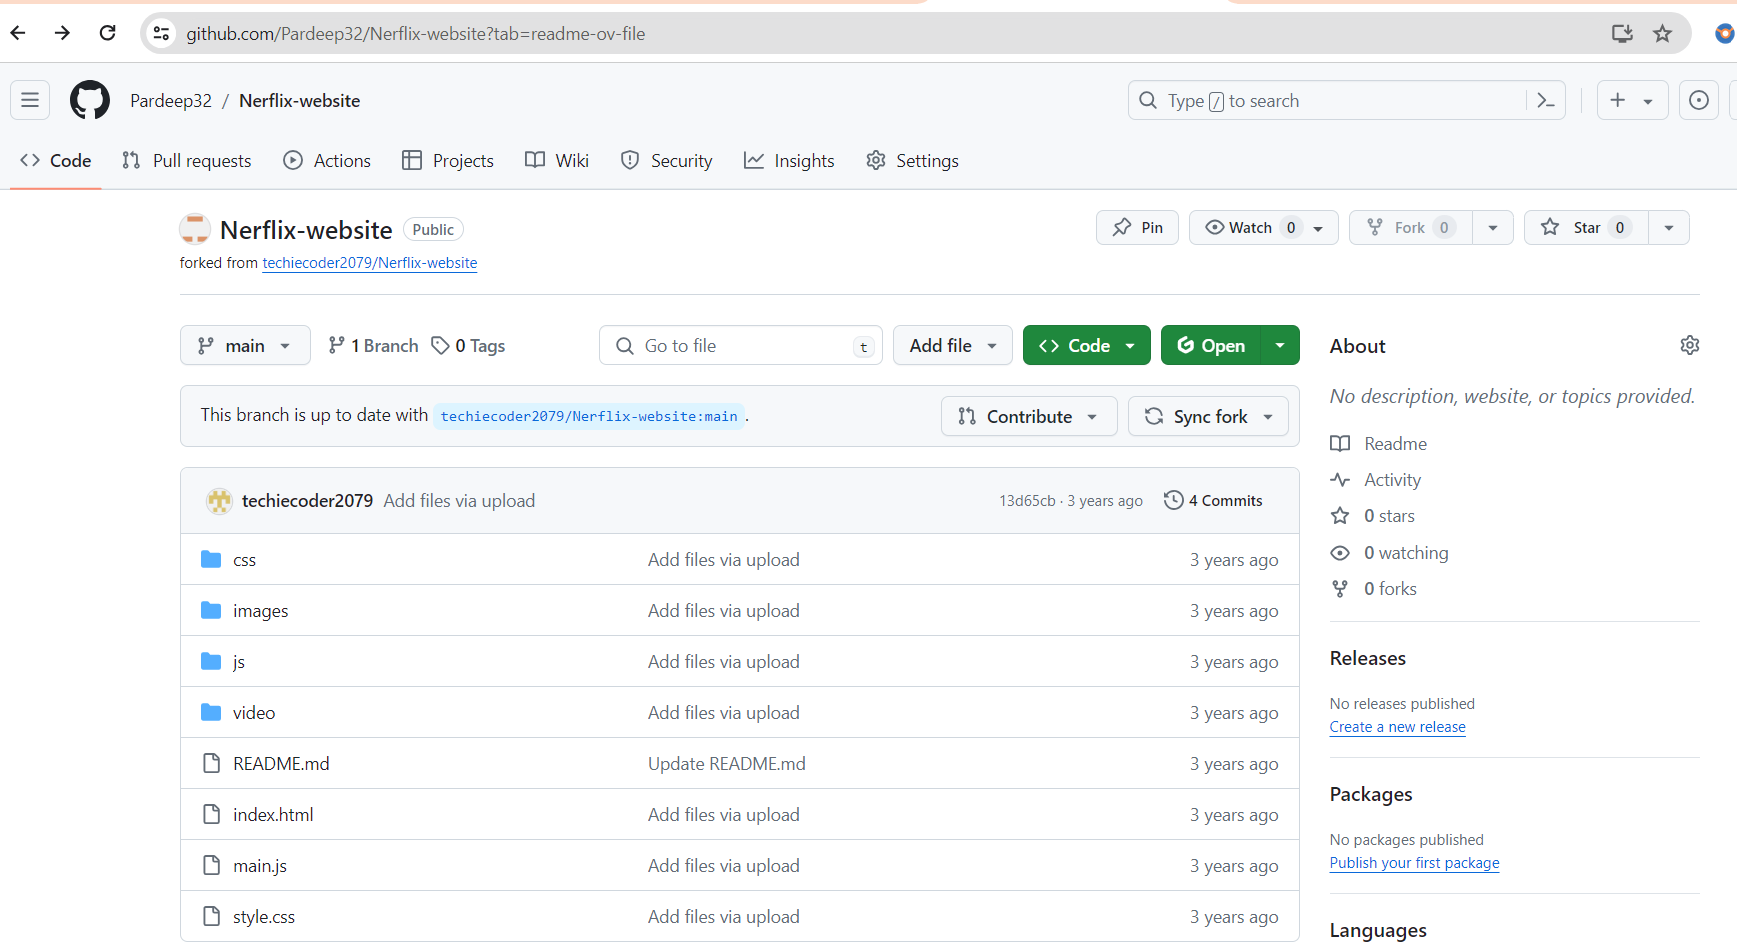
Upload the Website Files LINK HERE
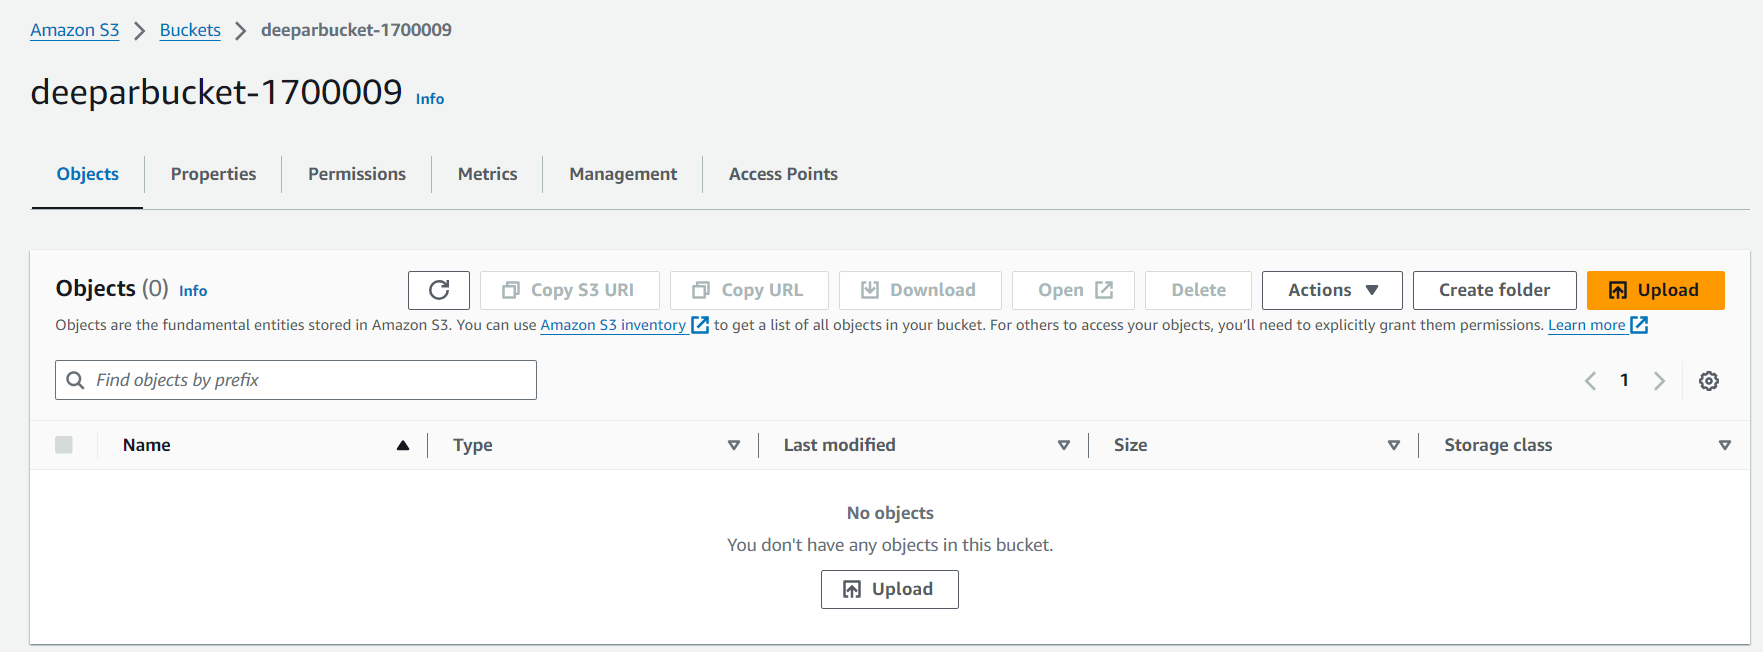
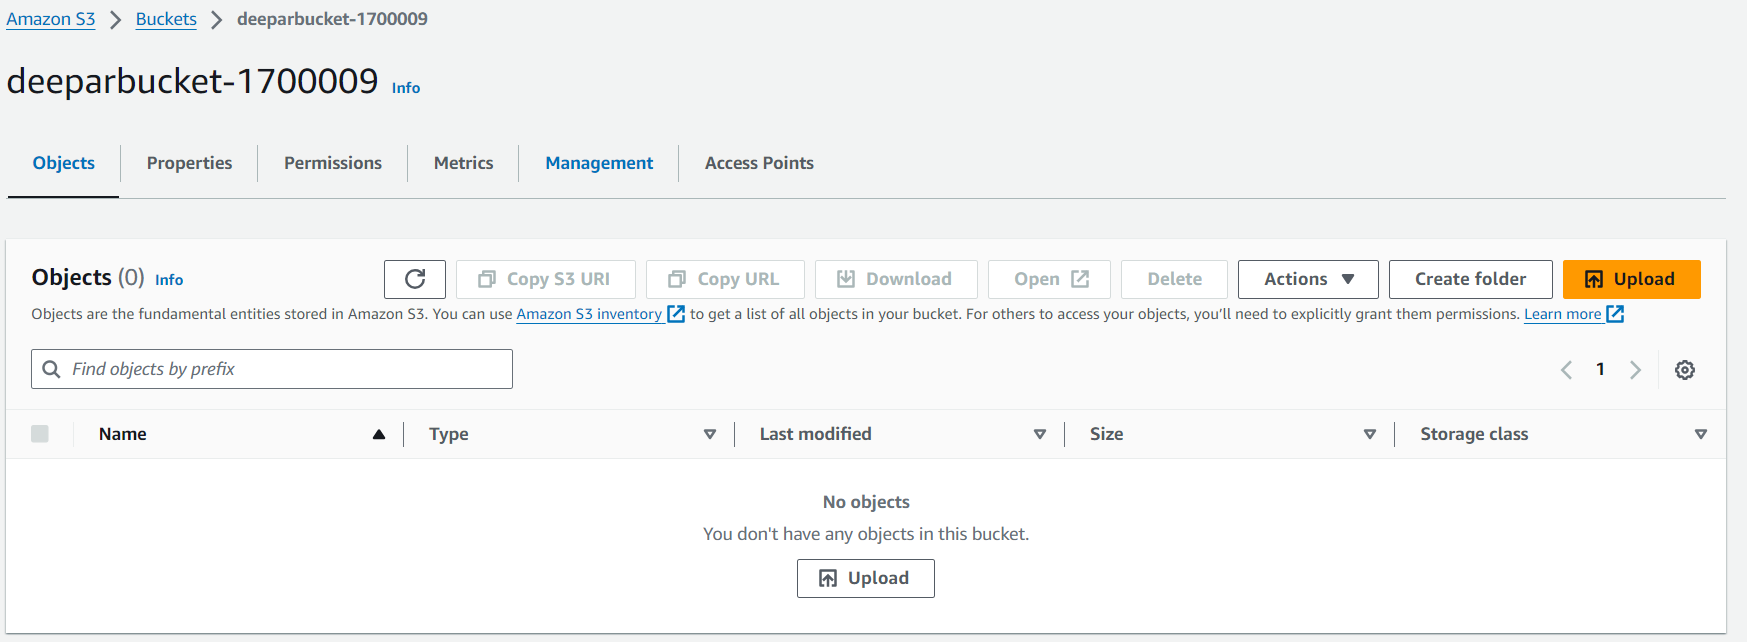
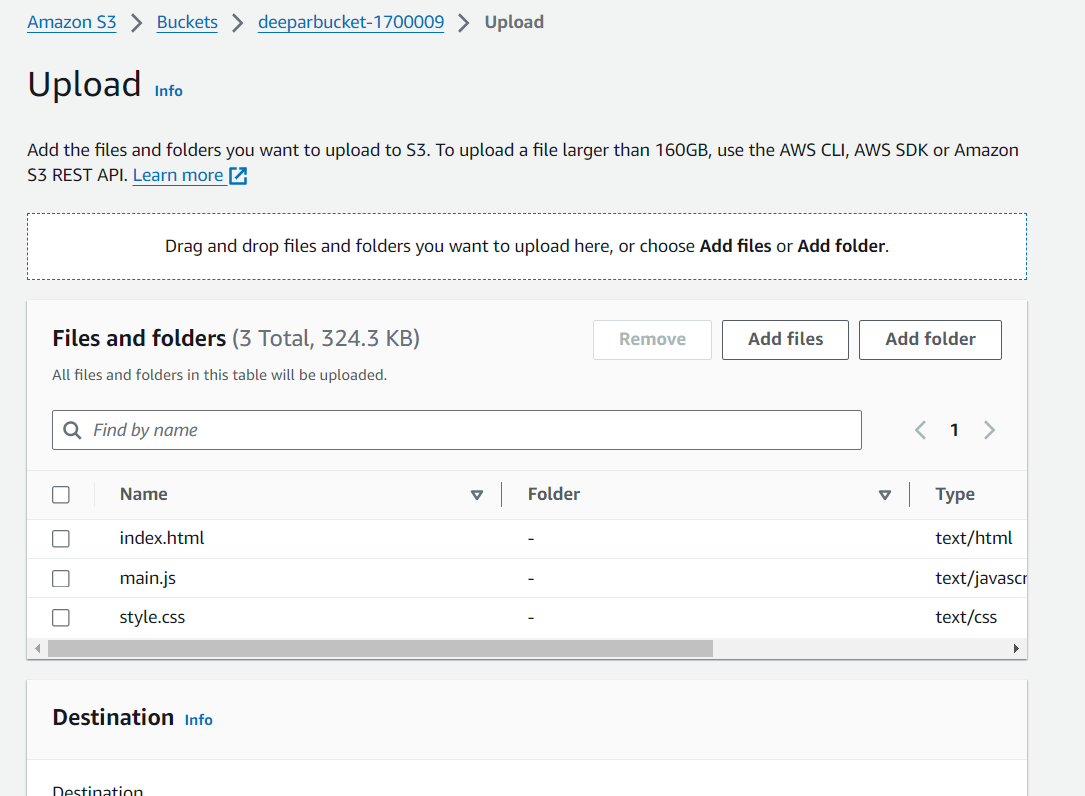
Go to the Objects tab & Click Upload to upload your static website files (HTML, CSS, JavaScript, images, etc.).
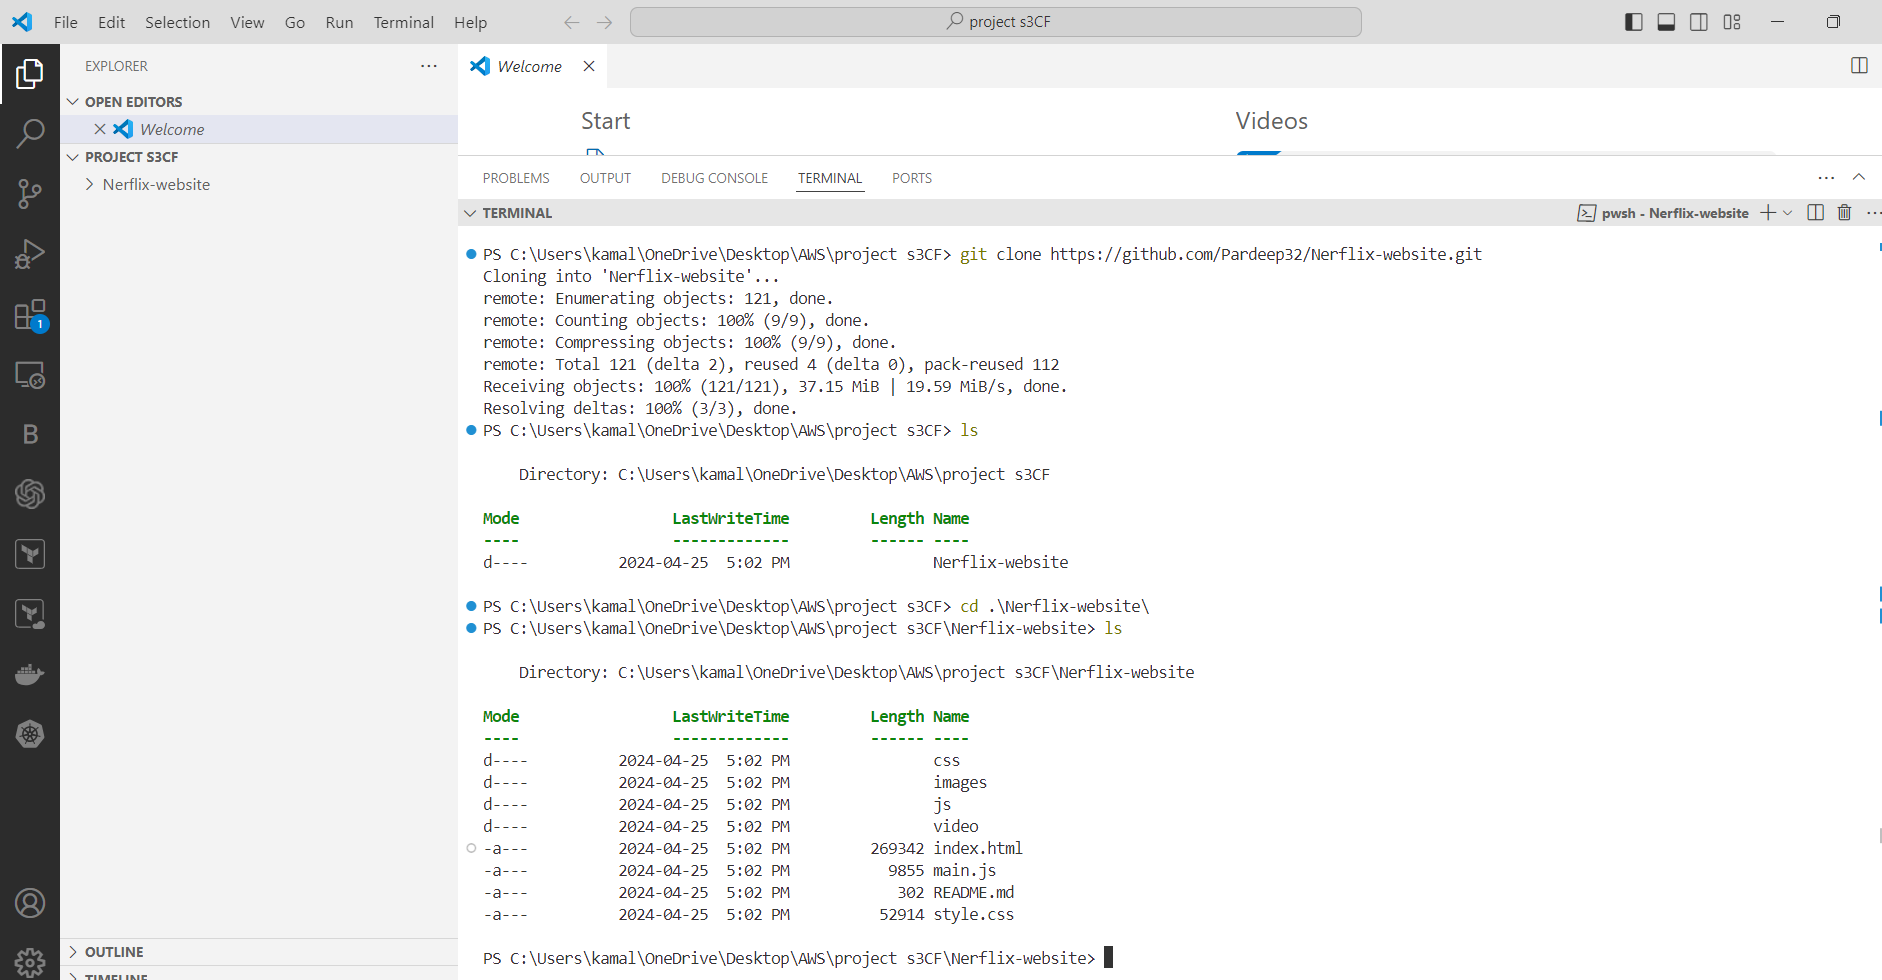
Code is uploaded on github. First, clone the repo local:
Now add files to s3 bucket:
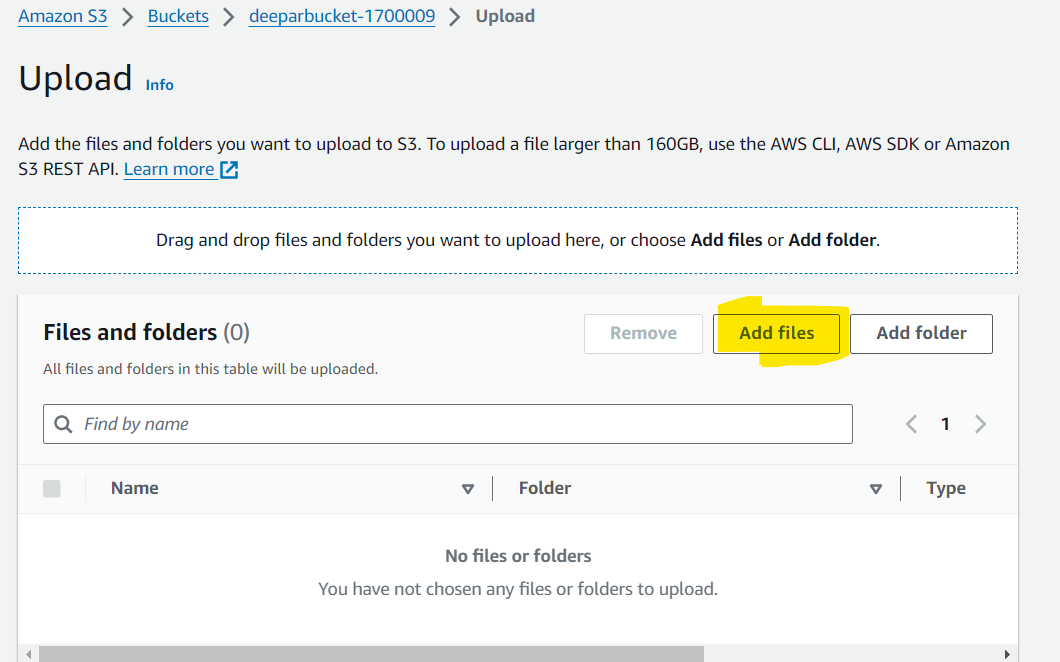
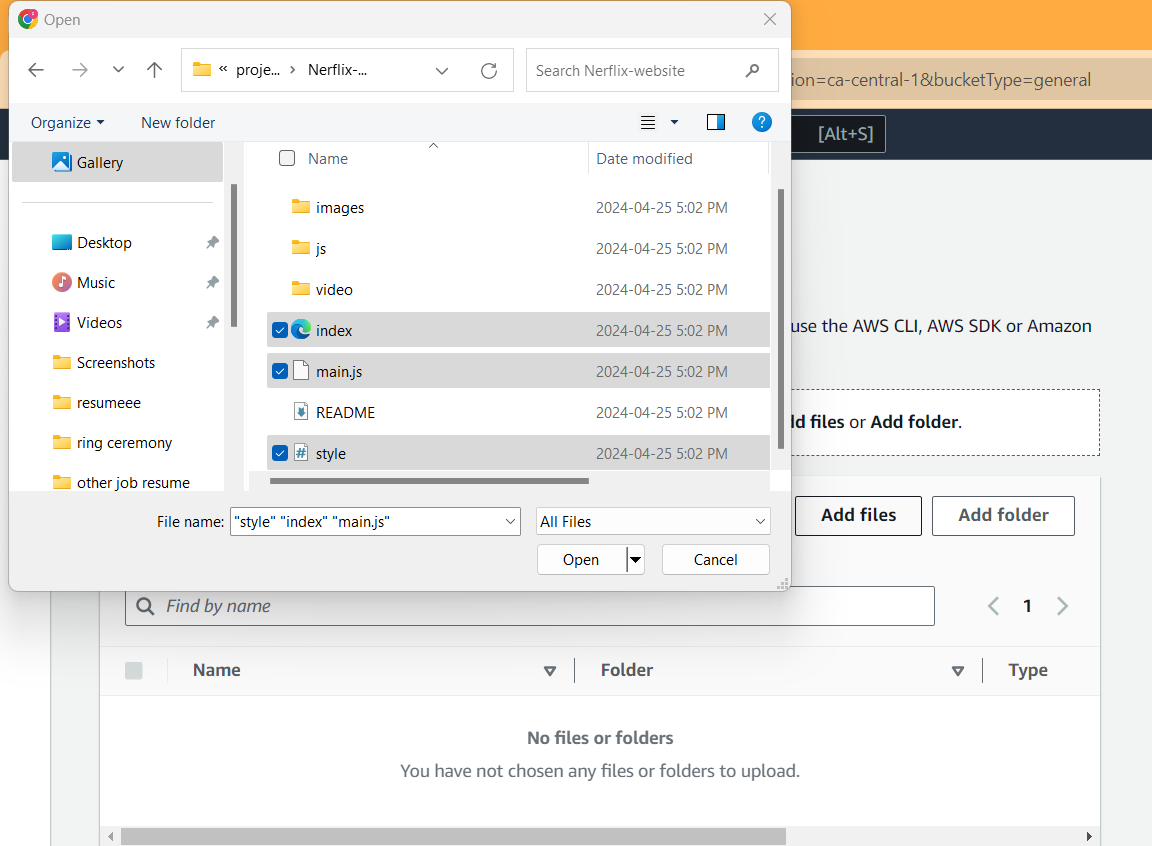
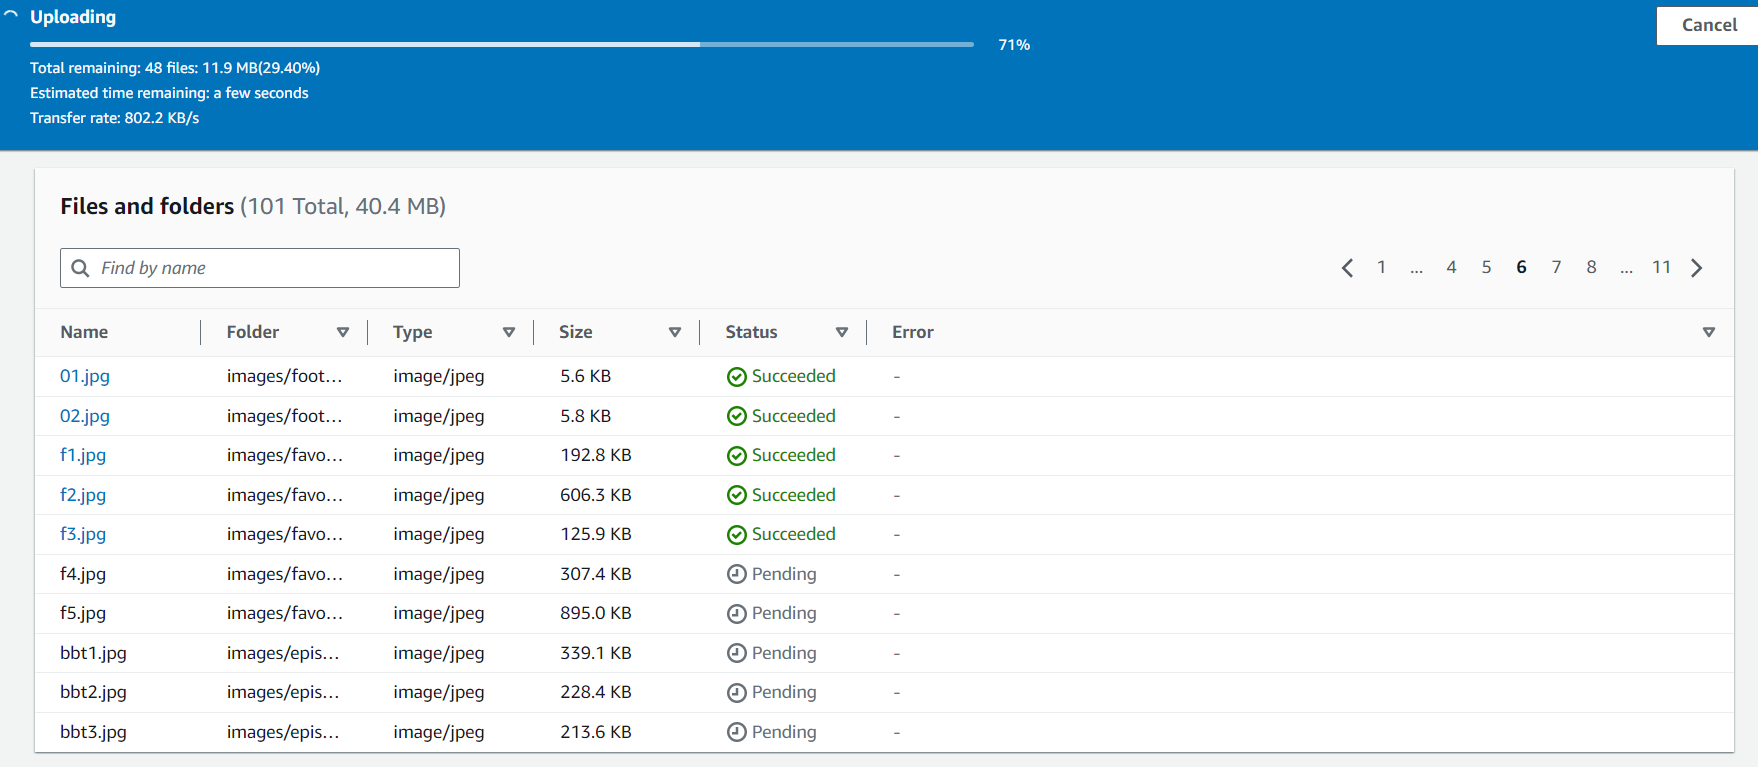
Now, add folder of css, imaages, js and video one by one.
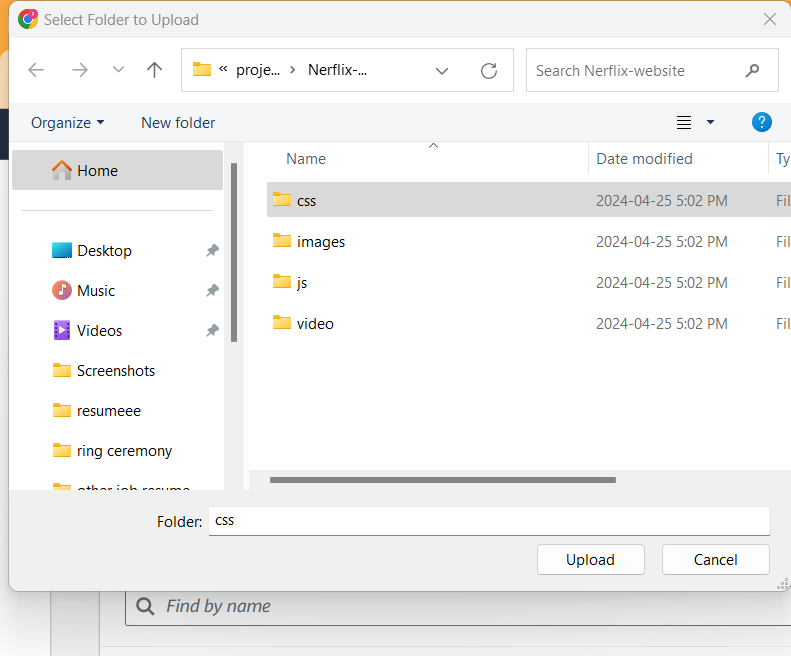
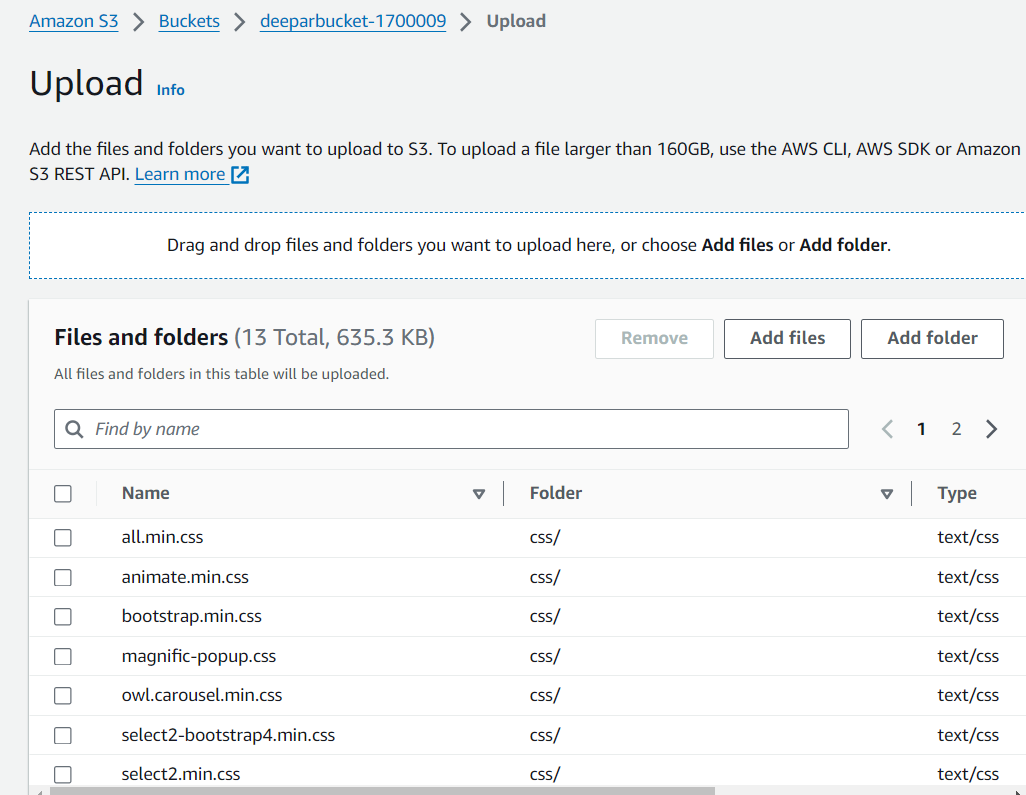
after upload all folders, then click on upload.
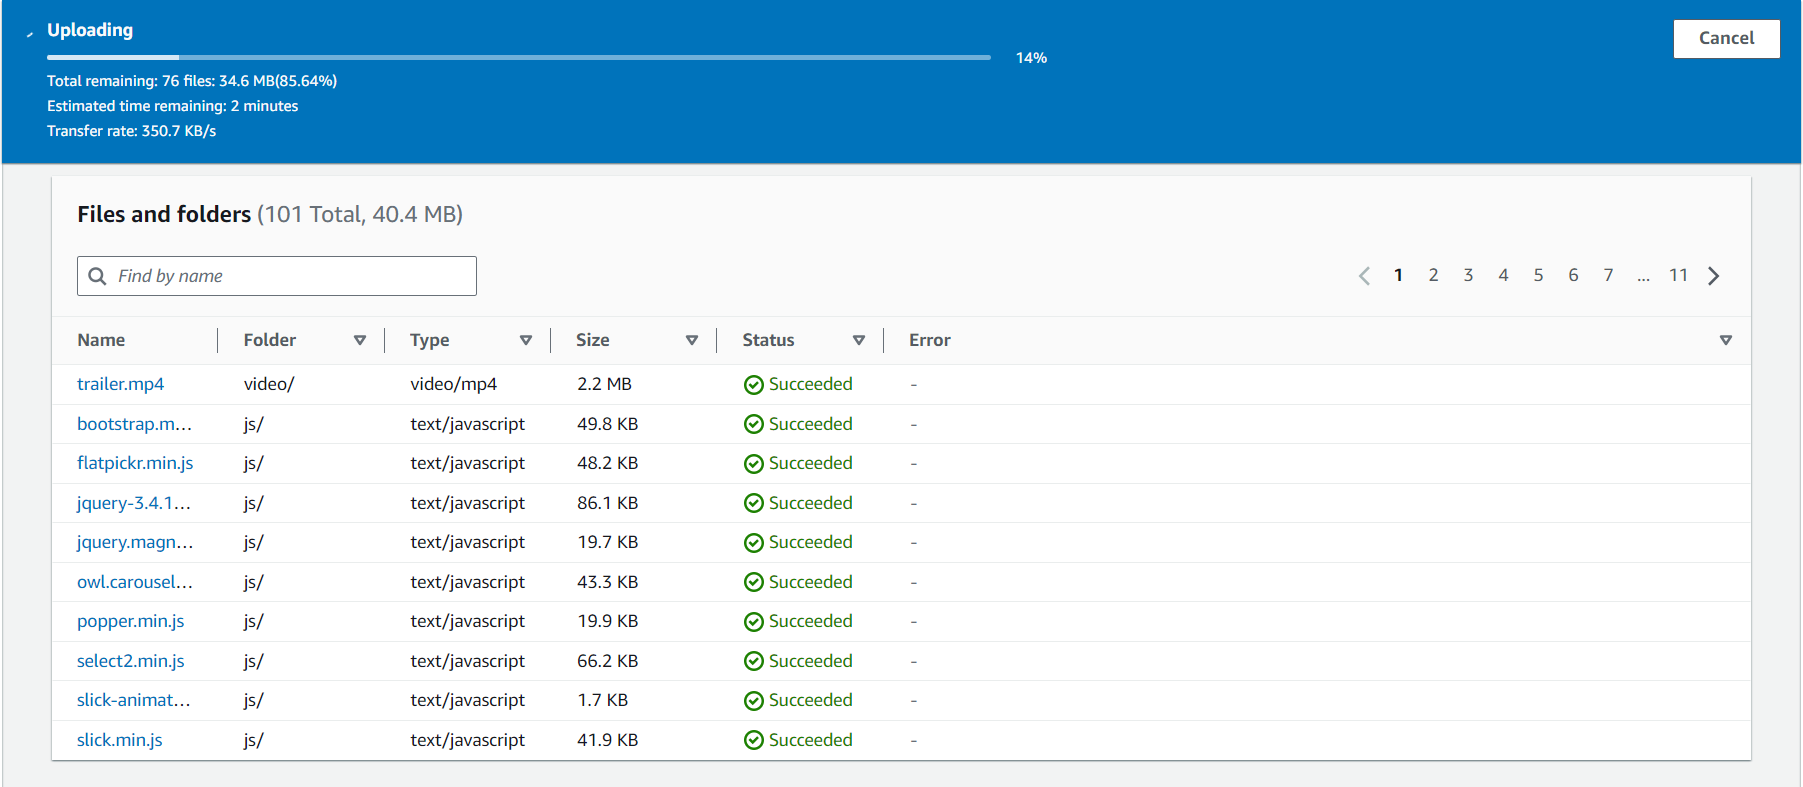
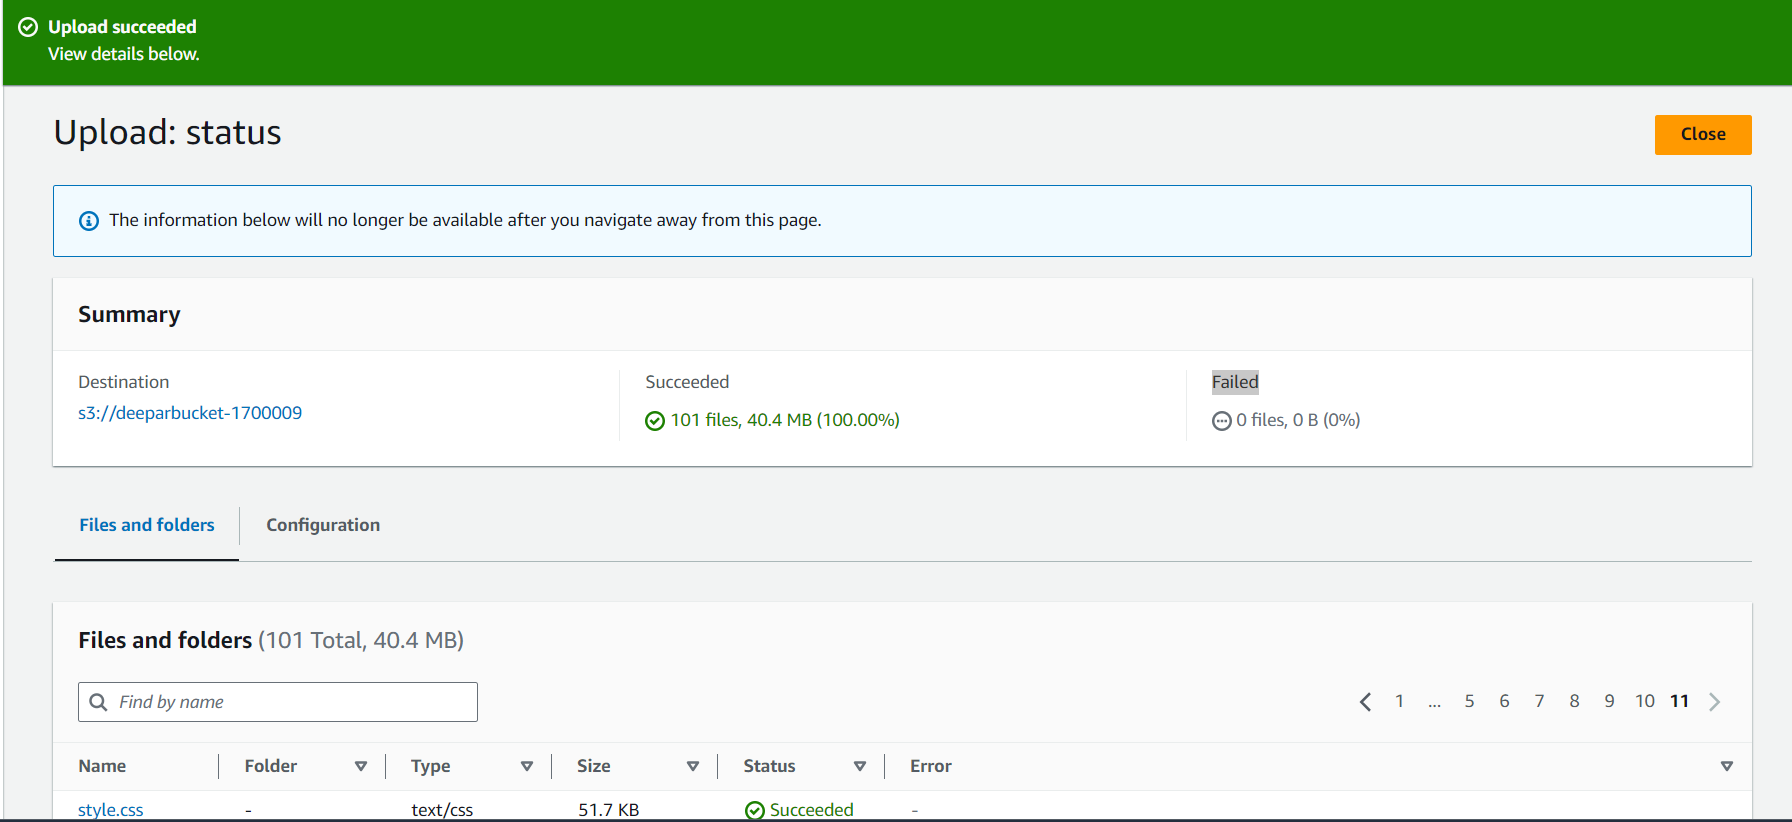
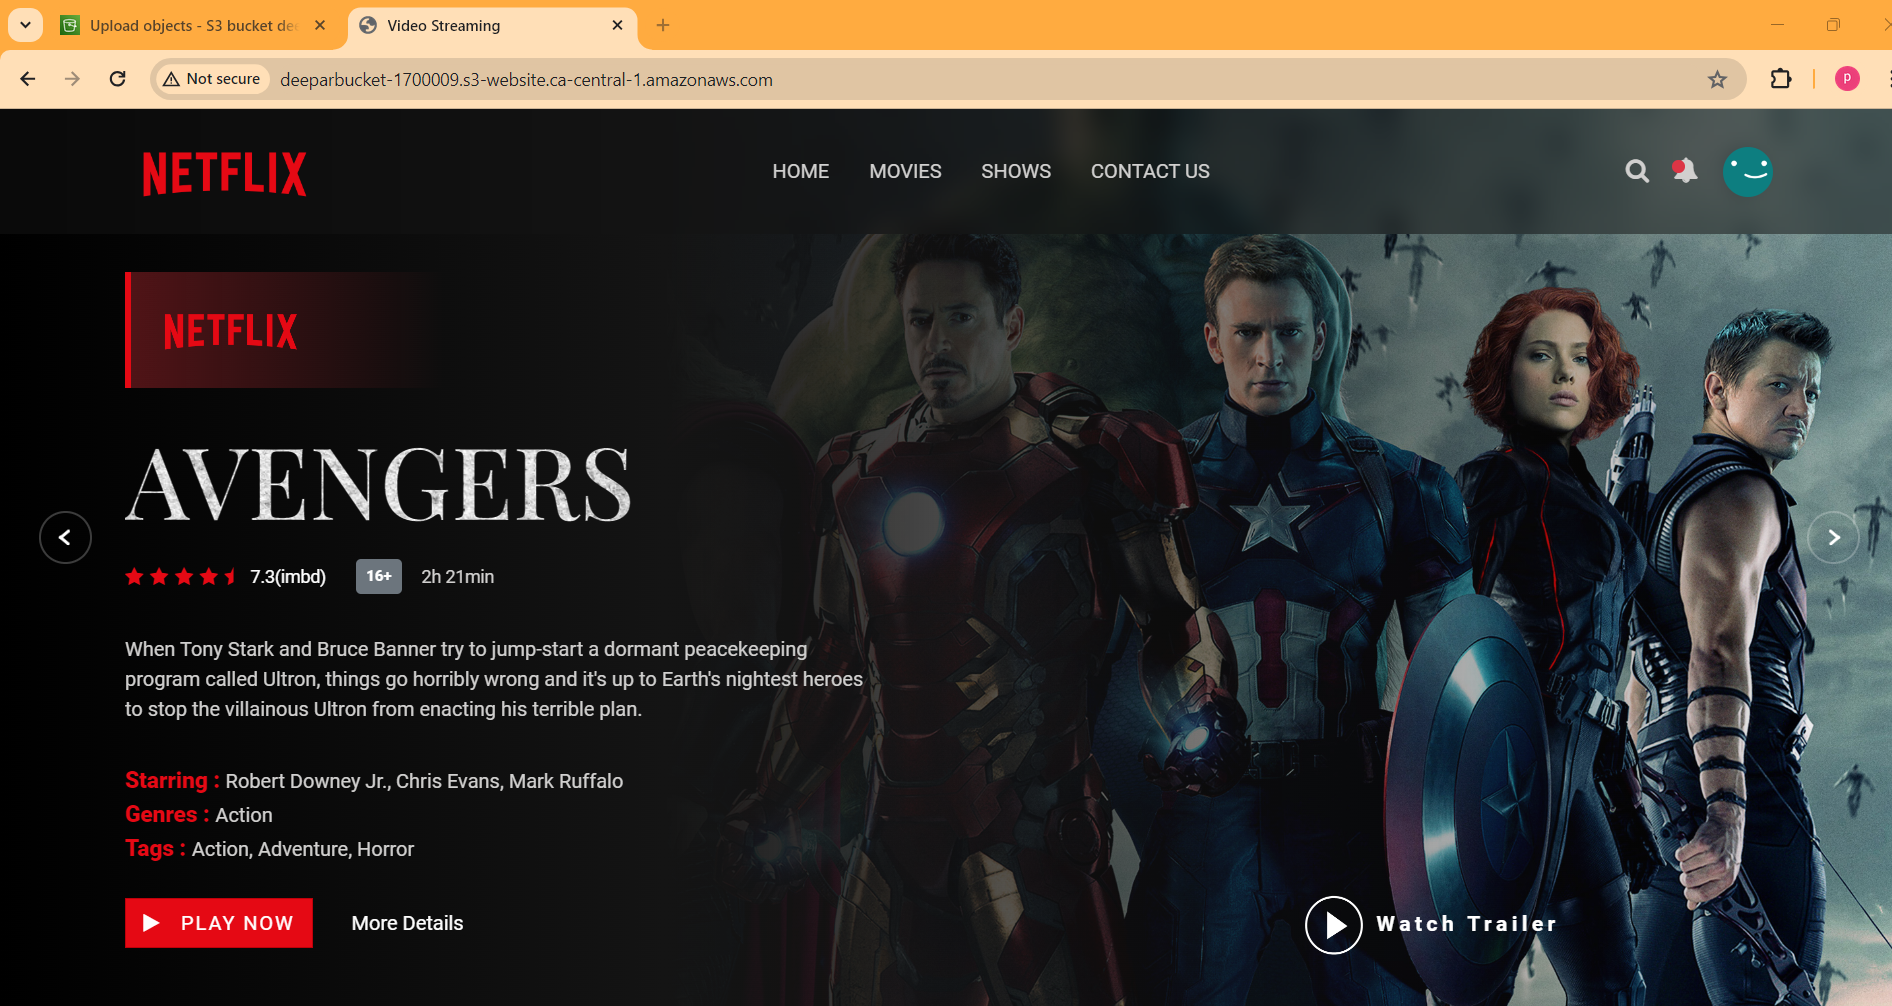
Access Website in Your Web Browse -> go to link of static website hosting:
CloudFront:
Amazon CloudFront is a content delivery network (CDN) service provided by Amazon Web Services (AWS). It helps distribute your content (such as web pages, videos, images, and other assets) globally with low latency and high transfer speeds. Here's an overview of CloudFront:
1. Content Delivery: CloudFront caches your content in edge locations around the world. When a user requests content, CloudFront delivers it from the nearest edge location, reducing latency and improving performance.
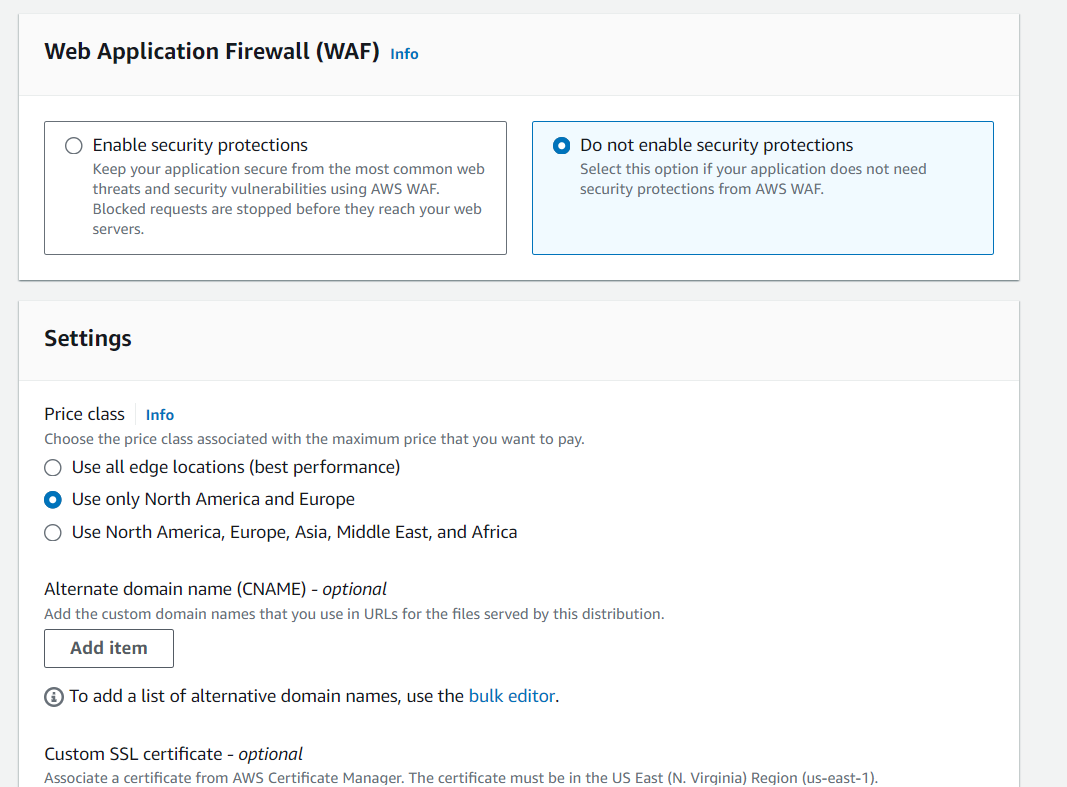
2. Security: CloudFront integrates with AWS Web Application Firewall (WAF) and AWS Shield to provide protection against DDoS attacks, SQL injection, and other common web exploits.
3. Customization: You can customize your delivery settings, including caching behavior, SSL/TLS certificate management, and access control.
4. Origin Types: CloudFront supports various origin types, including Amazon S3 buckets, custom origins (such as EC2 instances or on-premises servers), and AWS Elemental Media Services.
5. Real-time Metrics: CloudFront provides real-time metrics and monitoring through Amazon CloudWatch, allowing you to monitor performance, troubleshoot issues, and optimize your content delivery.
6. Integration with AWS Services: CloudFront seamlessly integrates with other AWS services, such as Amazon S3, Amazon EC2, AWS Lambda, and AWS Elemental Media Services.
7. Cost-Effective: CloudFront offers pay-as-you-go pricing with no upfront fees or long-term commitments. You only pay for the data transfer and requests you use.
8. Global Reach: With a network of edge locations spanning the globe, CloudFront ensures your content is delivered quickly and reliably to users worldwide.
Steps:
Go to CloudFront:
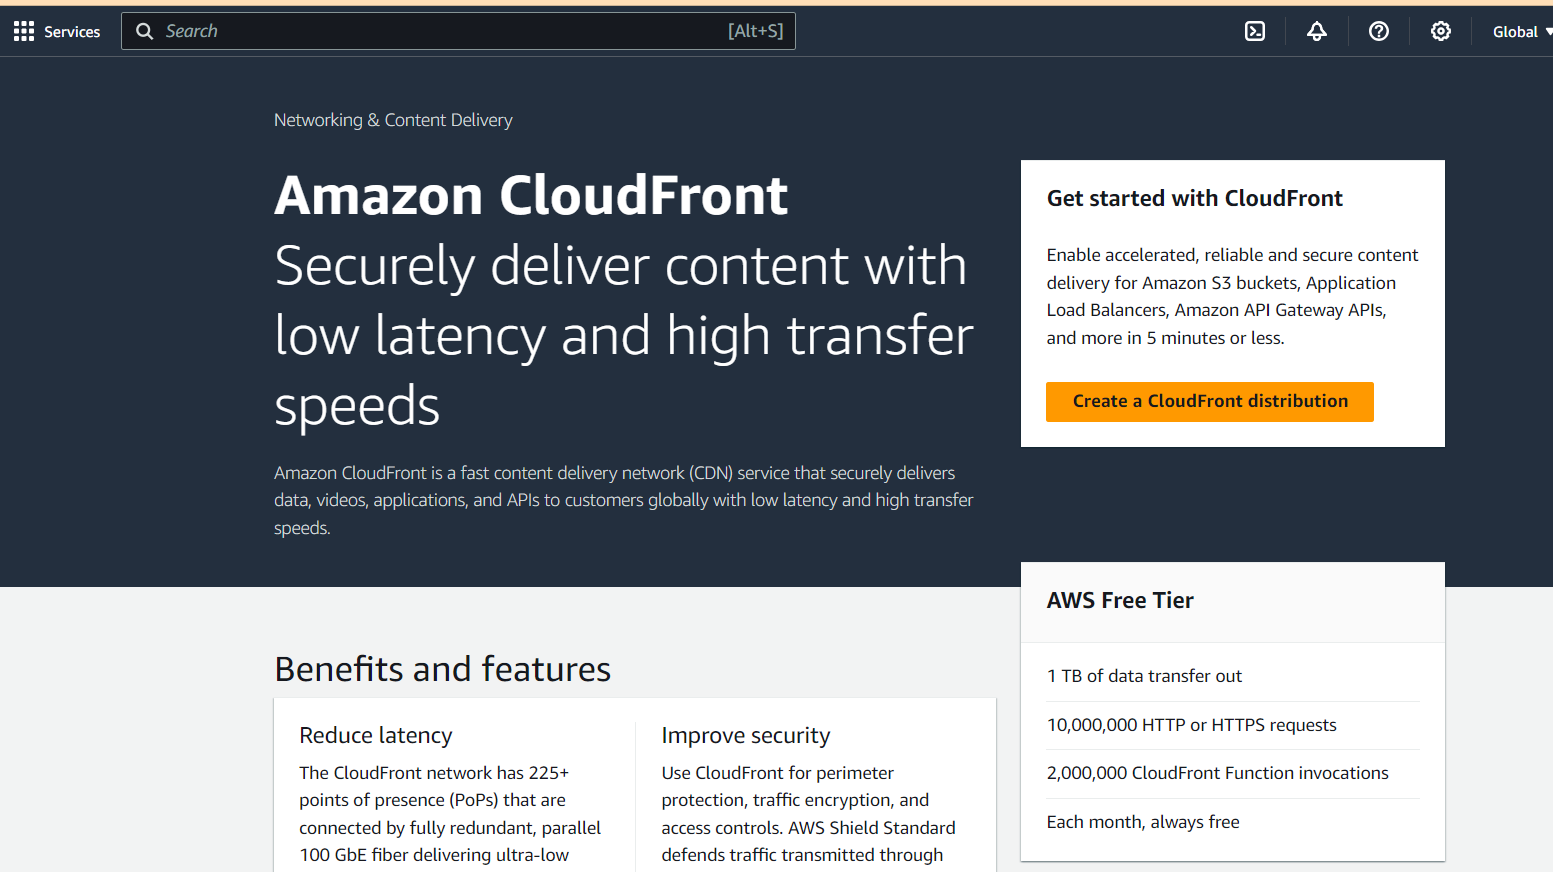
Start with create cloudfront distribution:

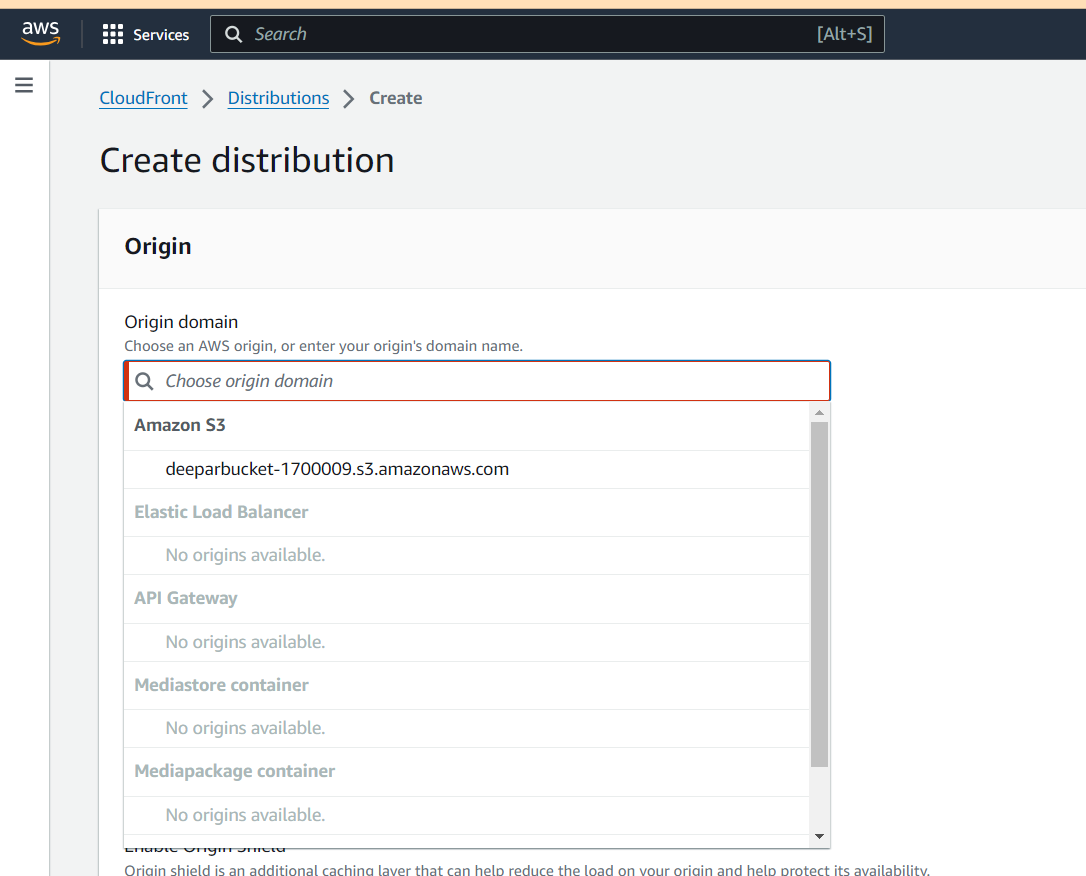
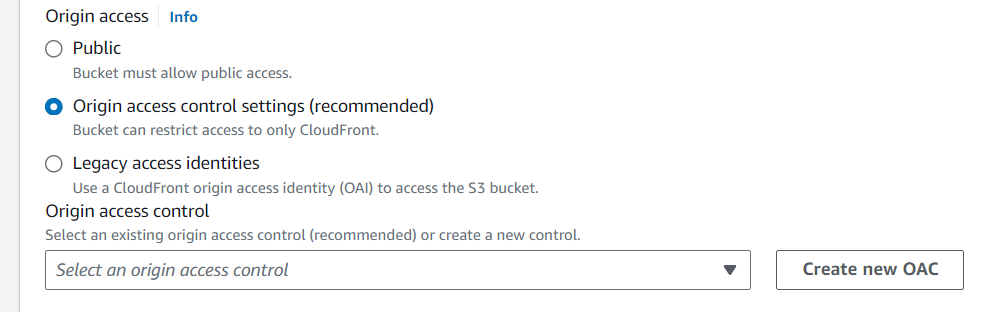
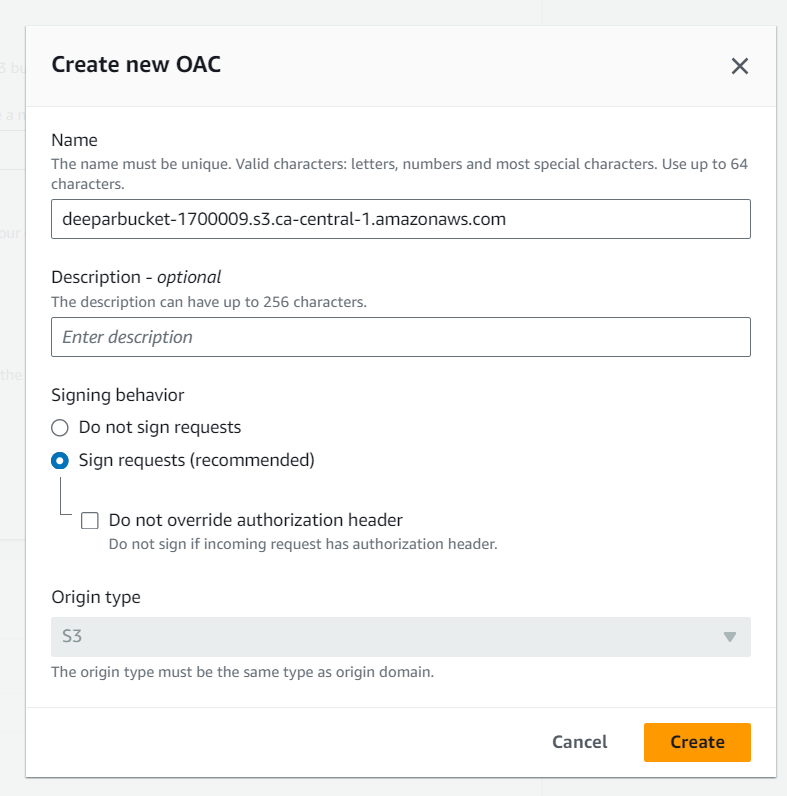
create a new OAC
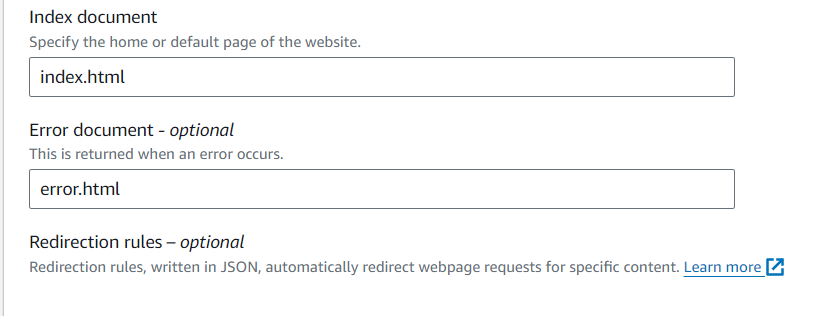
In the Default root object field, enter index.html.
CloudFront will serve the default root object when the base distribution URL is requested.
You are setting this field because Amazon CloudFront doesn’t always transparently relay requests to the origin. If you did not set a default root object on the distribution you would see an AccessDenied error when you access the CloudFront distribution’s domain later in this lab step.
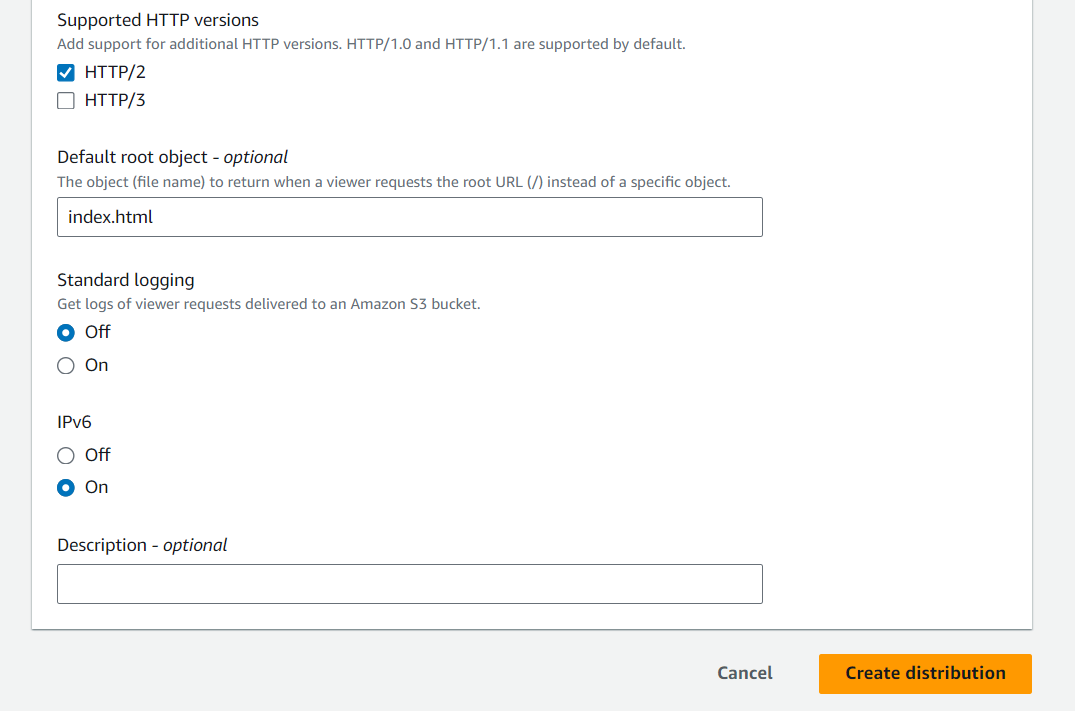
Click on create distribution
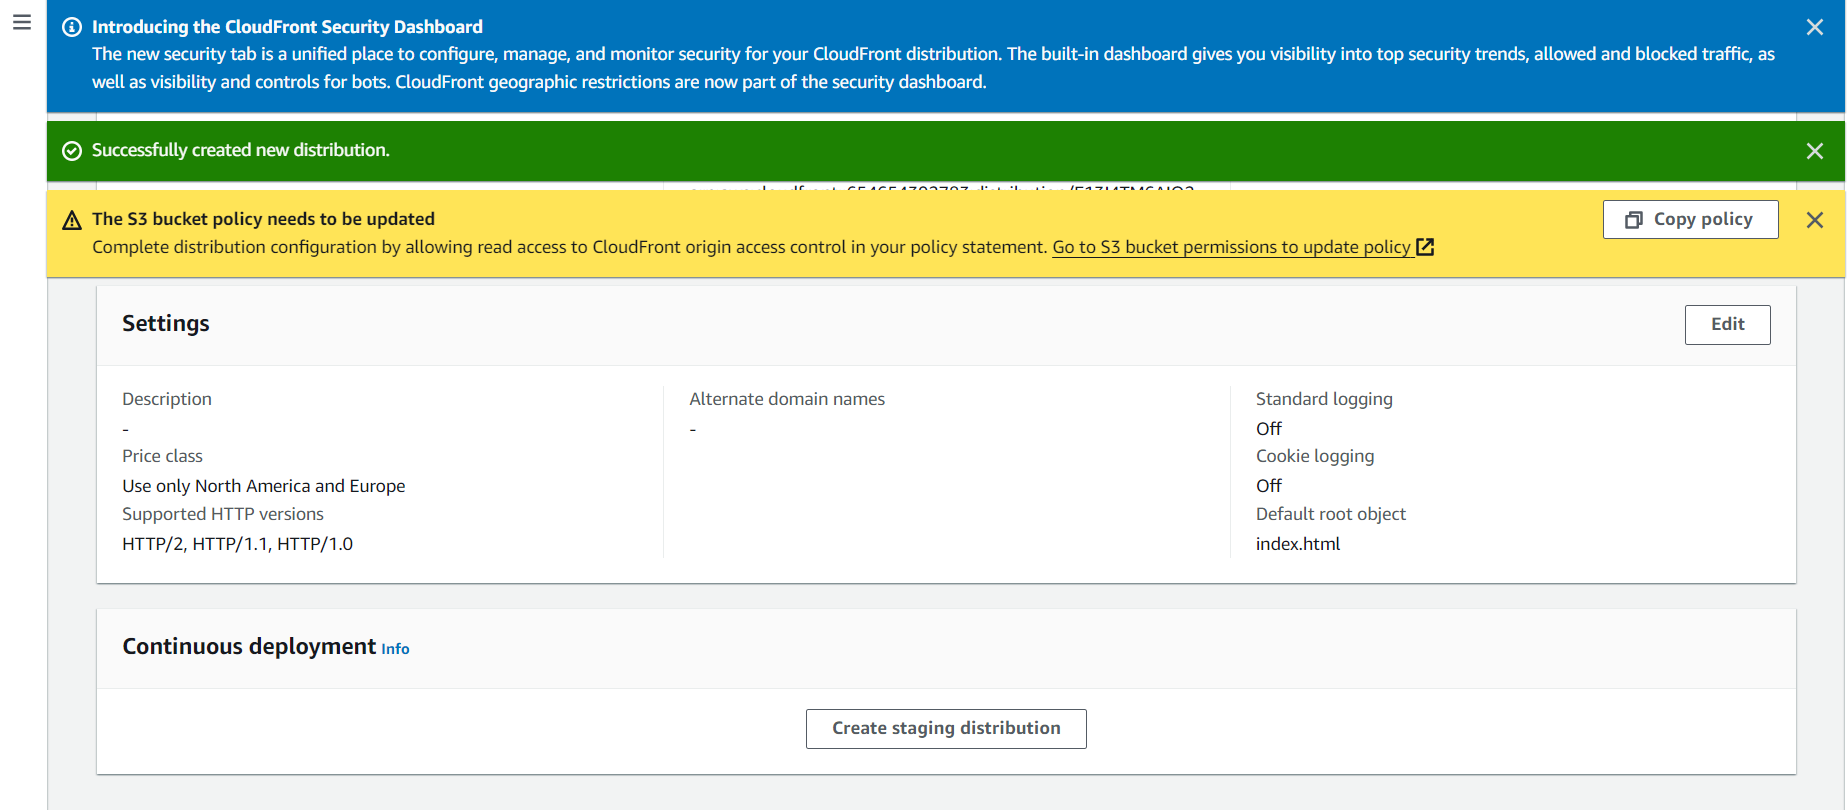
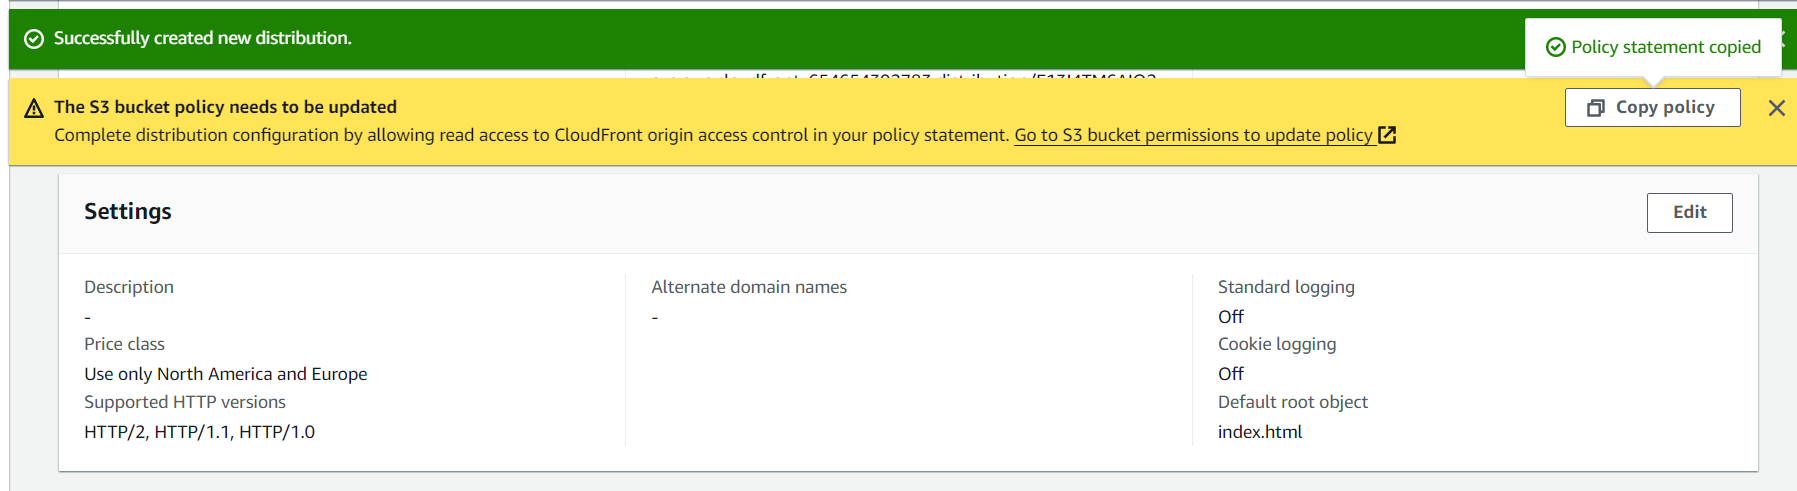
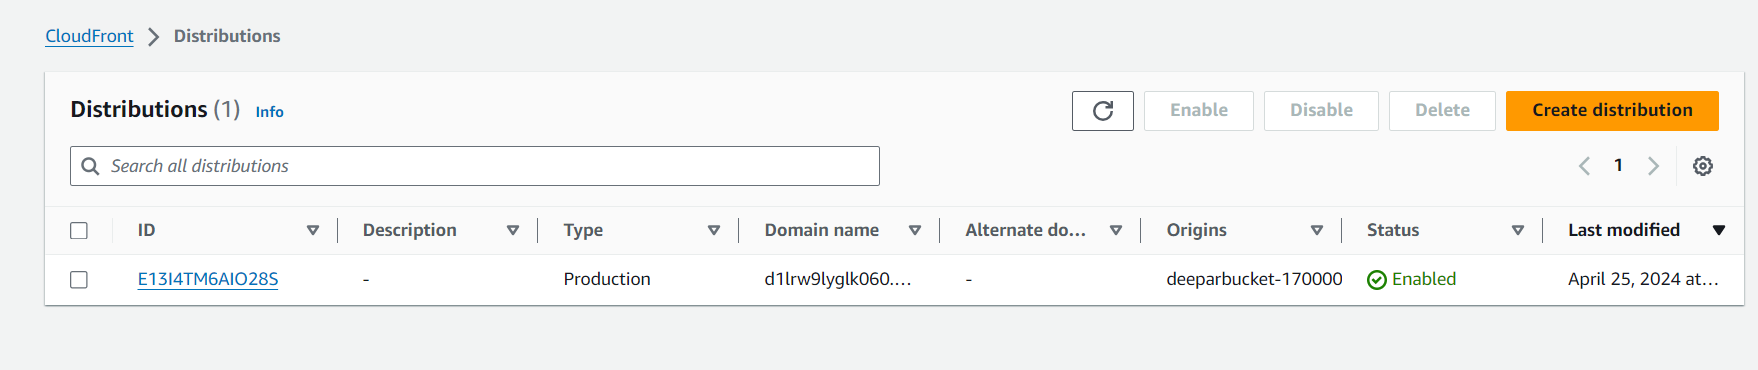
CloudFront automatically assigns an ID (top of the page) and a Distribution domain name to the distribution and starts updating the edge locations to serve your content:
Click Copy policy at the top of the page:

This policy provides a new bucket policy that provides the s3:GetObject permission to the distribution. This allows for blocking all public access to the S3 bucket while maintaining access to the website via the distribution.
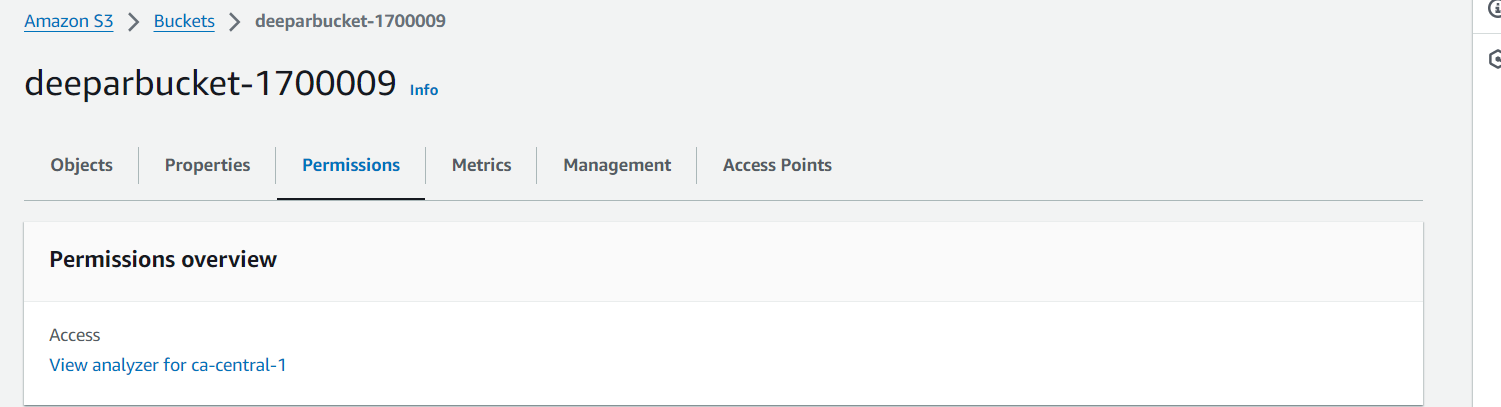
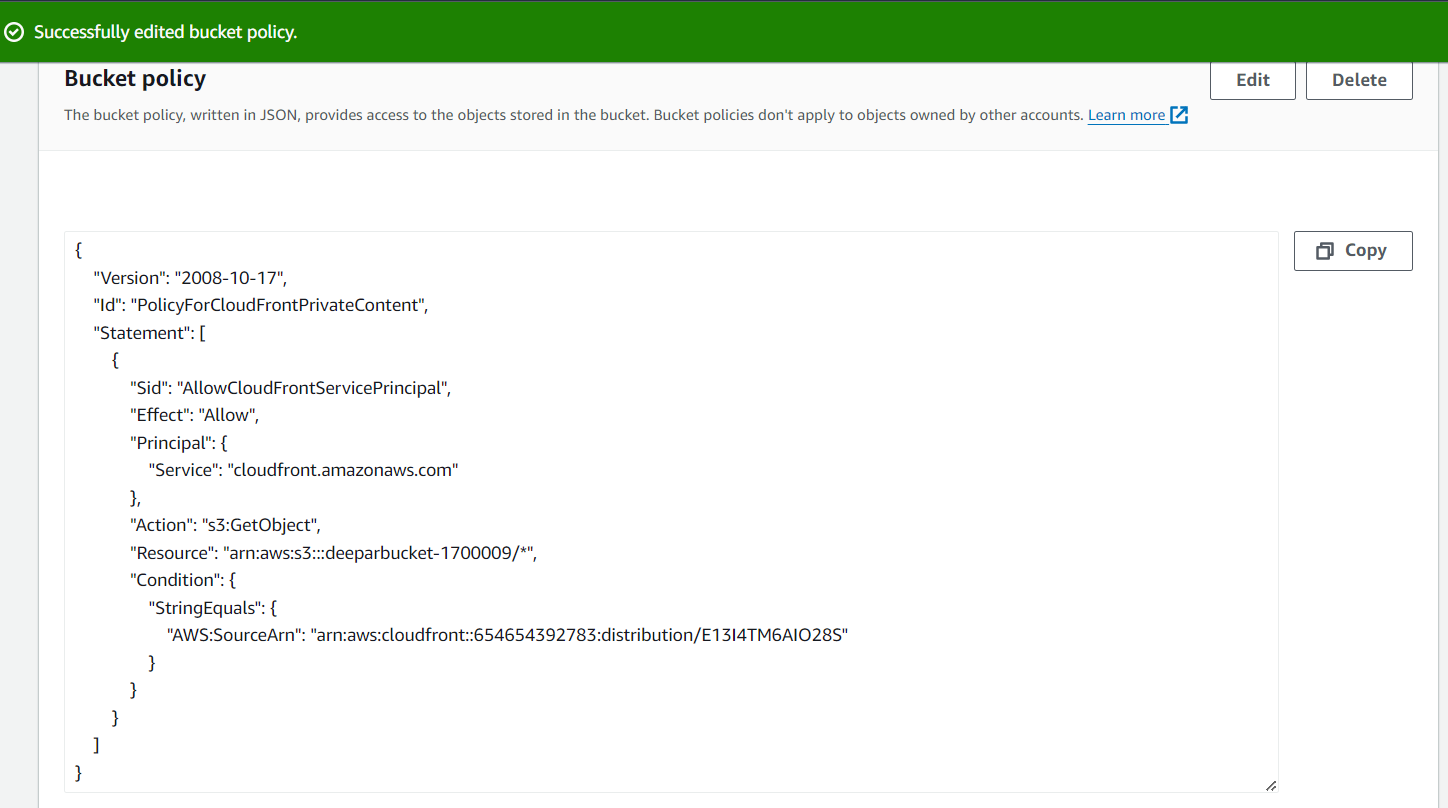
12. To implement the policy, return to the bucket you created, click the Permissions tab, scroll down to the Bucket policy section, click Edit, paste the policy you copied, and click Save changes:
edit this bucket policy, remove this policy and paste the policy that is copied from CloudFront.
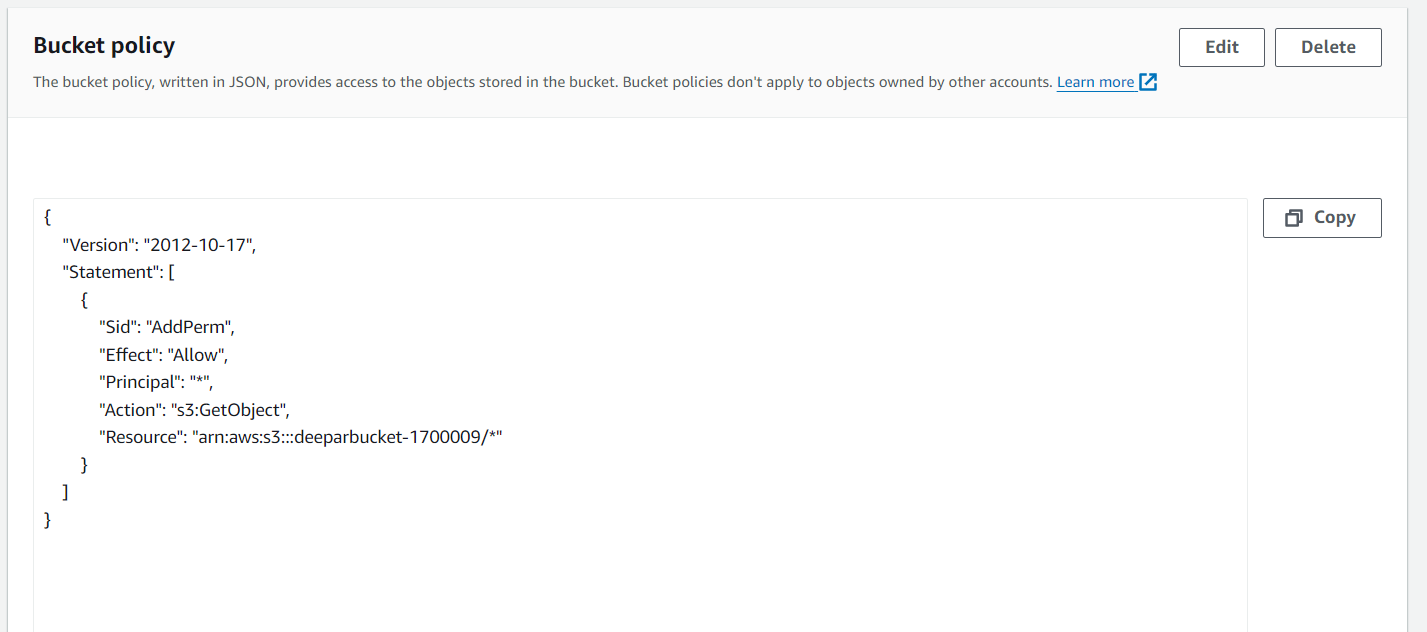
Update the Copied Policy from Cloudfront & click on Save Changes
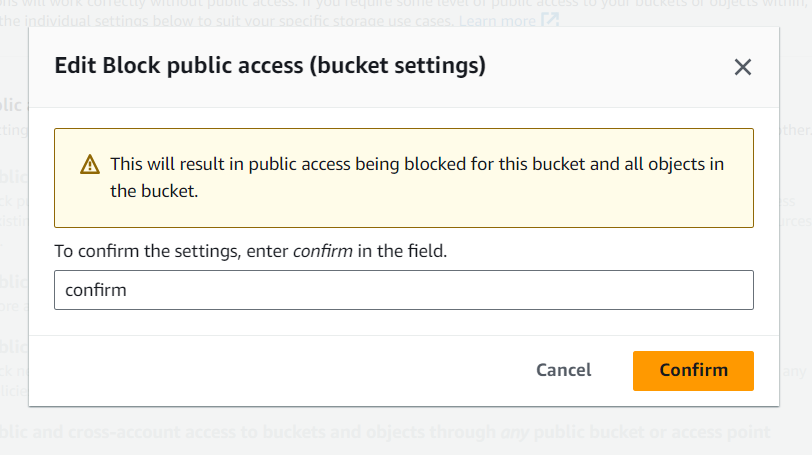
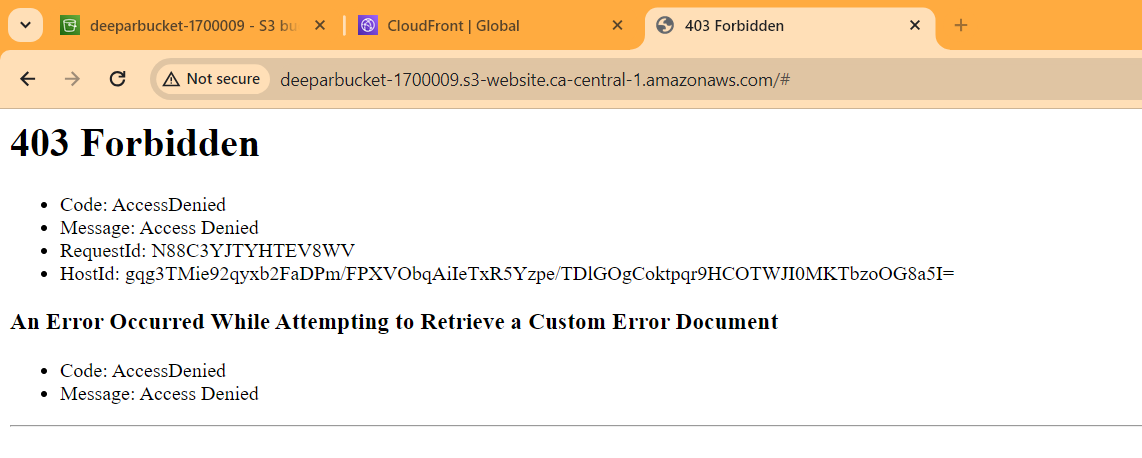
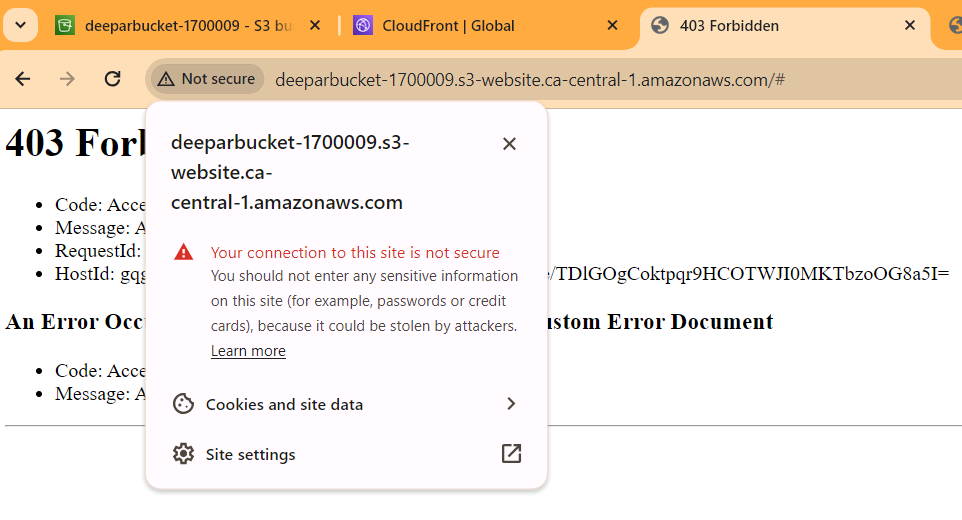
The previous Bucket website endpoint will no longer work and will return a 403 error.
go to cloudfront

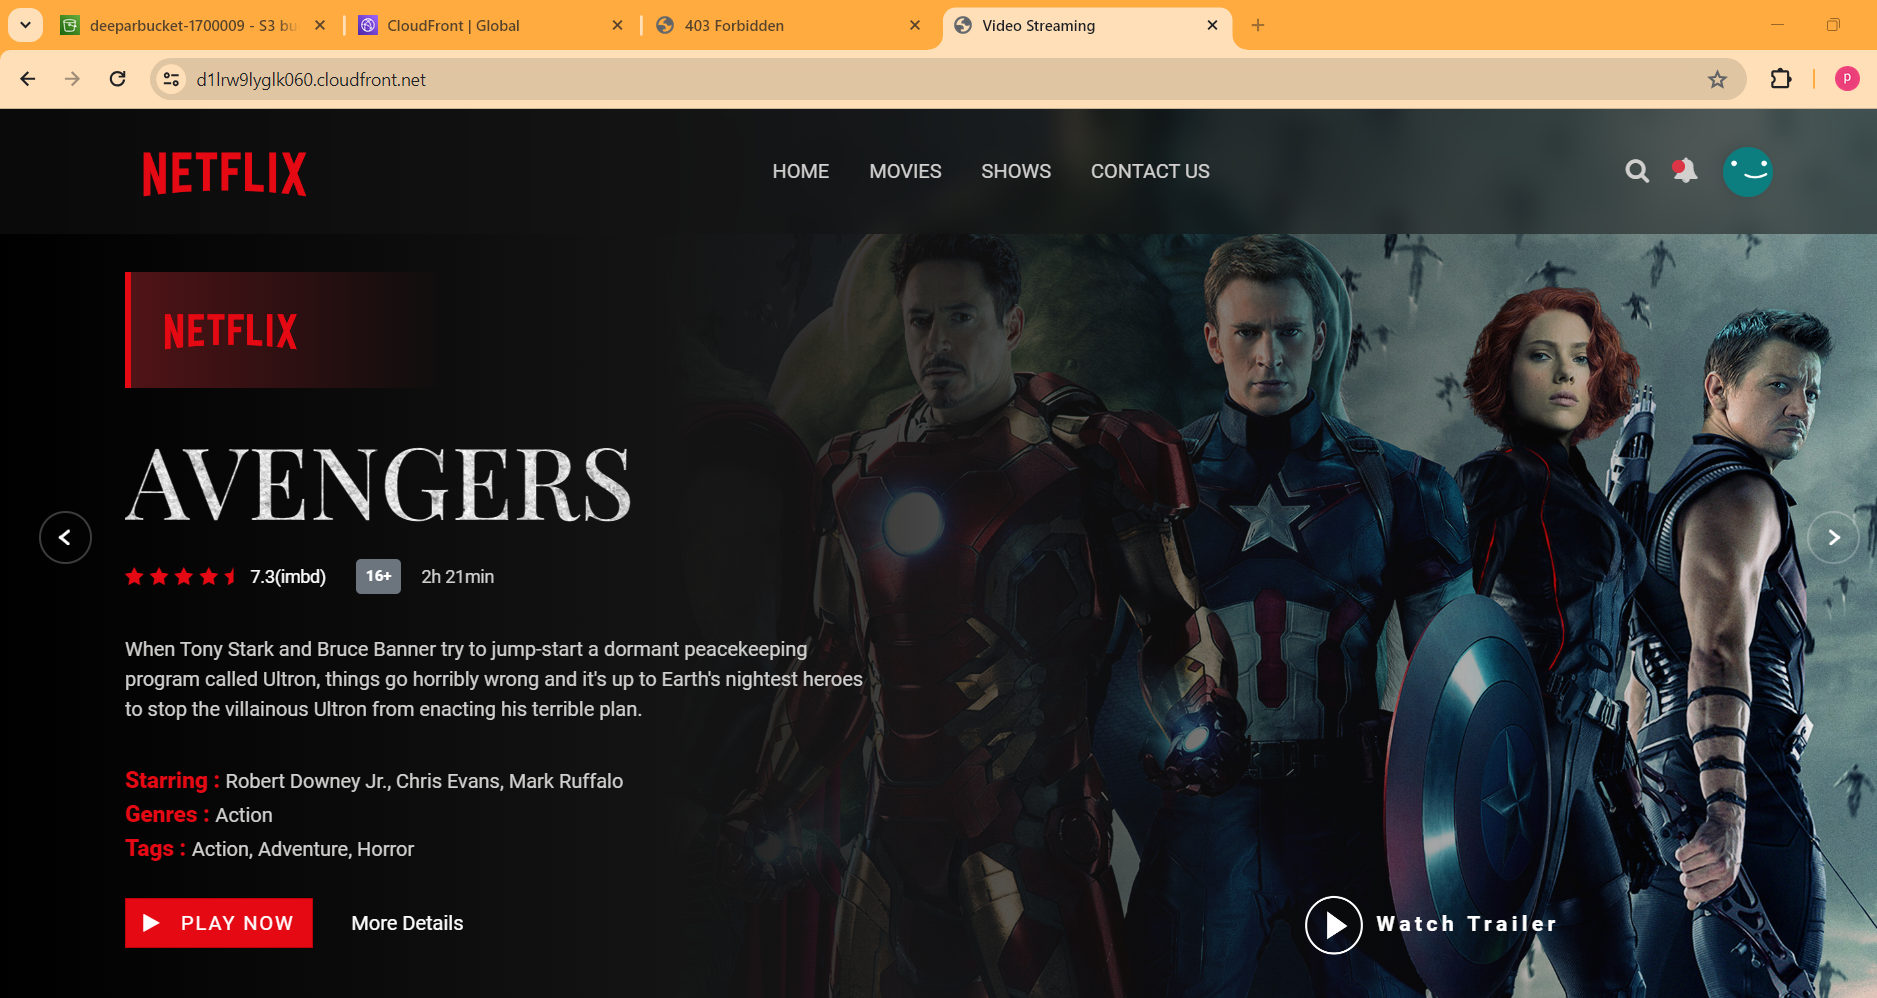
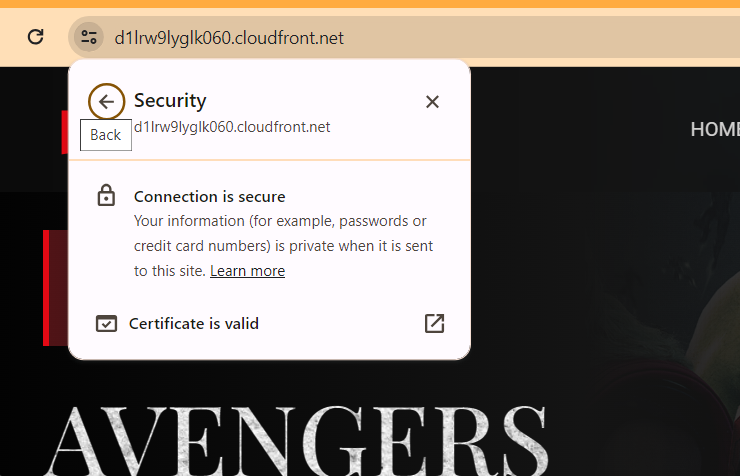
Paste the domain name into the address bar of a new browser tab.
You will see the website that you uploaded to your Amazon S3 bucket display:
Thankyou for reading.
If you have any doubt, contact me on Pardeep17.kp@gmail.com

