Ansible
I am an experienced and dedicated professional with a background in Devops. I have obtained the AWS Solution Architect Associate certification, showcasing my proficiency in cloud computing technologies. Currently, I am pursuing my interest in DevOps, aiming to further expand my knowledge and contribute to the seamless integration of development and operations.
In my Ansible project, I am automating the configuration management and deployment processes, streamlining tasks such as software provisioning, infrastructure setup, and application deployment. Leveraging Ansible's simplicity and agentless architecture, the project aims to enhance efficiency, reduce manual interventions, and ensure consistency across diverse IT environments.
Using ansible update 3 remote servers through 1 ansible-master:
create four ec2 instances, out o which 1 is ansible master-server and other 3 remote servers. Connect to ansible-master through ssh.
install ansible
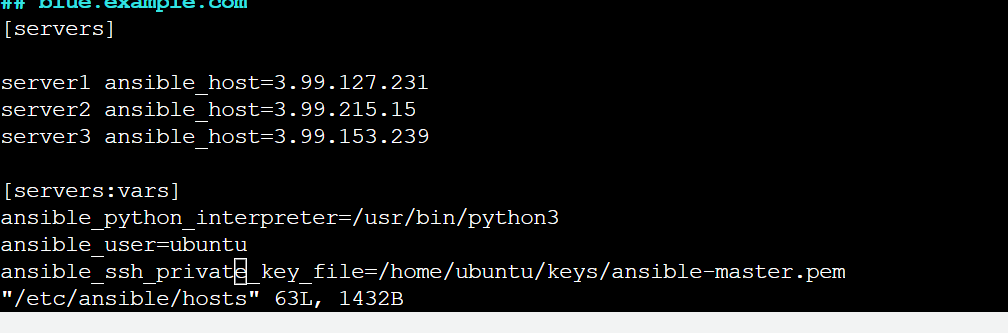
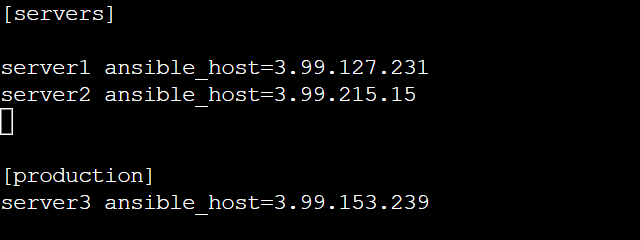
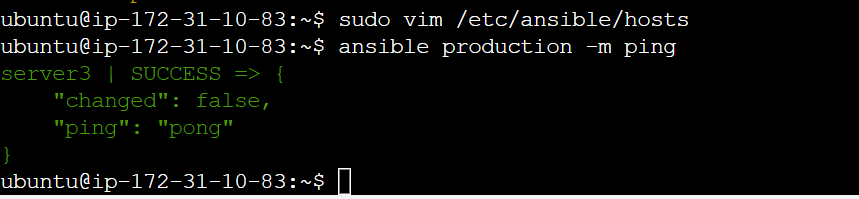
sudo vim /etc/ansible/hosts and add the public ip of all other 3 servers.

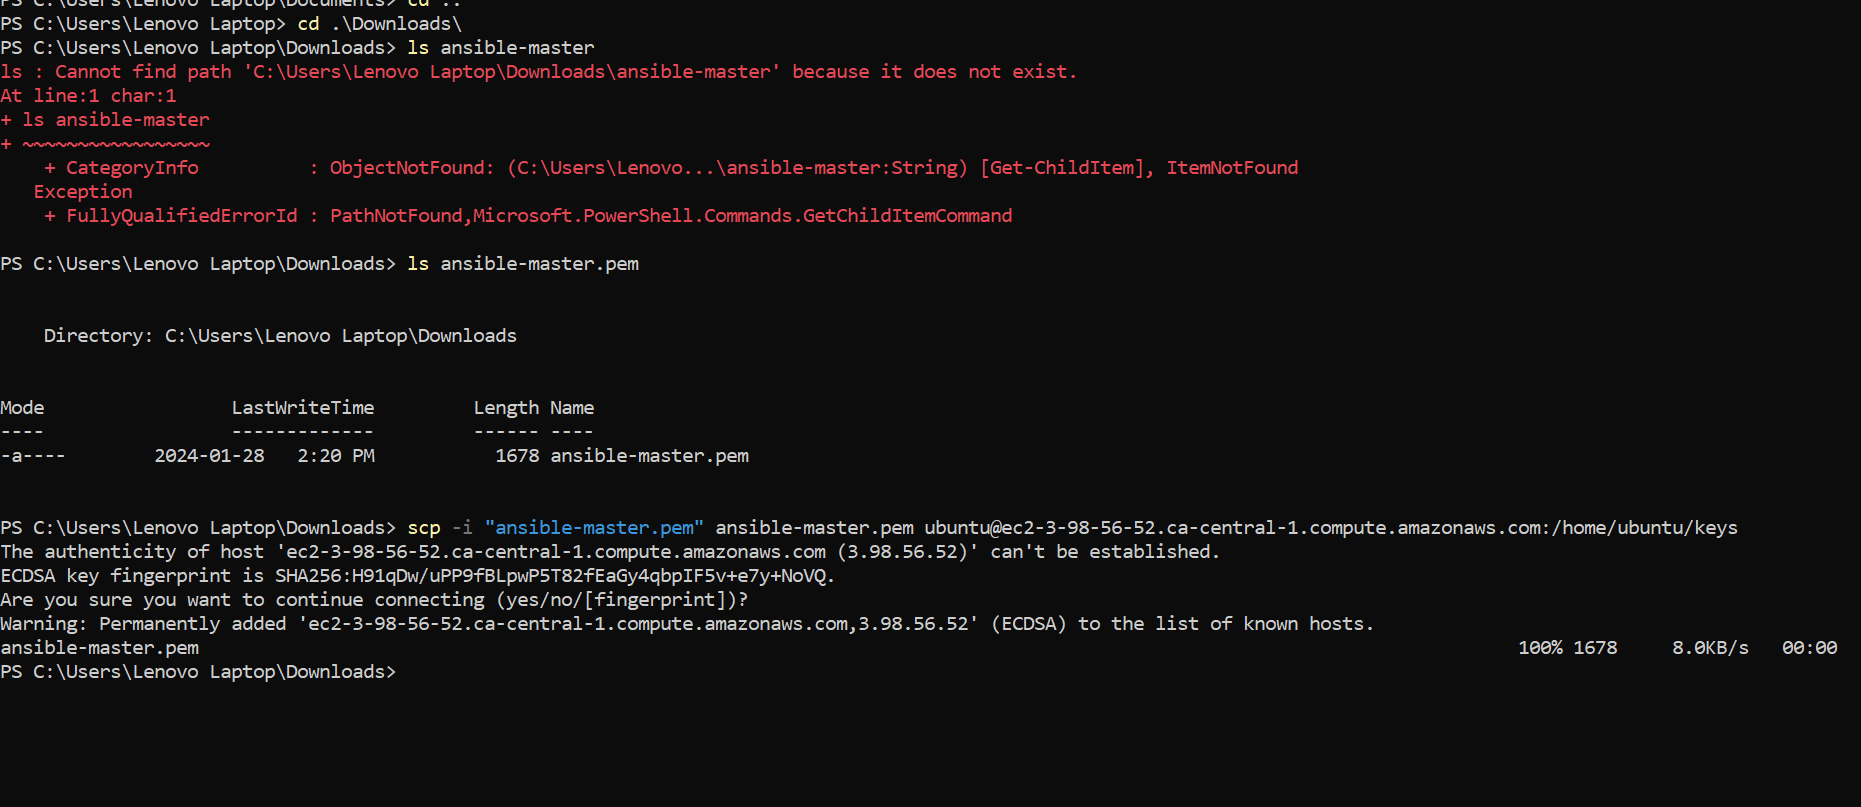
now, upload the ansible-master.pem key on server from local.


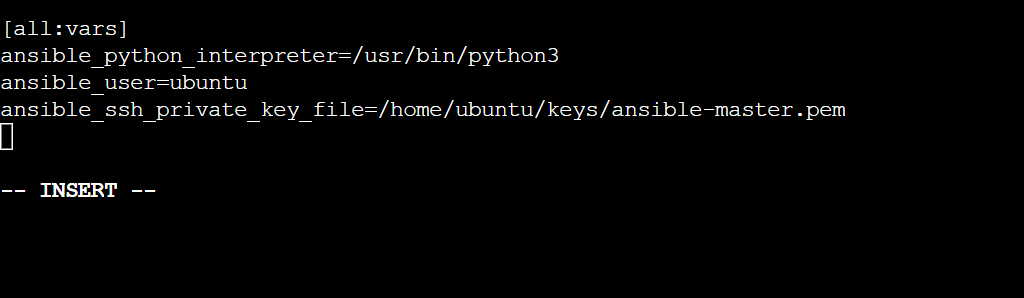
Now add varaible for each server. so that each server can access ansible-master.pem file.
variable is ansible_ssh_private_key_file: /home/ubuntu/keys/ansible-master.pem (path of private key file where private key is uploaded from local)
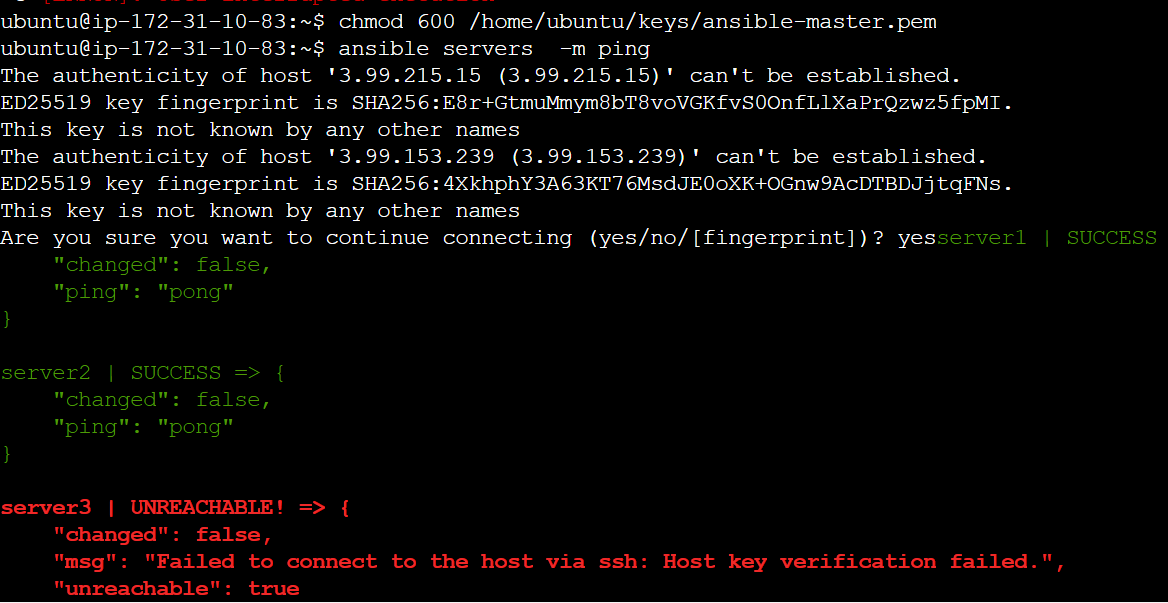
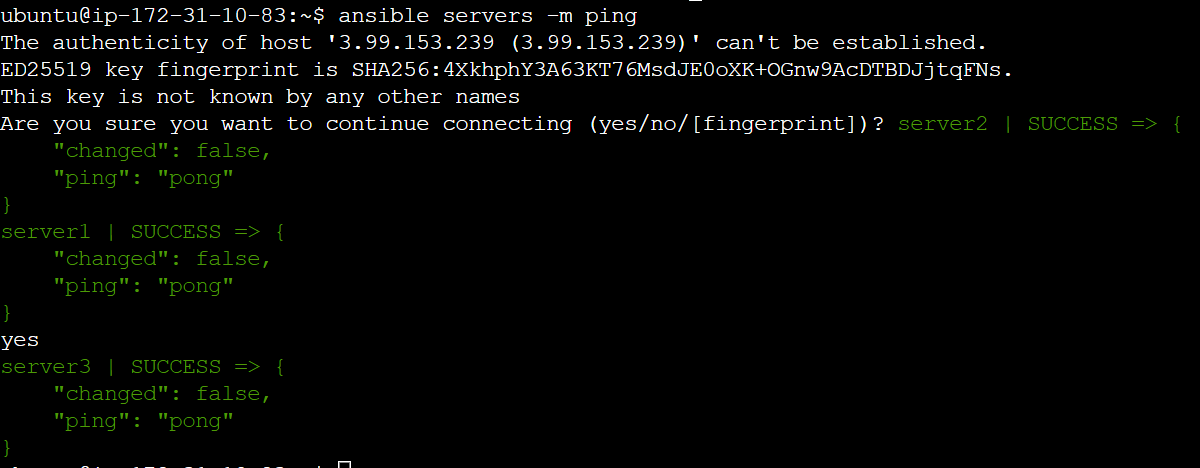
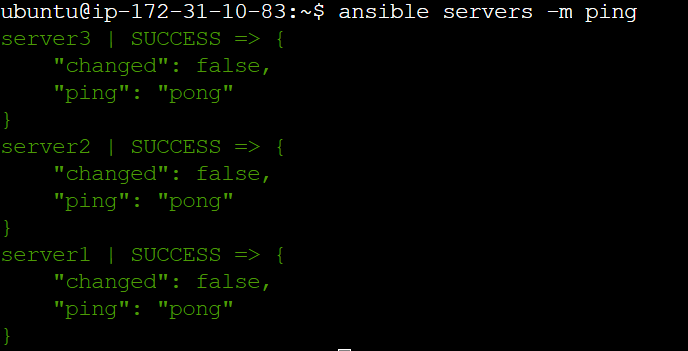
ansible uses adhoc commands and modules: use ping module
ansible servers -m ping
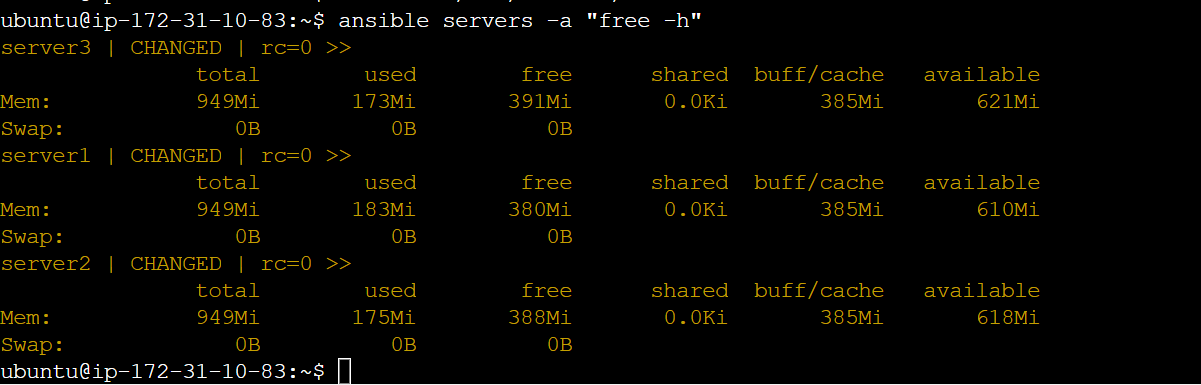
use adhoc commands: ansible servers -a "free -h"
ansible servers -a "sudo apt update"
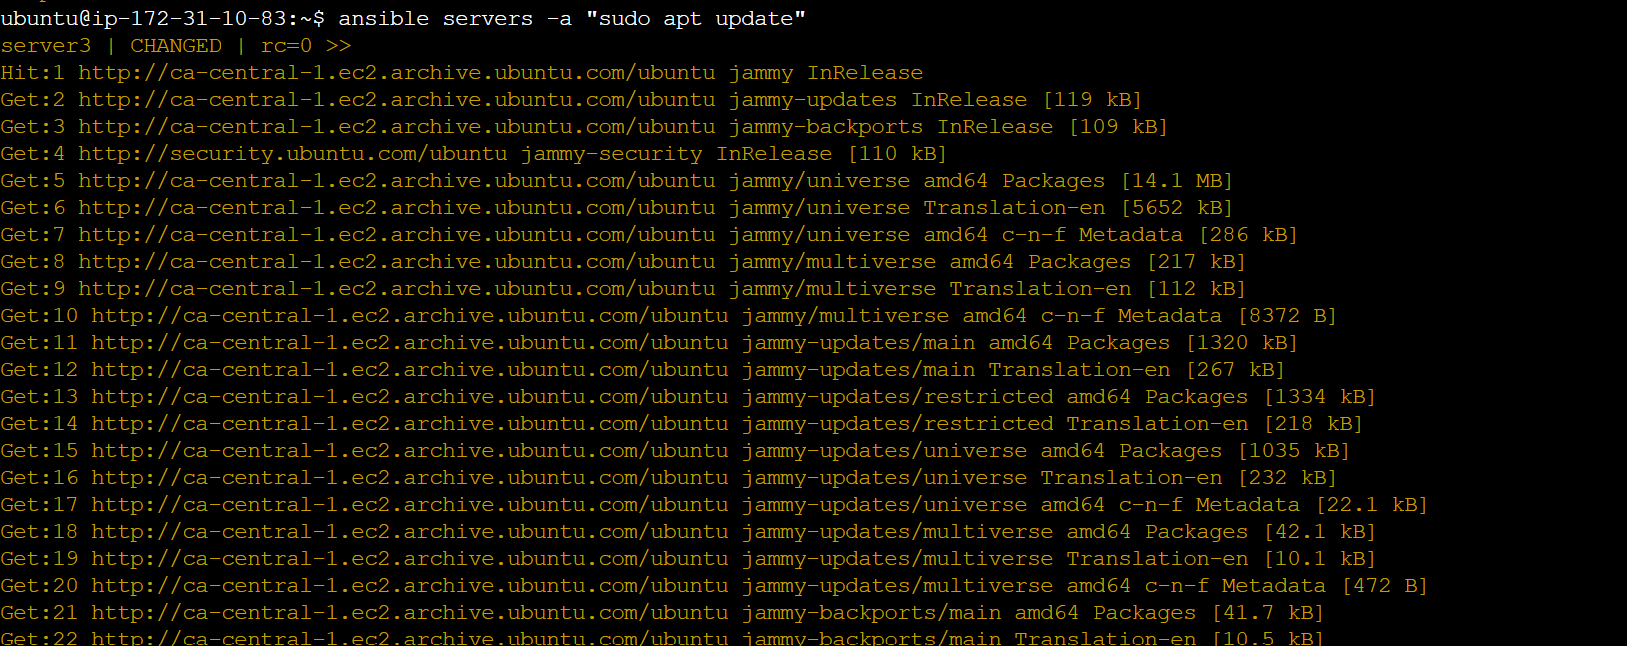
it will update 3 of servers. and If you want to update one server only, then make a group of single server. create a new group production and add third server to that group:
use [all:vars] , so that this wil apply to all groups.
ansible production -m ping
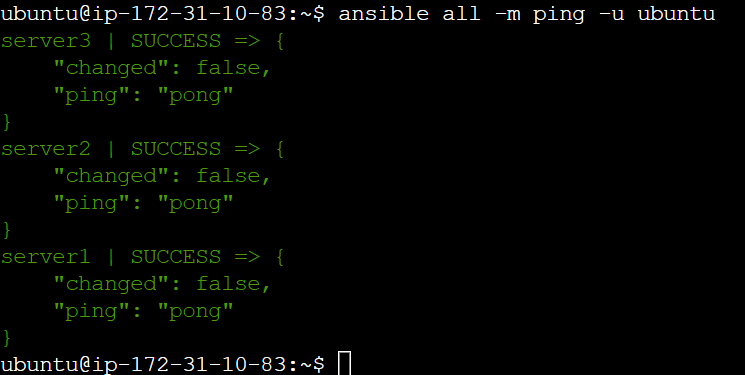
ansible all -m ping -u ubuntu
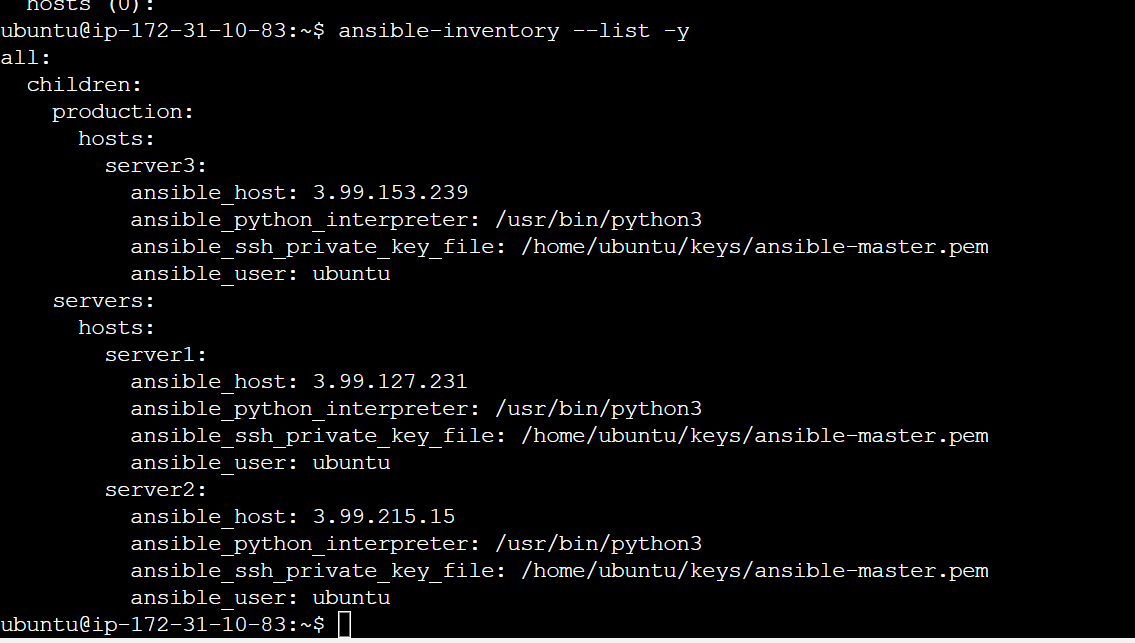
ansible-inventory --list -y
playbook:
Certainly! Ansible playbooks are a way to organize and execute tasks using Ansible. Playbooks are written in YAML format and can define multiple tasks, roles, and other configurations. Here's a simple example of an Ansible playbook:
playbook1:
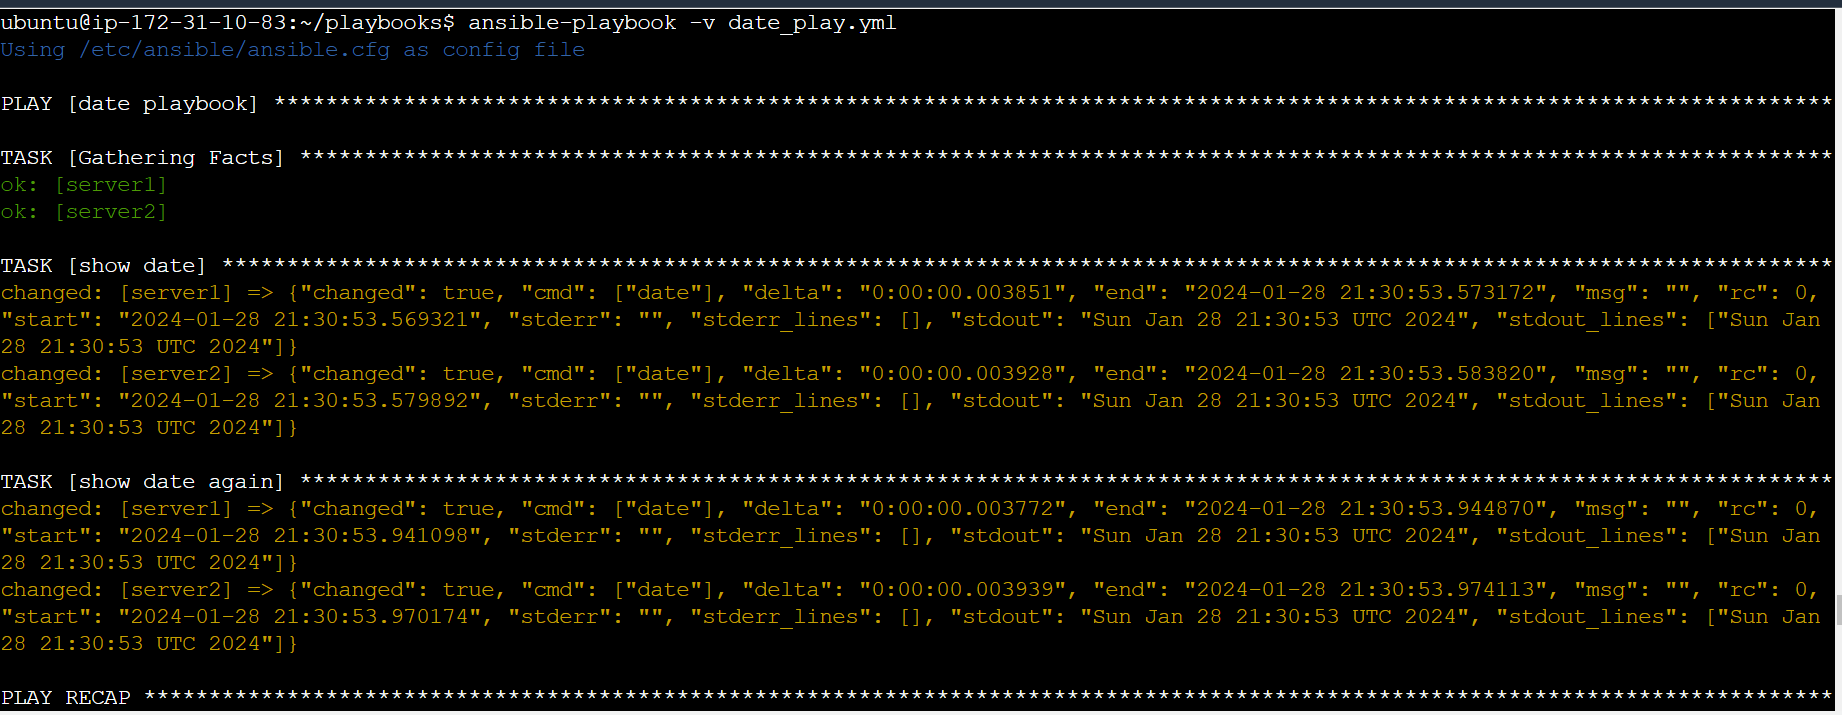
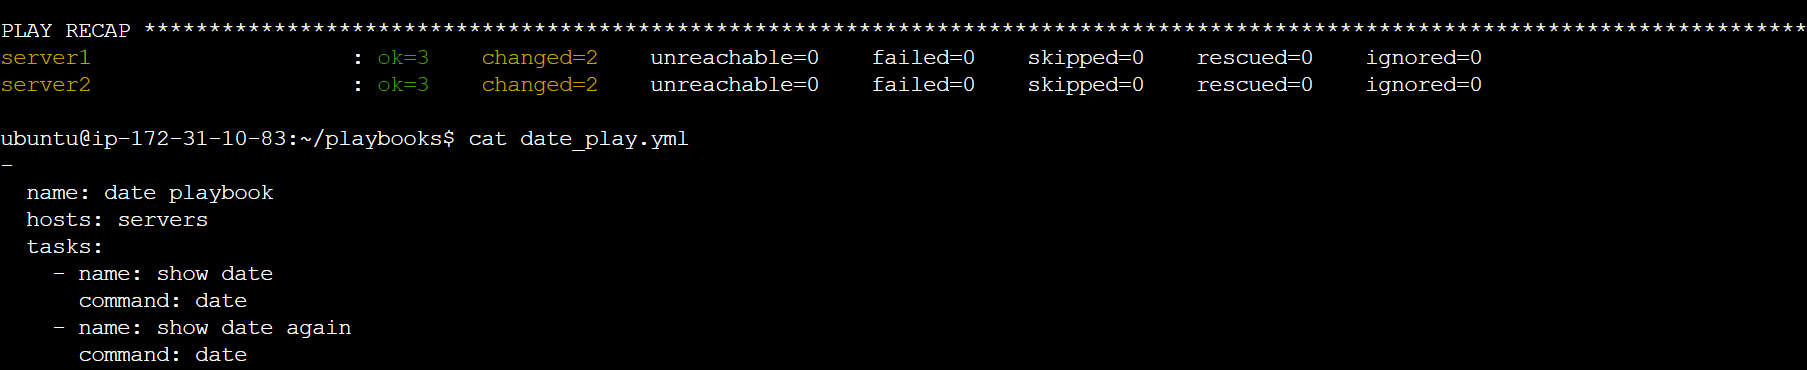
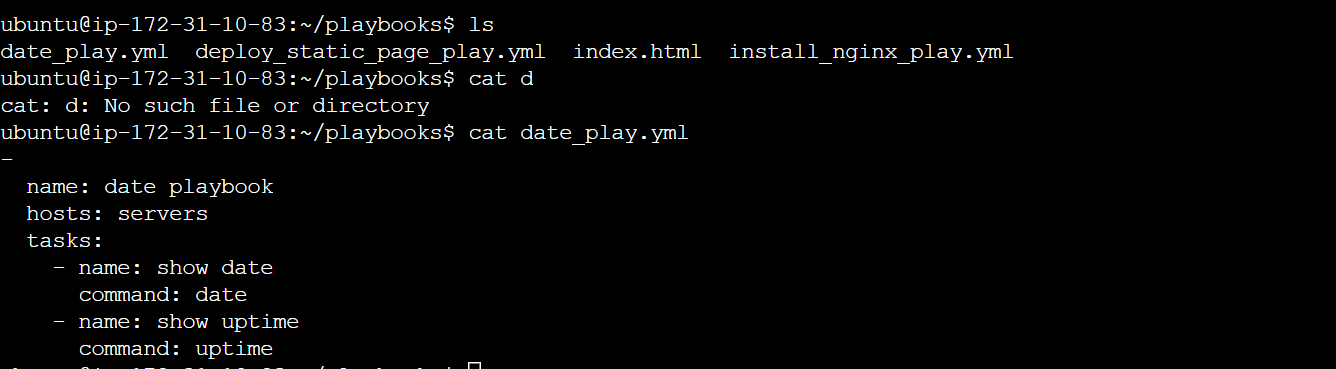
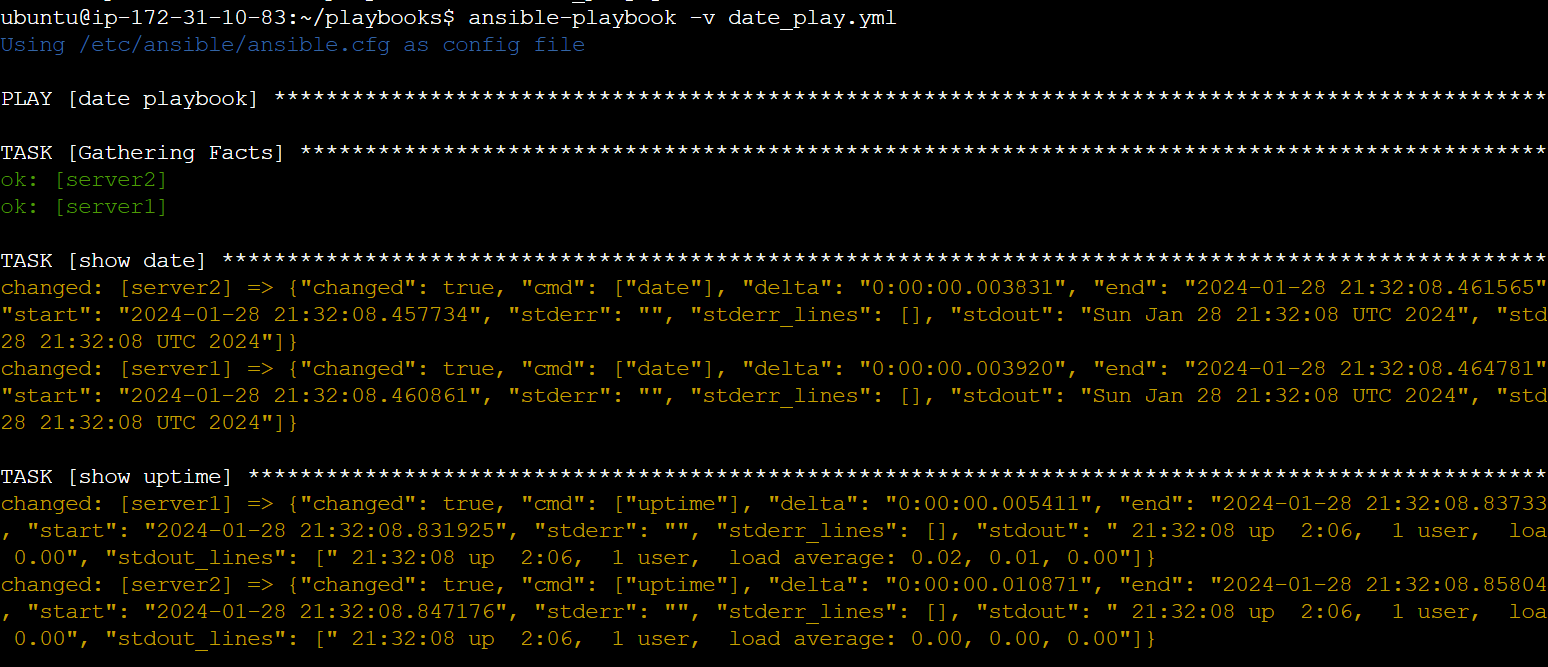
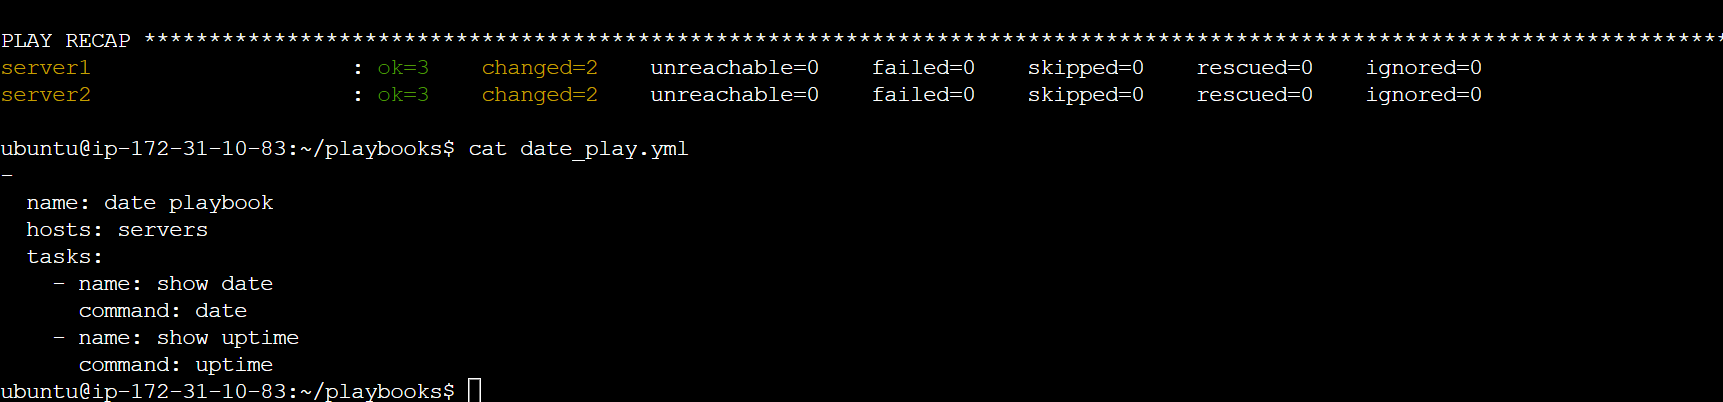
Create a vim date_play.yml
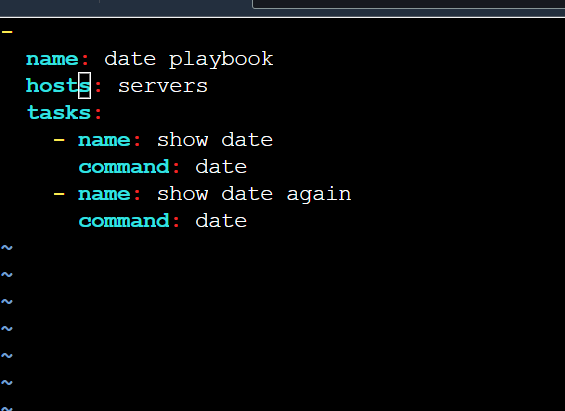
ansible playbook -v date_play.yml it will play the playbook -v means verbose.
Playbook2:
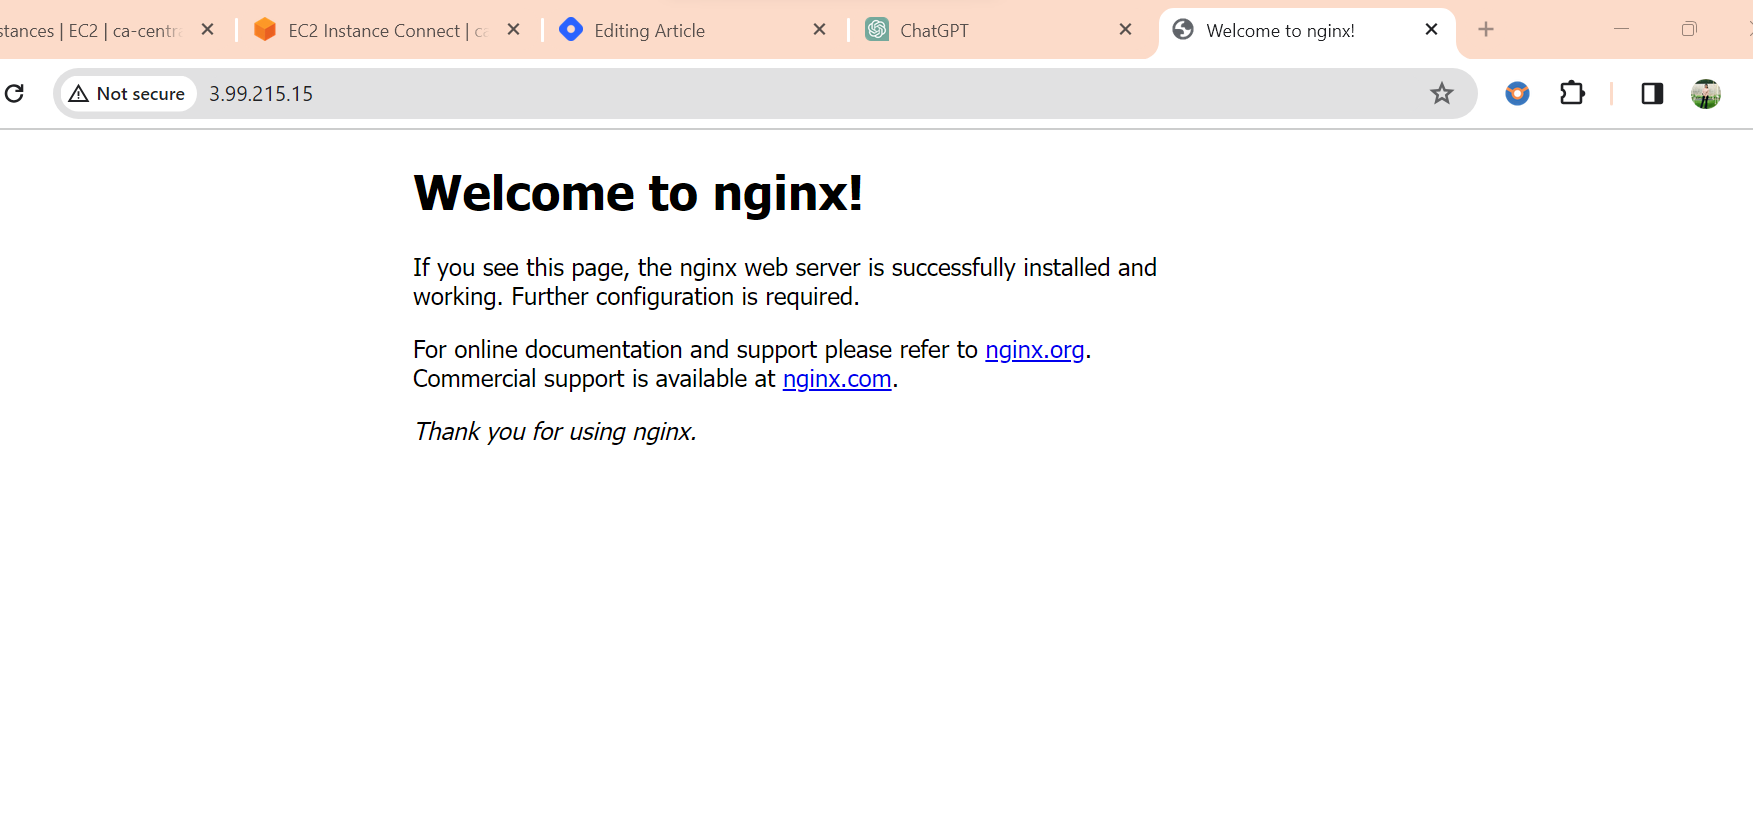
vim install_nginx_play.yml
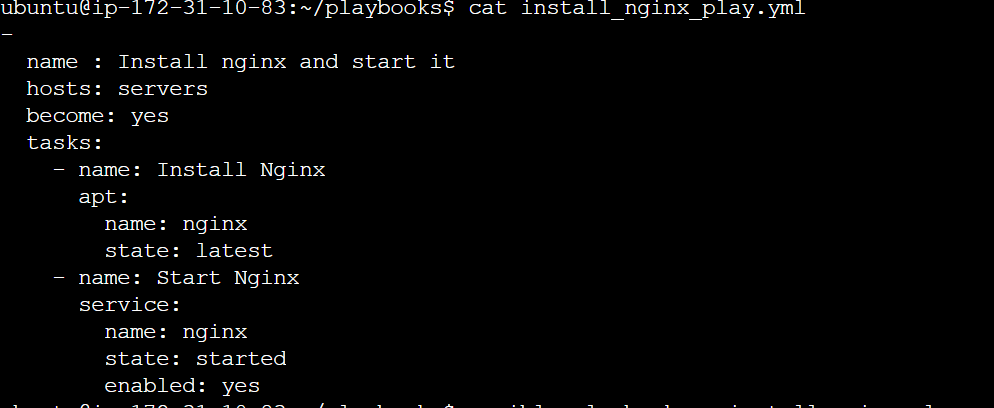
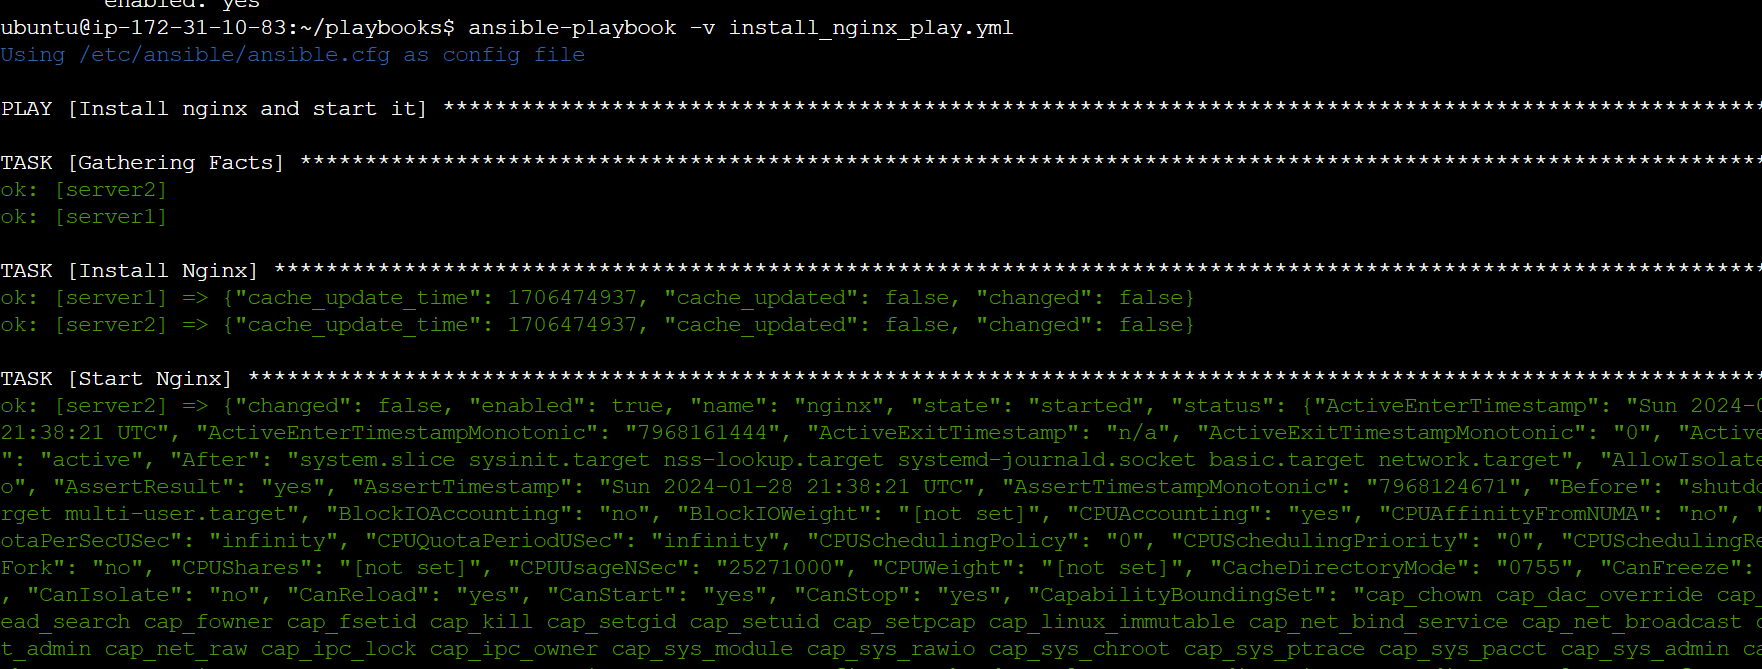

On server1 ans server 2 nginx is working. To check it is working go to ublic ip of server 1 or 2.
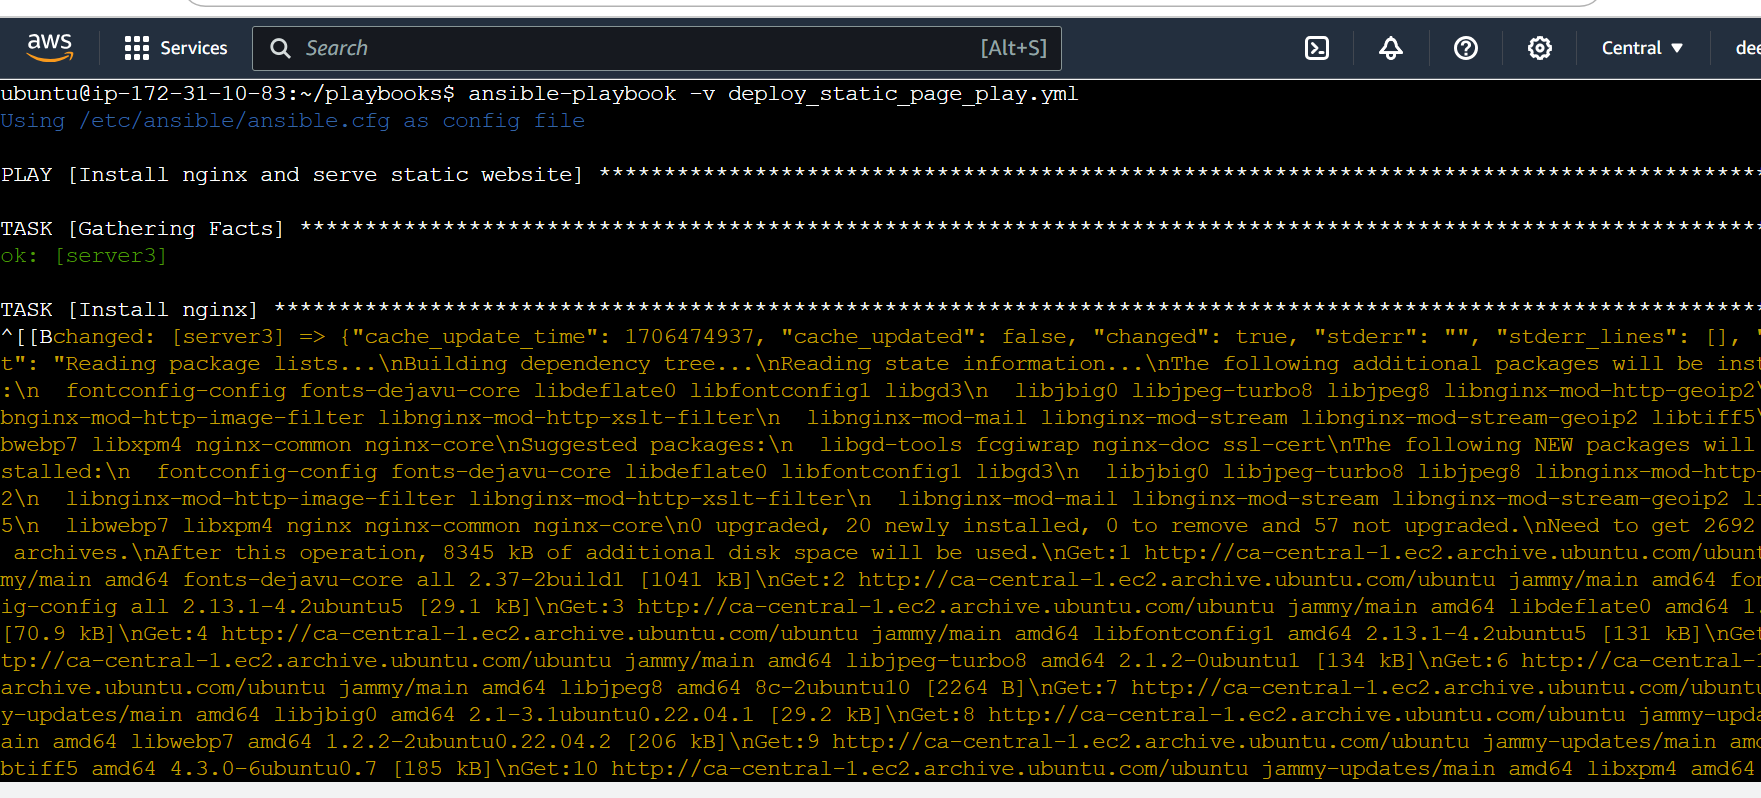
Playbook 3:
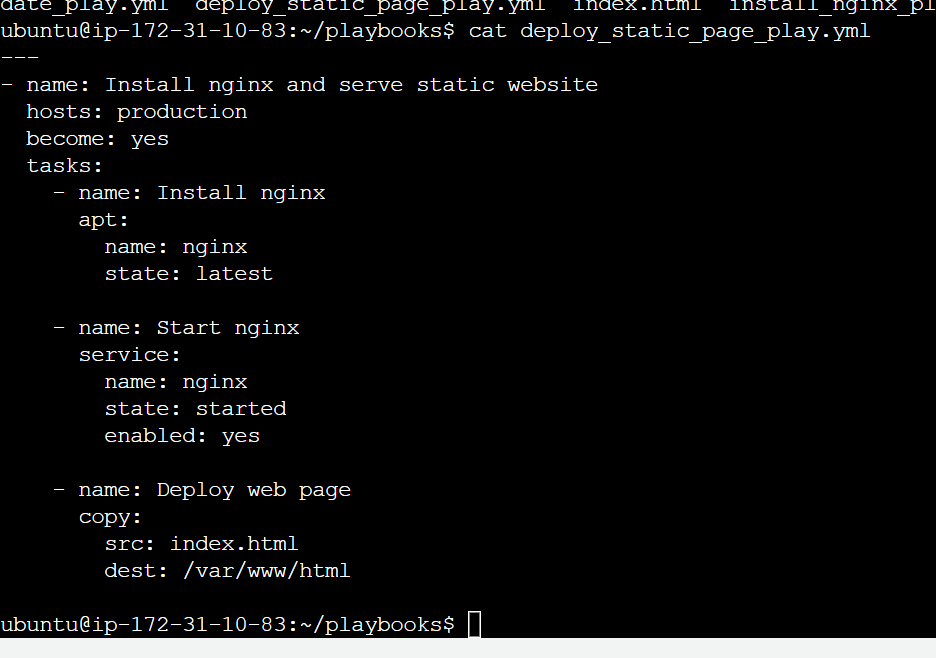
vim index.html
<!DOCTYPE html>
<html lang="en">
<head>
<meta charset="UTF-8">
<meta name="viewport" content="width=device-width, initial-scale=1.0">
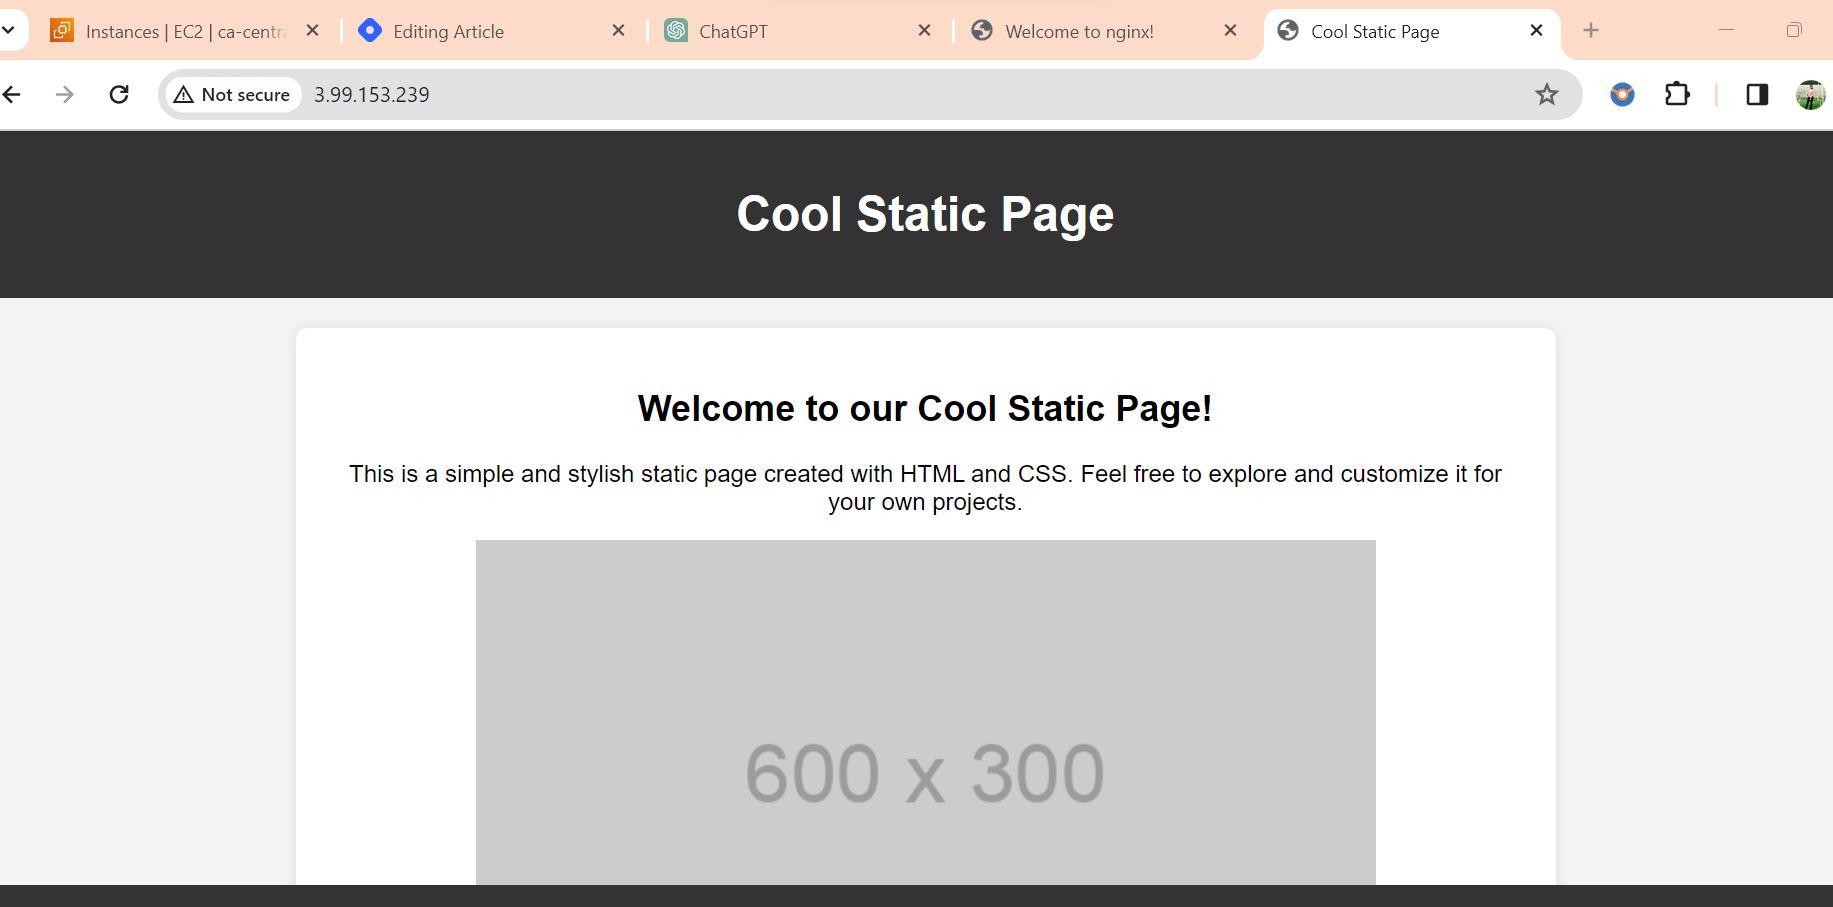
<title>Cool Static Page</title>
<style>
body {
font-family: 'Arial', sans-serif;
background-color: #f4f4f4;
margin: 0;
padding: 0;
text-align: center;
}
header {
background-color: #333;
color: #fff;
padding: 1em;
}
section {
max-width: 800px;
margin: 20px auto;
padding: 20px;
background-color: #fff;
border-radius: 8px;
box-shadow: 0 0 10px rgba(0, 0, 0, 0.1);
}
footer {
background-color: #333;
color: #fff;
padding: 1em;
position: fixed;
bottom: 0;
width: 100%;
}
</style>
</head>
<body>
<header>
<h1>Cool Static Page</h1>
</header>
<section>
<h2>Welcome to our Cool Static Page!</h2>
<p>This is a simple and stylish static page created with HTML and CSS. Feel free to explore and customize it for your own projects.</p>
<img src="https://via.placeholder.com/600x300" alt="Sample Image">
</section>
<footer>
<p>© 2024 Cool Static Page. All rights reserved.</p>
</footer>
</body>
</html>

I hope this article helps you. I'm available to help answer any questions or provide information you might need. If there's a specific topic or task you'd like assistance with, please feel free to let me know. My goal is to offer support and guidance to ensure a smooth experience for you!


